DESIGN STATEMENT
The goal of this project was to create a compelling design with the help of Three.js that would make learning about climate change more exciting and inspiring. I used Cinema4D to create a 3D model.
VIDEO WALKTHROUGH
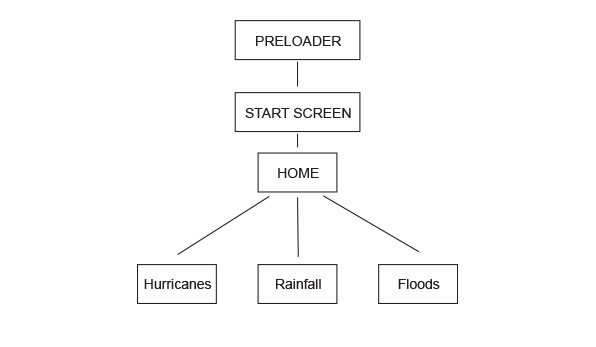
FLOWCHART
The menu at the bottom is focused on the effects of climate change, and with every button pressed, a little window with additional information will pop up on the screen.
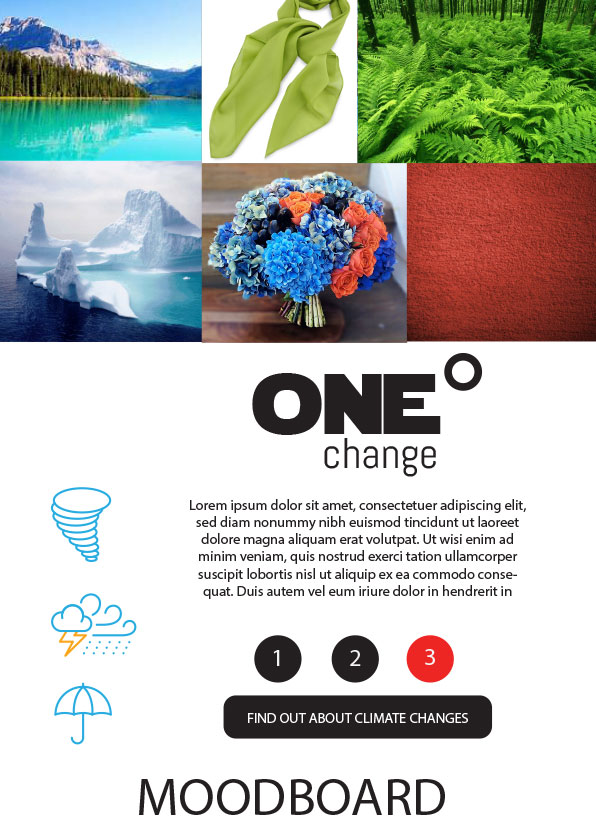
MOOD BOARD, LOGO
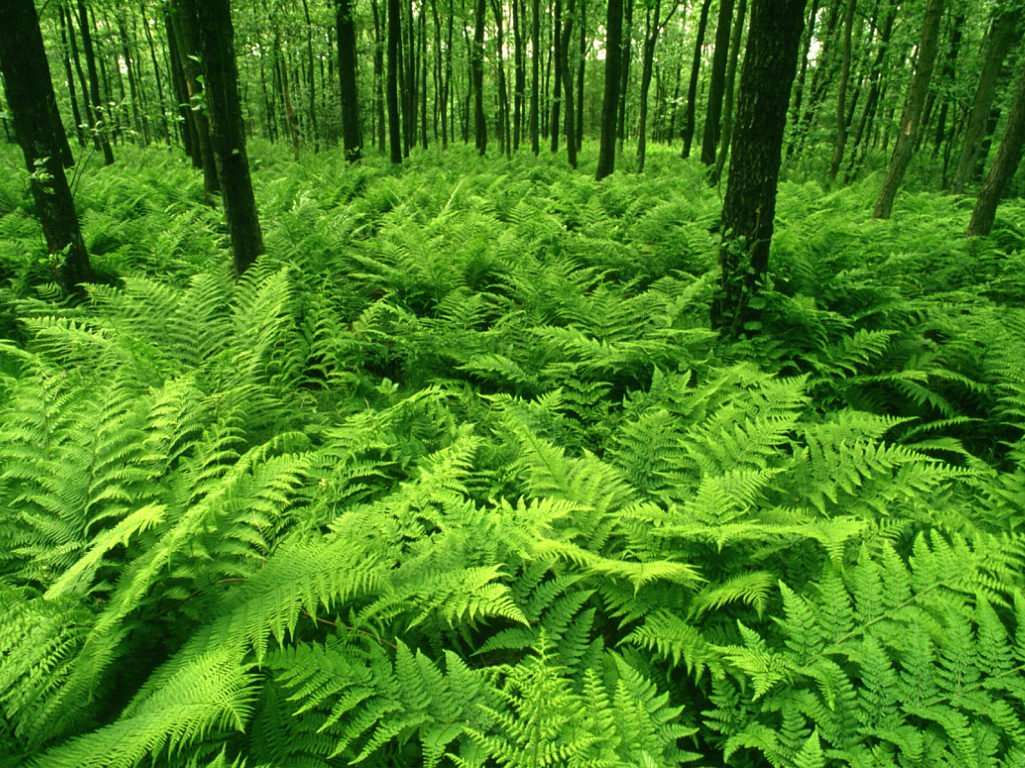
For the mood
When it came to the logo, I wanted to focus on a
STORYBOARD
(click on images to see the bigger picture)
Screen with the preloader.
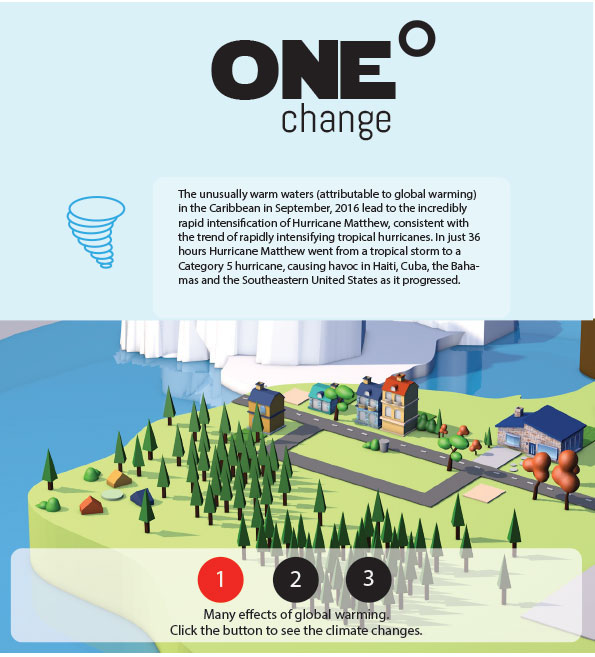
Welcoming screen. The user has to click on the button to have a website menu appear.
After clicking on button number 1, a window pops up with some information about storms. Camera zooms closer to the forest and the camping site. The clouds start rolling onto the screen.
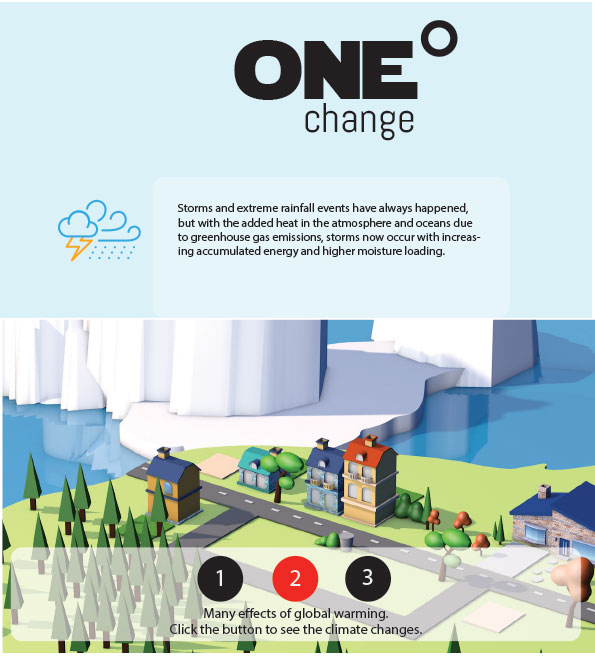
Button 2 takes the user to the city center, where the heavy rain starts falling.
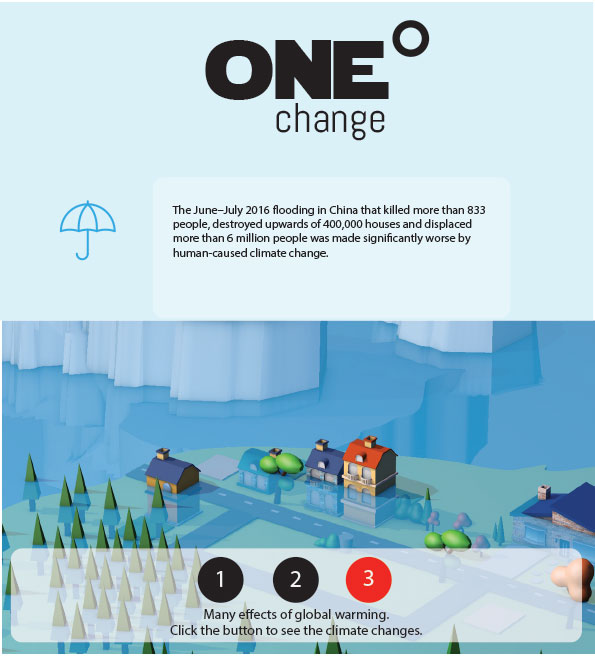
Last button triggers a flooding effect.
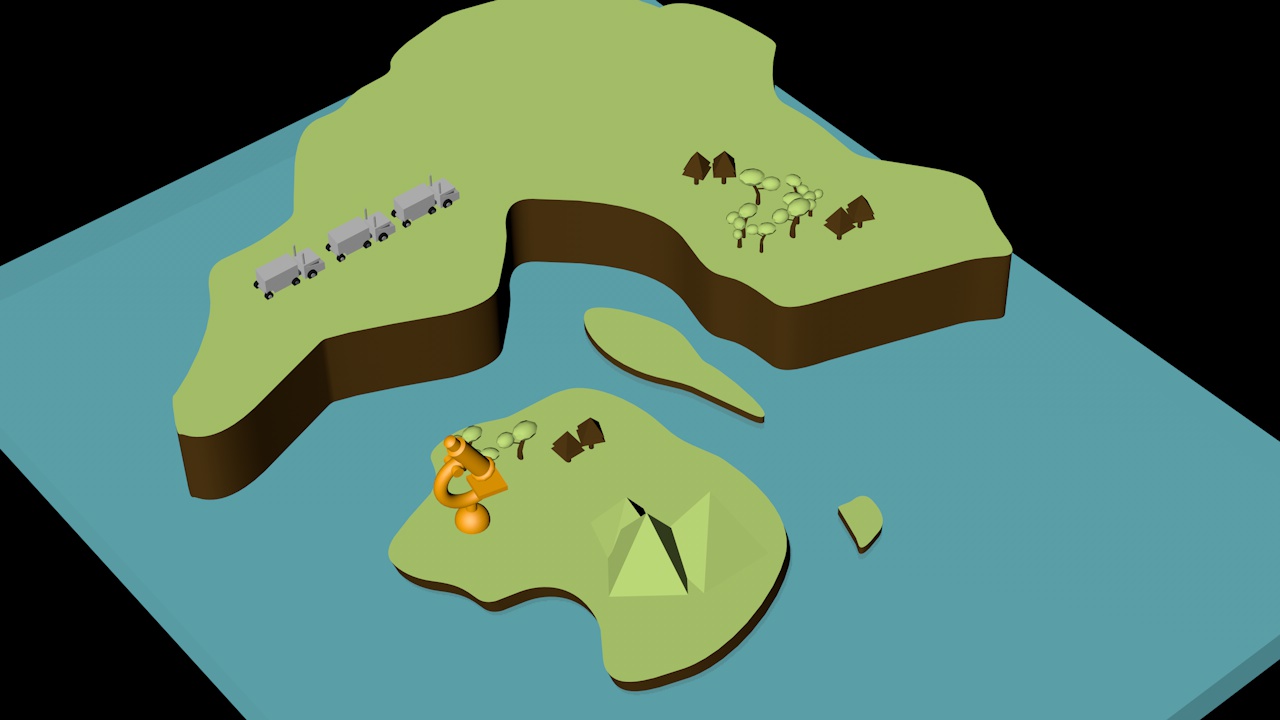
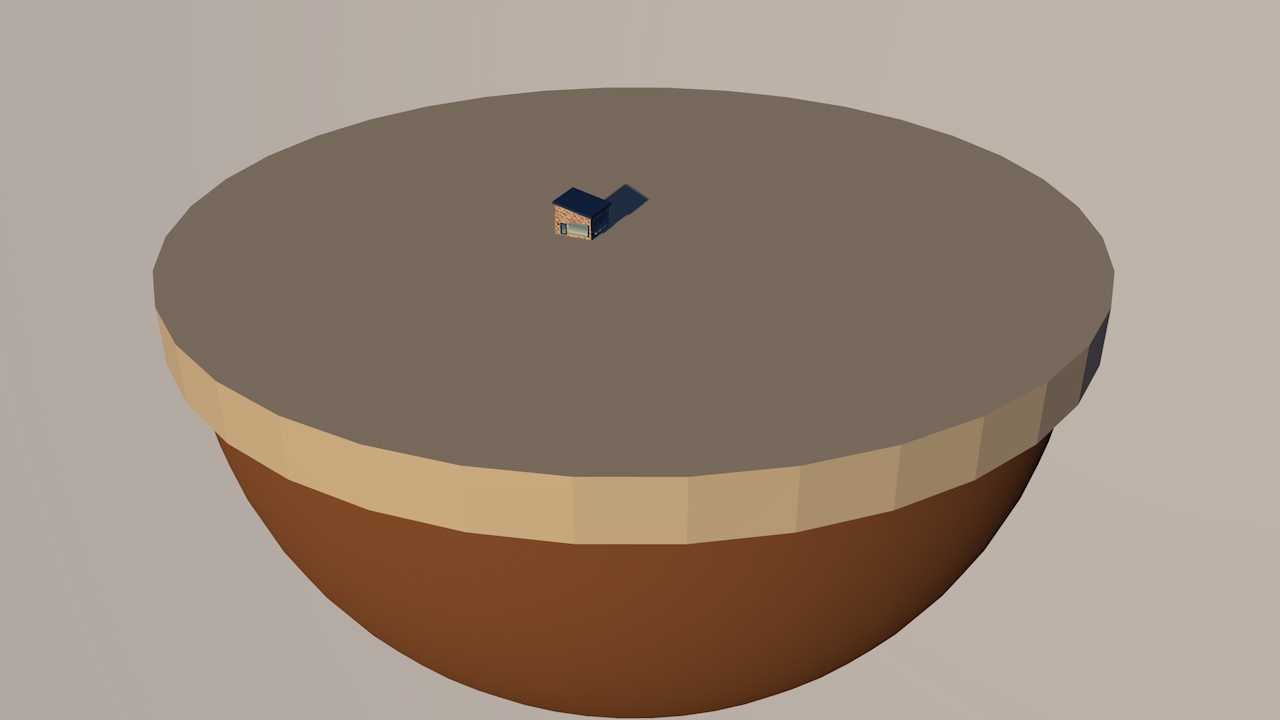
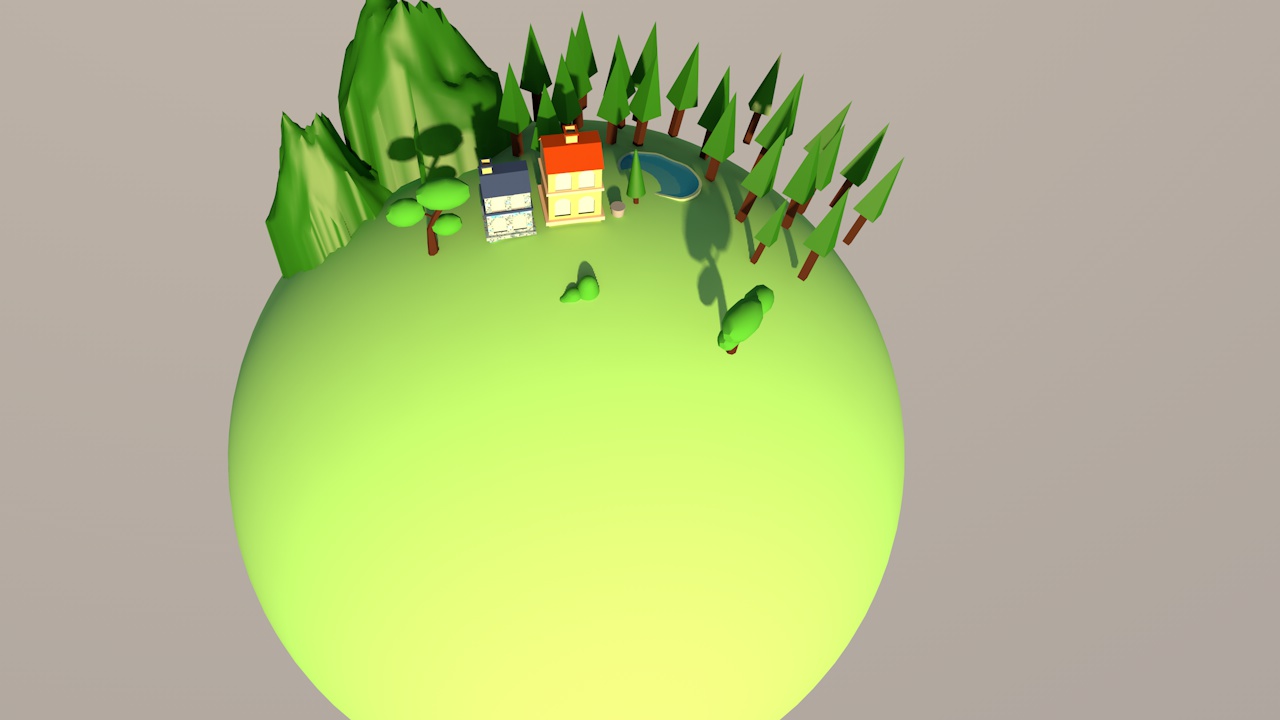
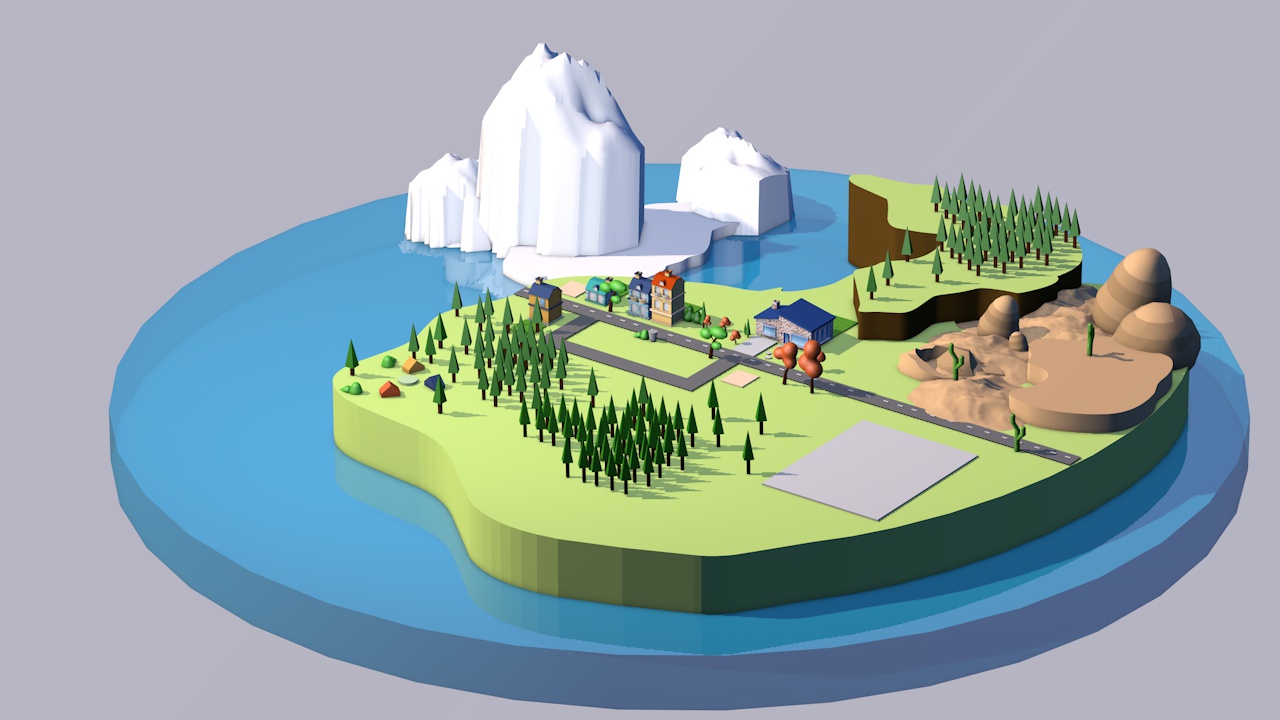
PROCESS WORK FOR A 3D MODEL DESIGN

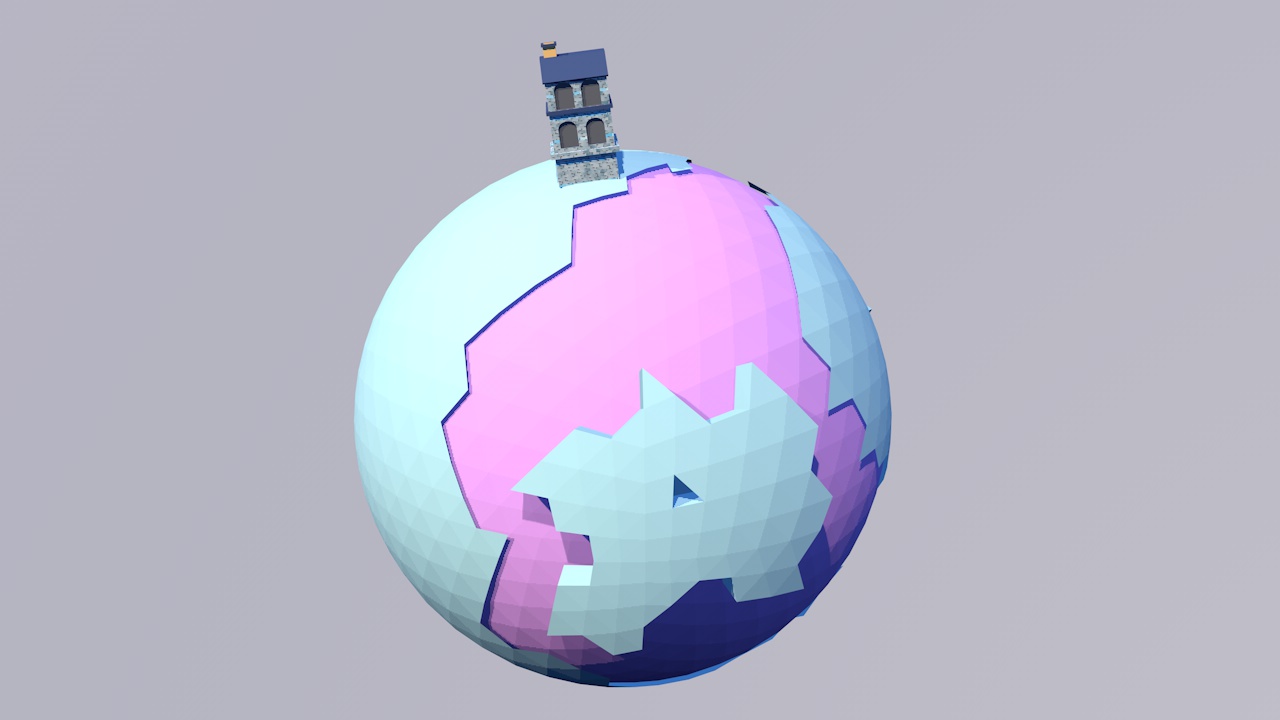
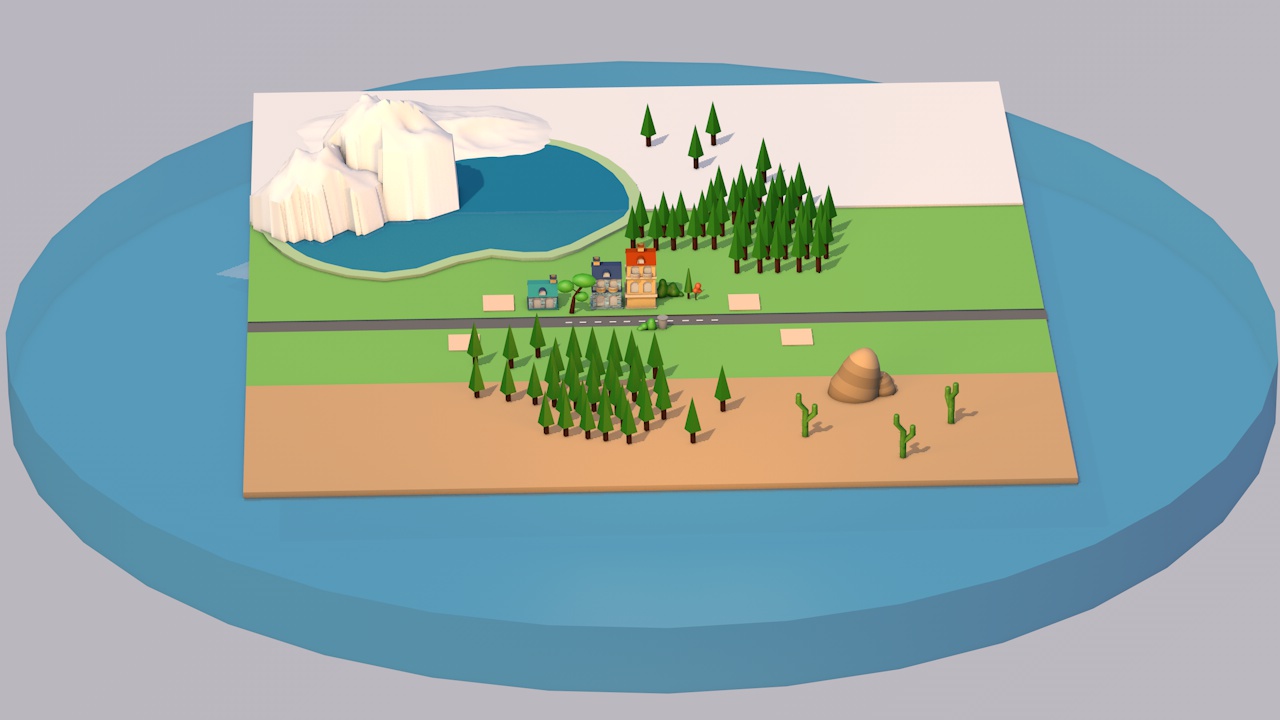
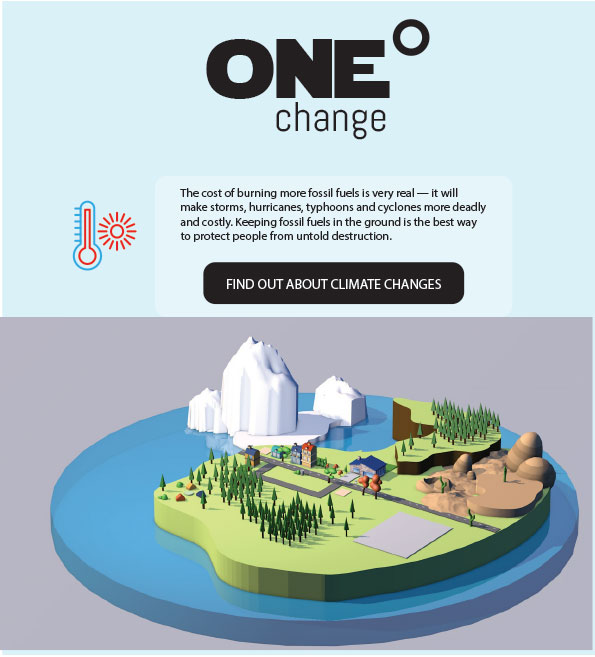
FINAL DESIGN
INSPIRATIONS
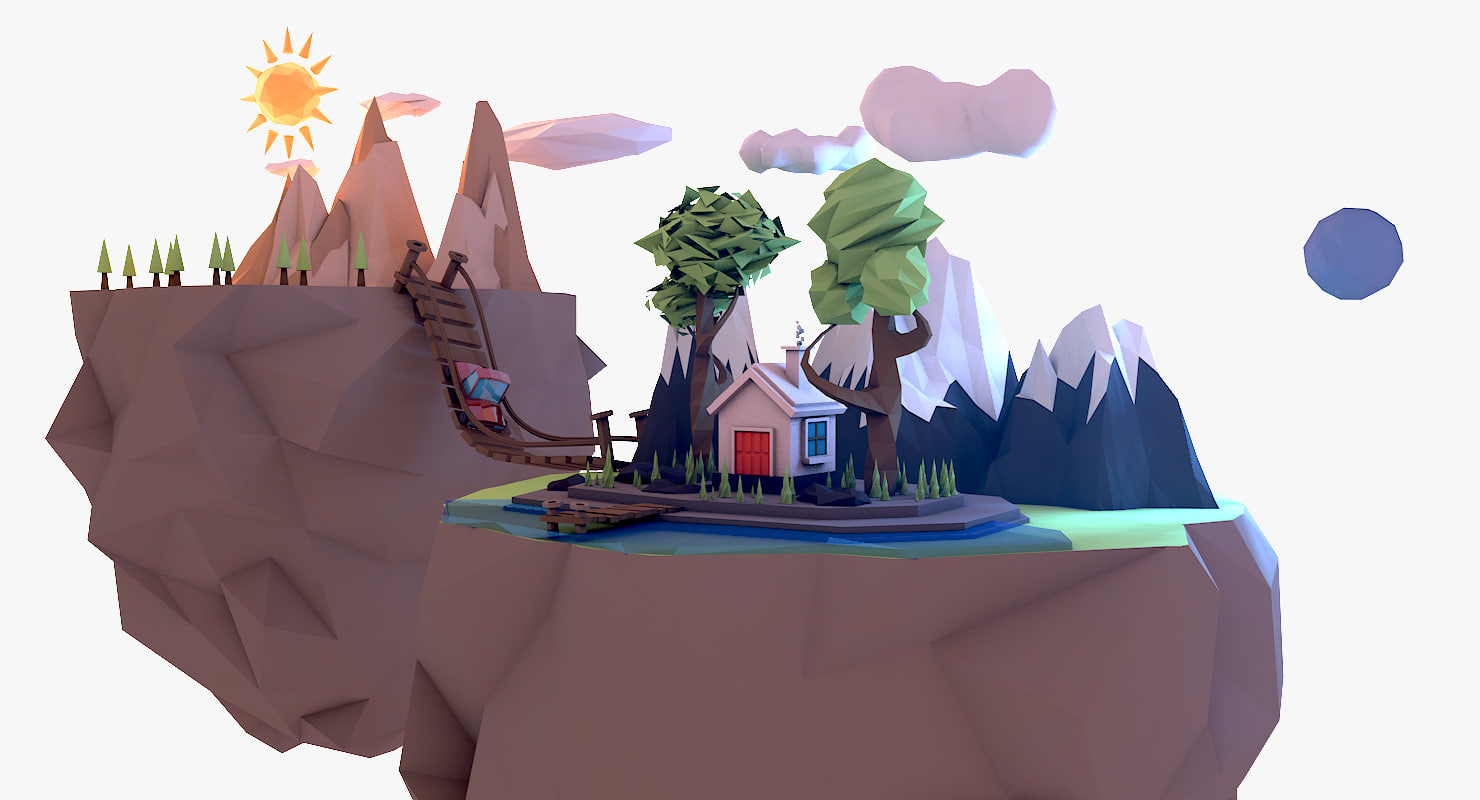
https://www.turbosquid.com/3d-models/c4d-floating-islands/1093595
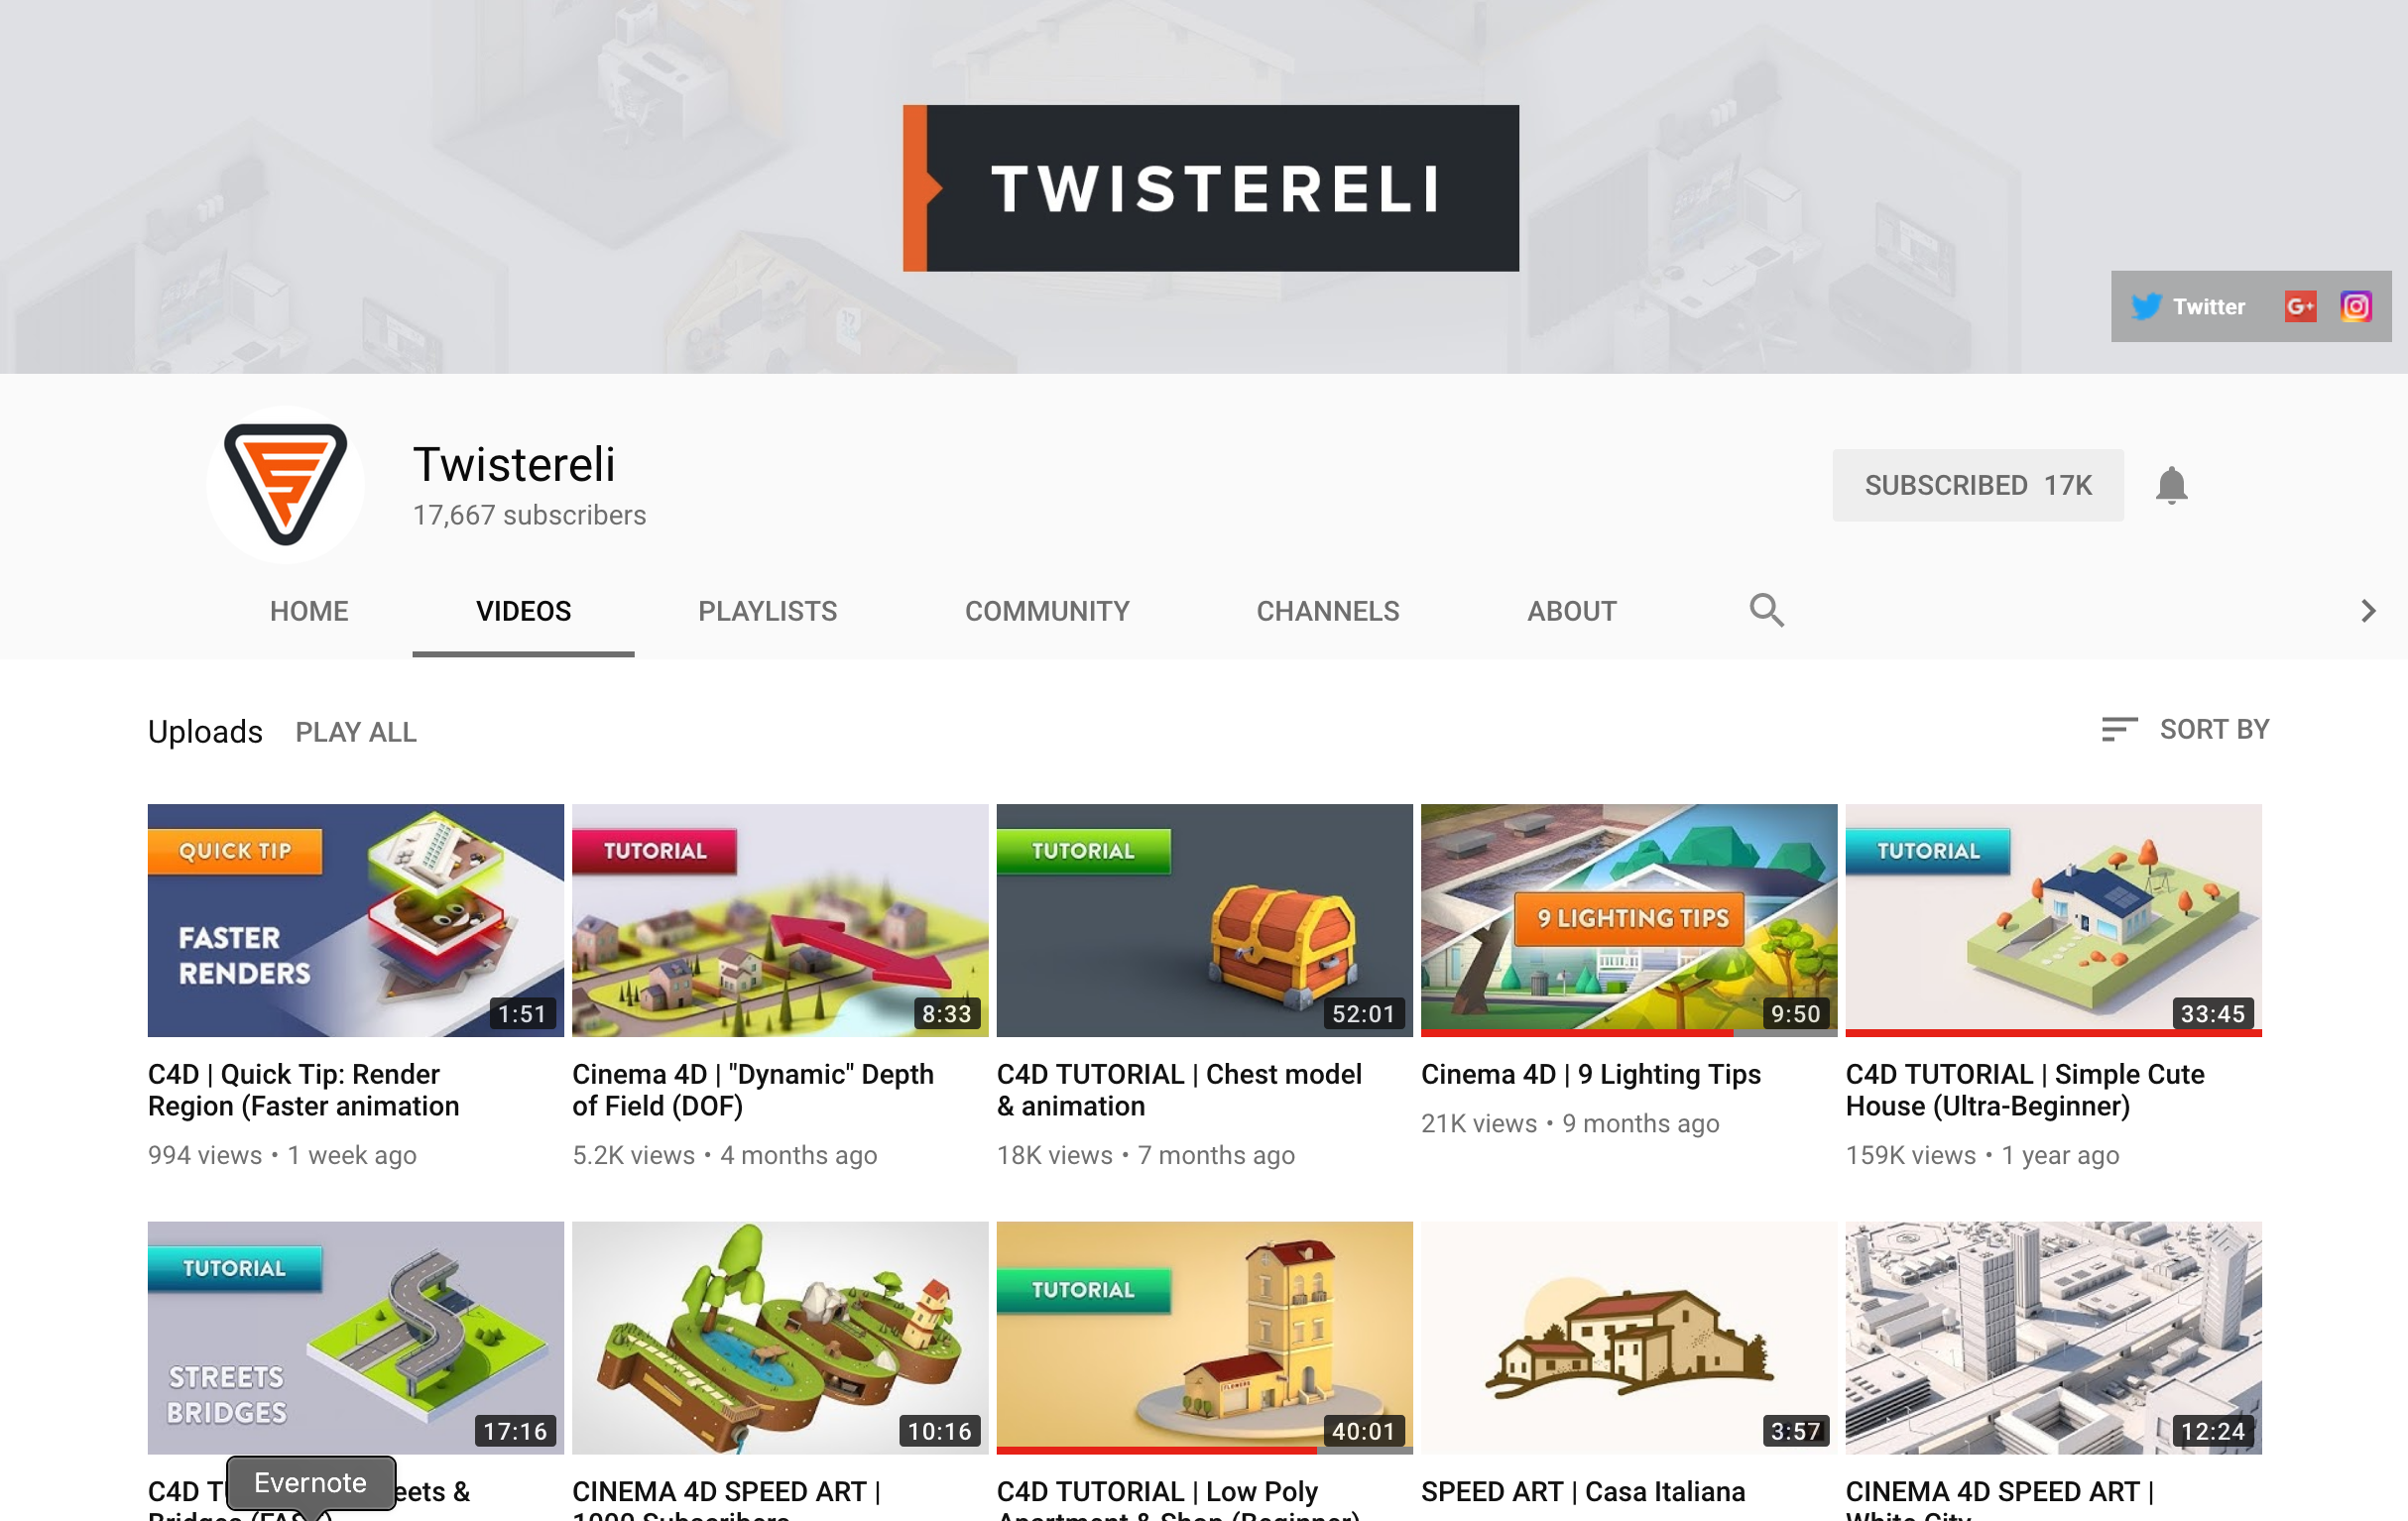
https://www.youtube.com/channel/UCiP89vGZHIiEbvSnXM5FRvQ/videos
SOURCES
Images used in the mood board:
https://static.thousandwonders.net/Emerald.Lake.original.956.jpg
http://www.icebergwatereurope.com/wp-content/uploads/2013/02/Iceberg2-1.jpg
https://i.pinimg.com/564x/00/e0/86/00e086e61bb4321107b4813dc57f9fc8.jpg
https://www.weloveties.com/content/weloveties/producten/sjaal-limegroen-jb60.jpg
https://www.photohdx.com/images/2017/05/red-wall-texture.jpg
http://1.bp.blogspot.com/-ZIG1fAwlxqU/T1BBiUL3OeI/AAAAAAAAHMM/kbI04LOlF9Q/s1600/green-forest-21.jpg