CONTENT MENU
1. DESIGN STATEMENT
2. VIDEO OF THE WORKING MODEL
3. CIRCUIT & FRITZING DIAGRAM
4. Code
4. PROCESS WORK
5. FINAL DESIGN
6. PROCESS WORK FOR A 3D MODEL DESIGN
7. FINAL DESIGN
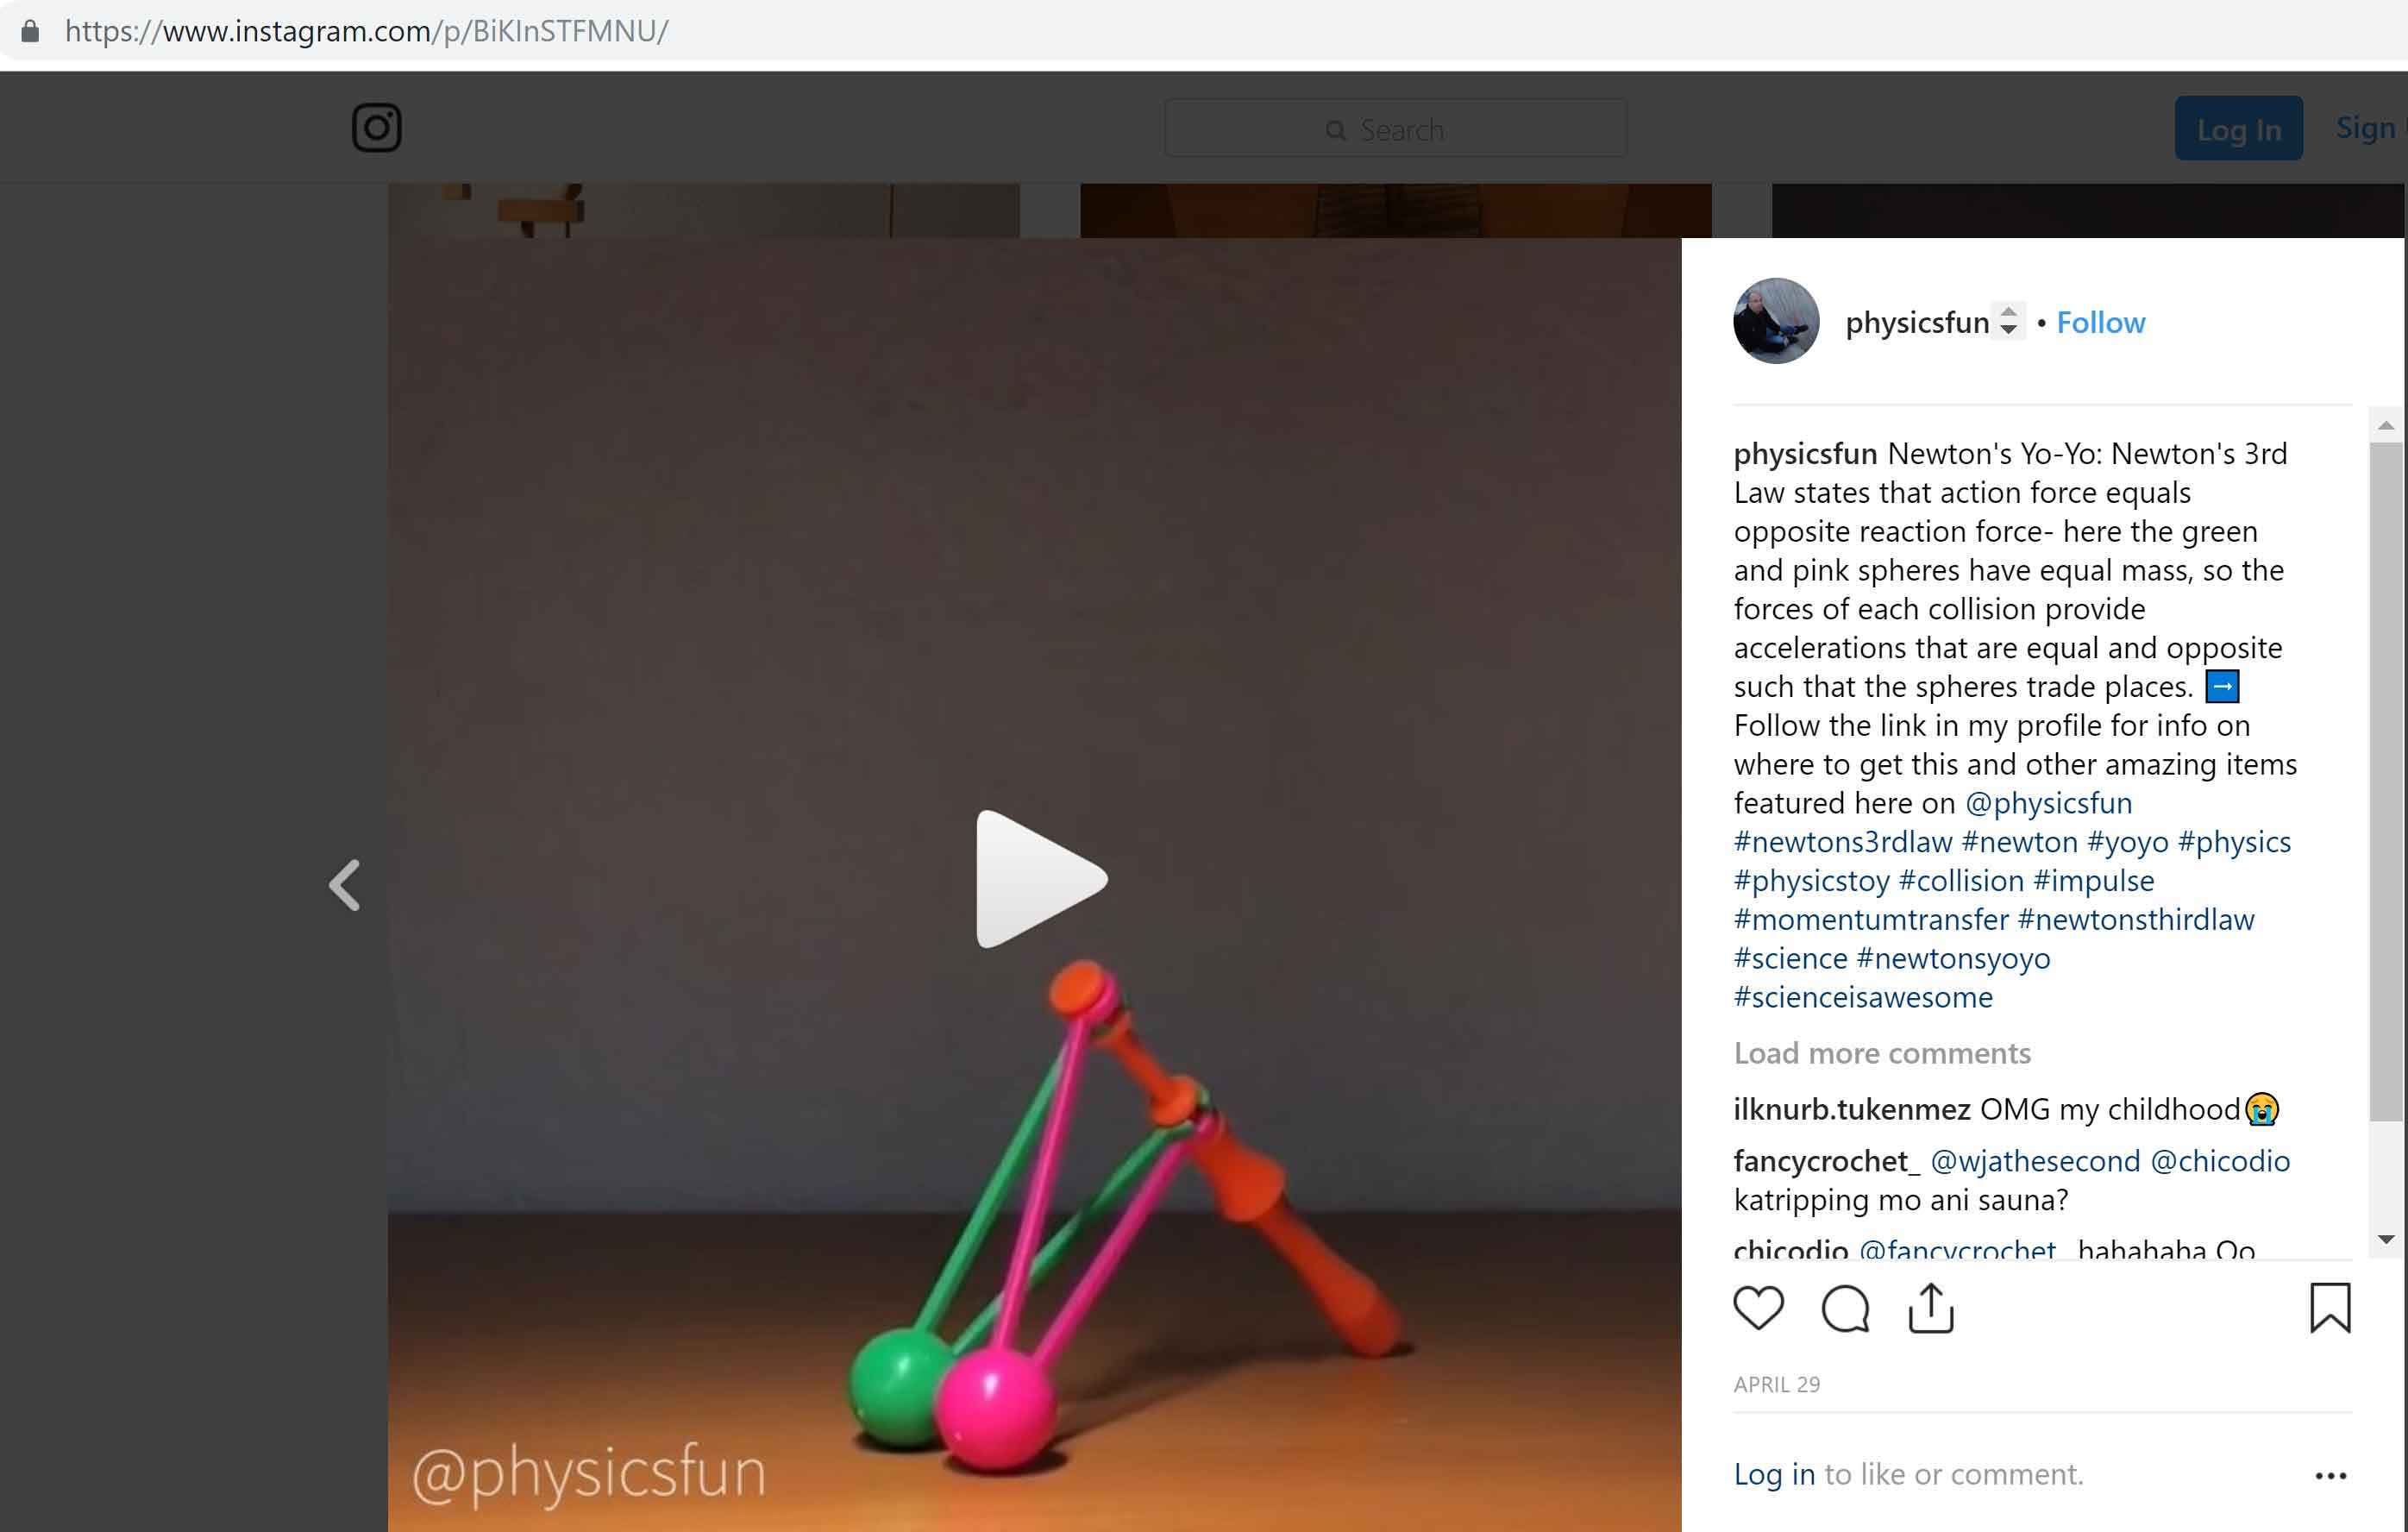
8. INSPIRATIONS
DESIGN STATEMENT
The goal of this group project was to create an abstract object that would employ the use of a motor in such a way that it would make some sort of sound. Various materials had to be used to build the object.
Kristen and
VIDEO OF THE WORKING MODEL
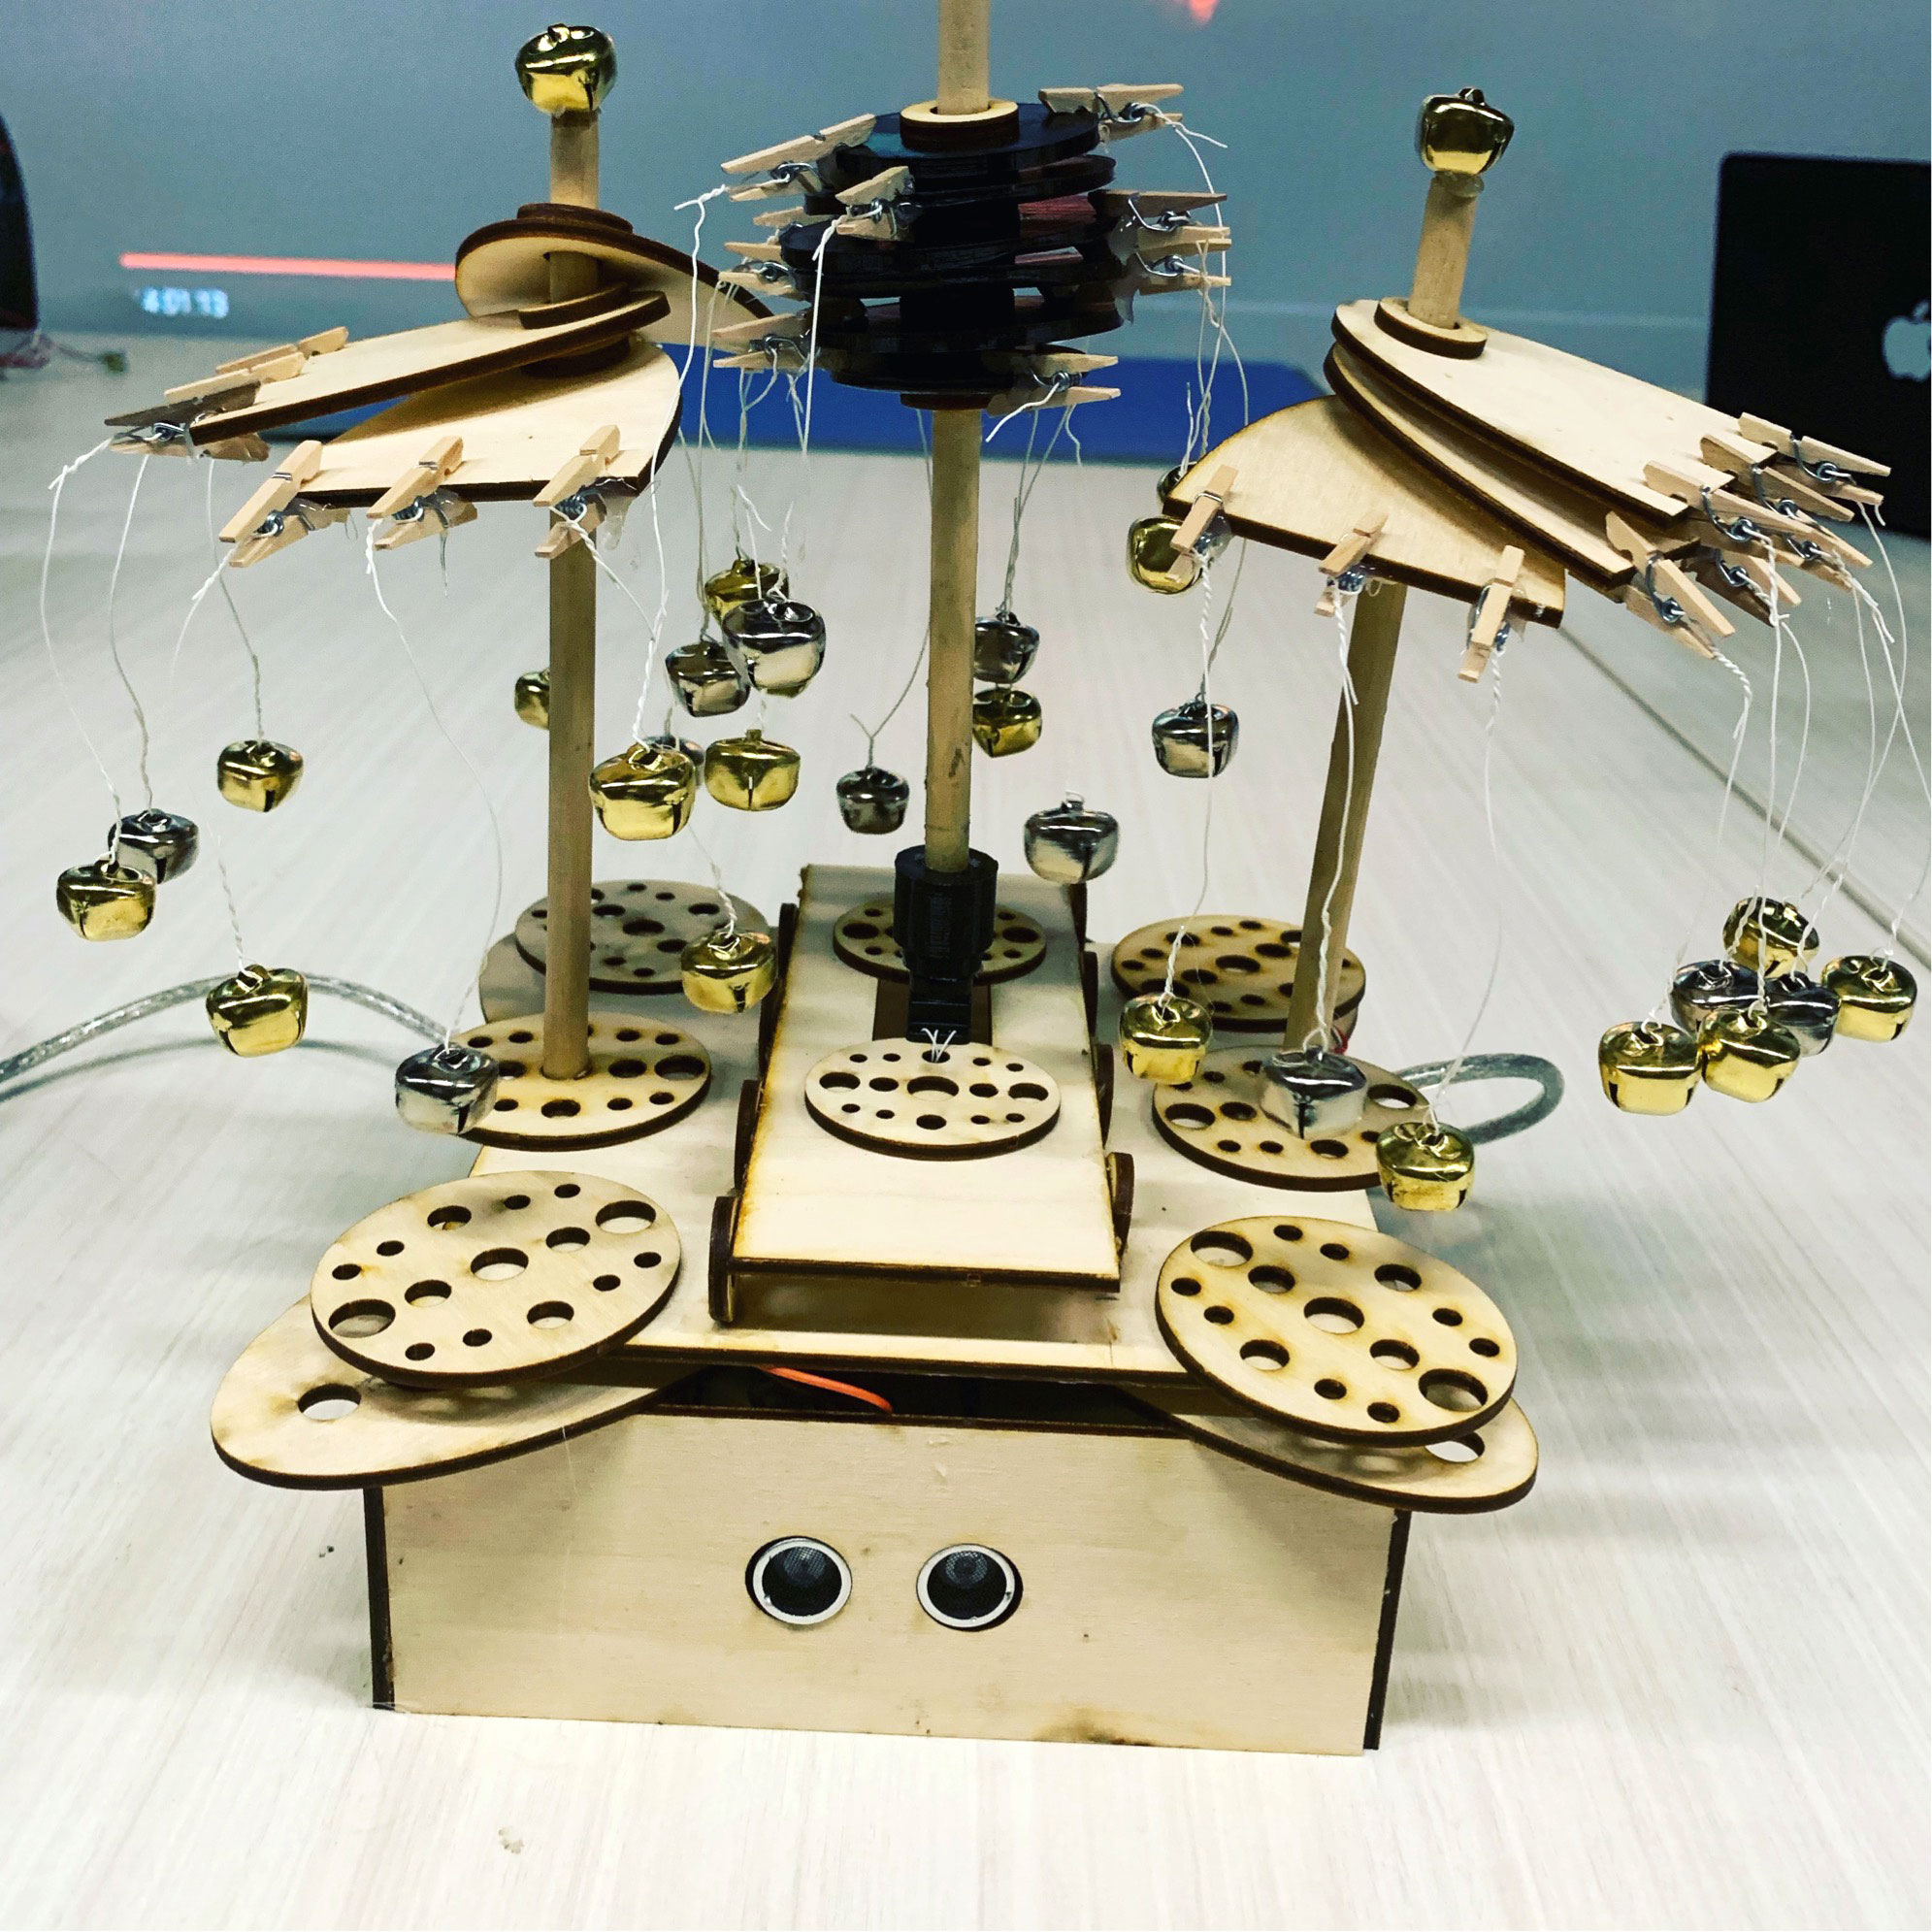
Our final design is showcased on video, showing an ultrasonic sensor and a servo motor at work. The sensor is placed at the bottom of the device and activates the servo motor if there is something in front of it.
CIRCUIT
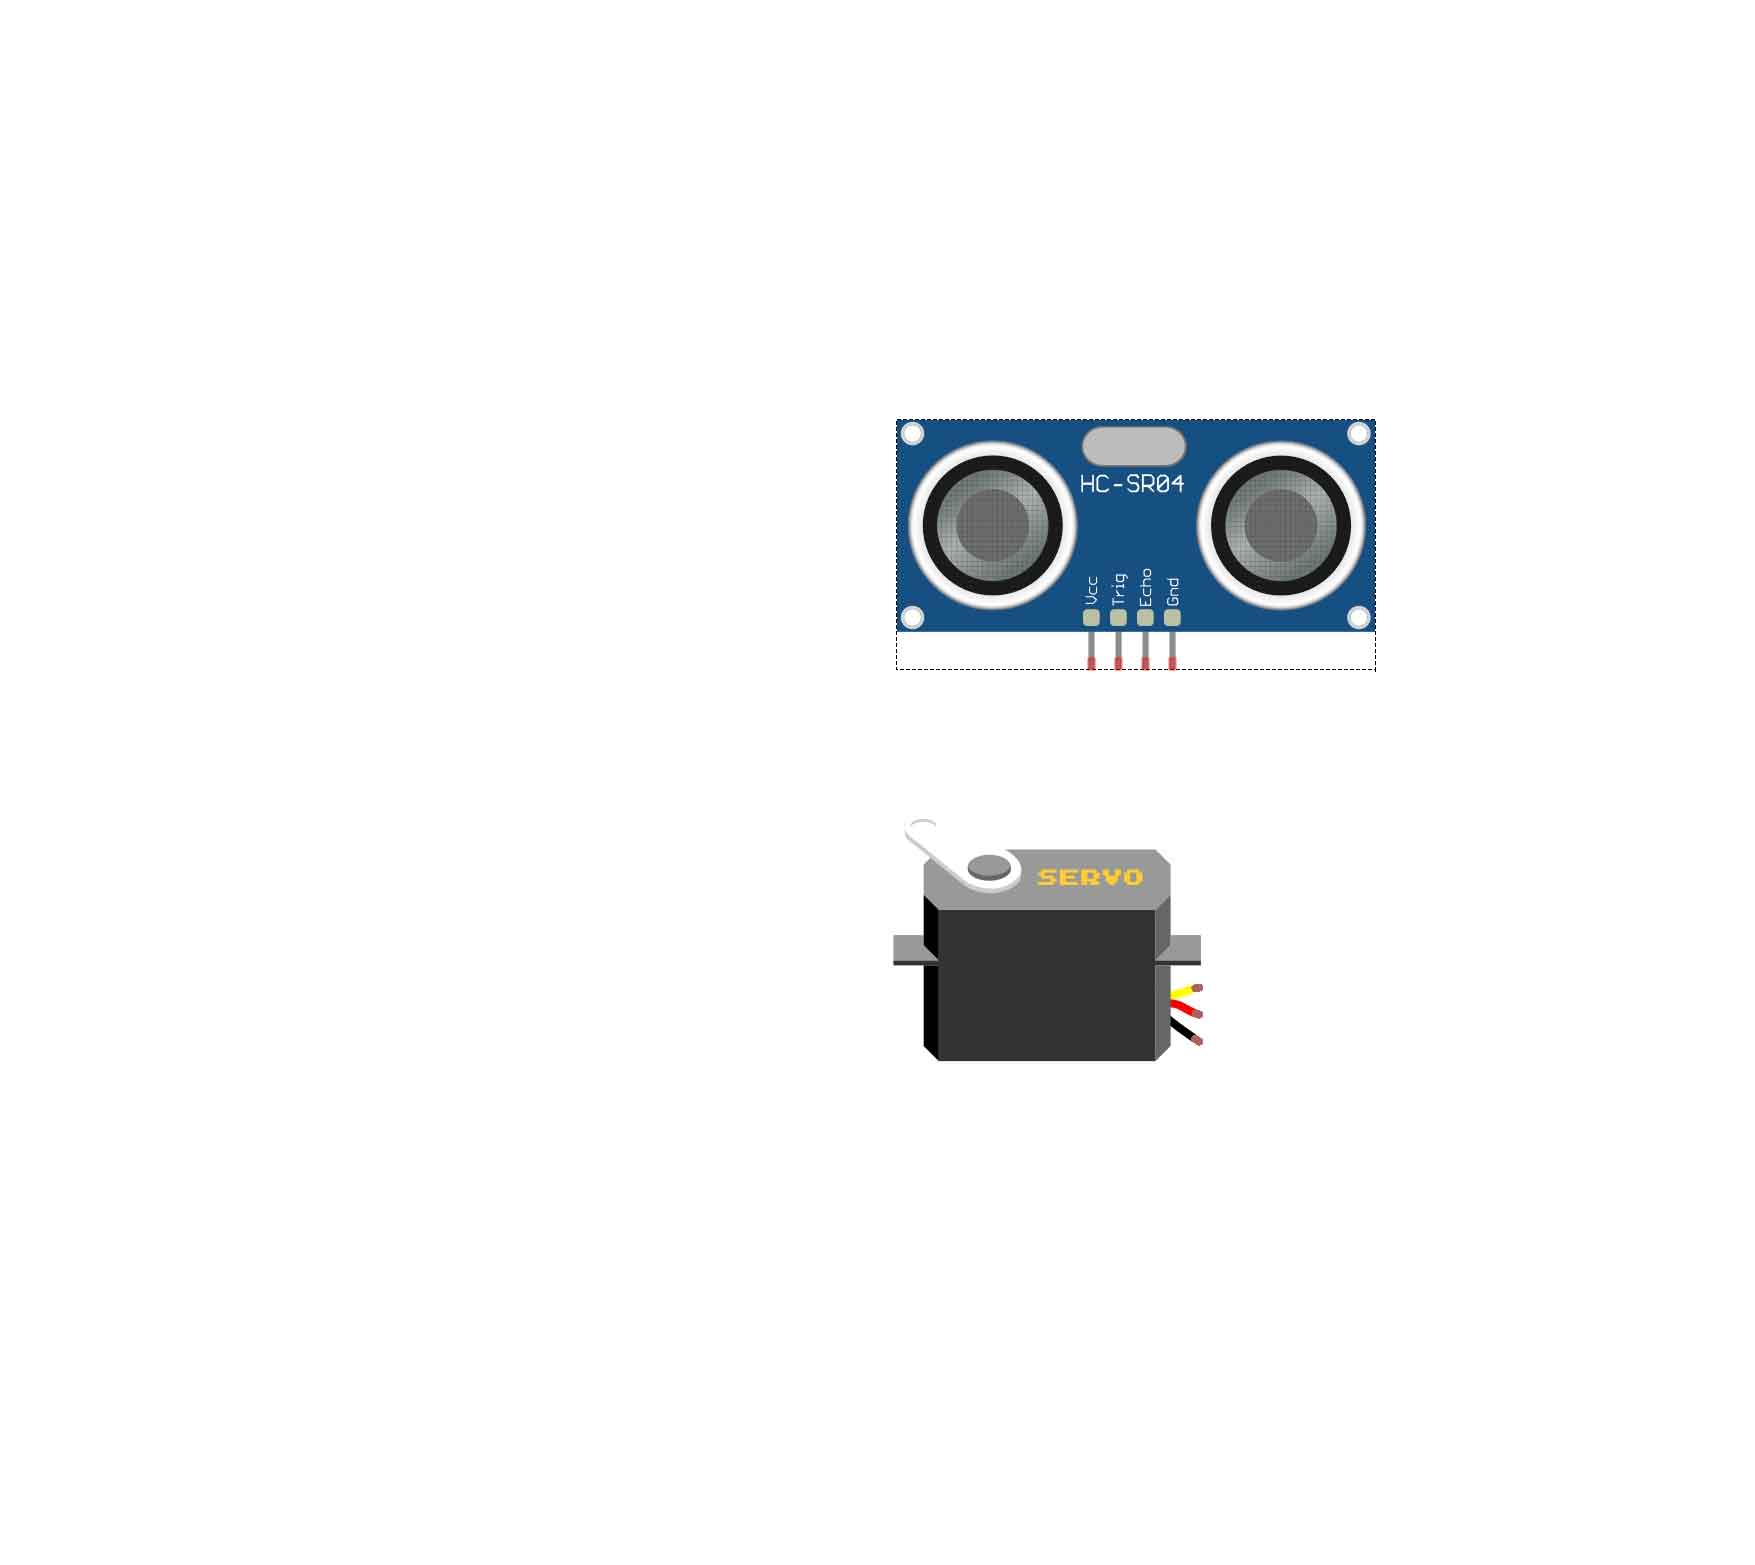
COMPONENTS
To build the device, we used a servo motor and an ultrasonic distance sensor.
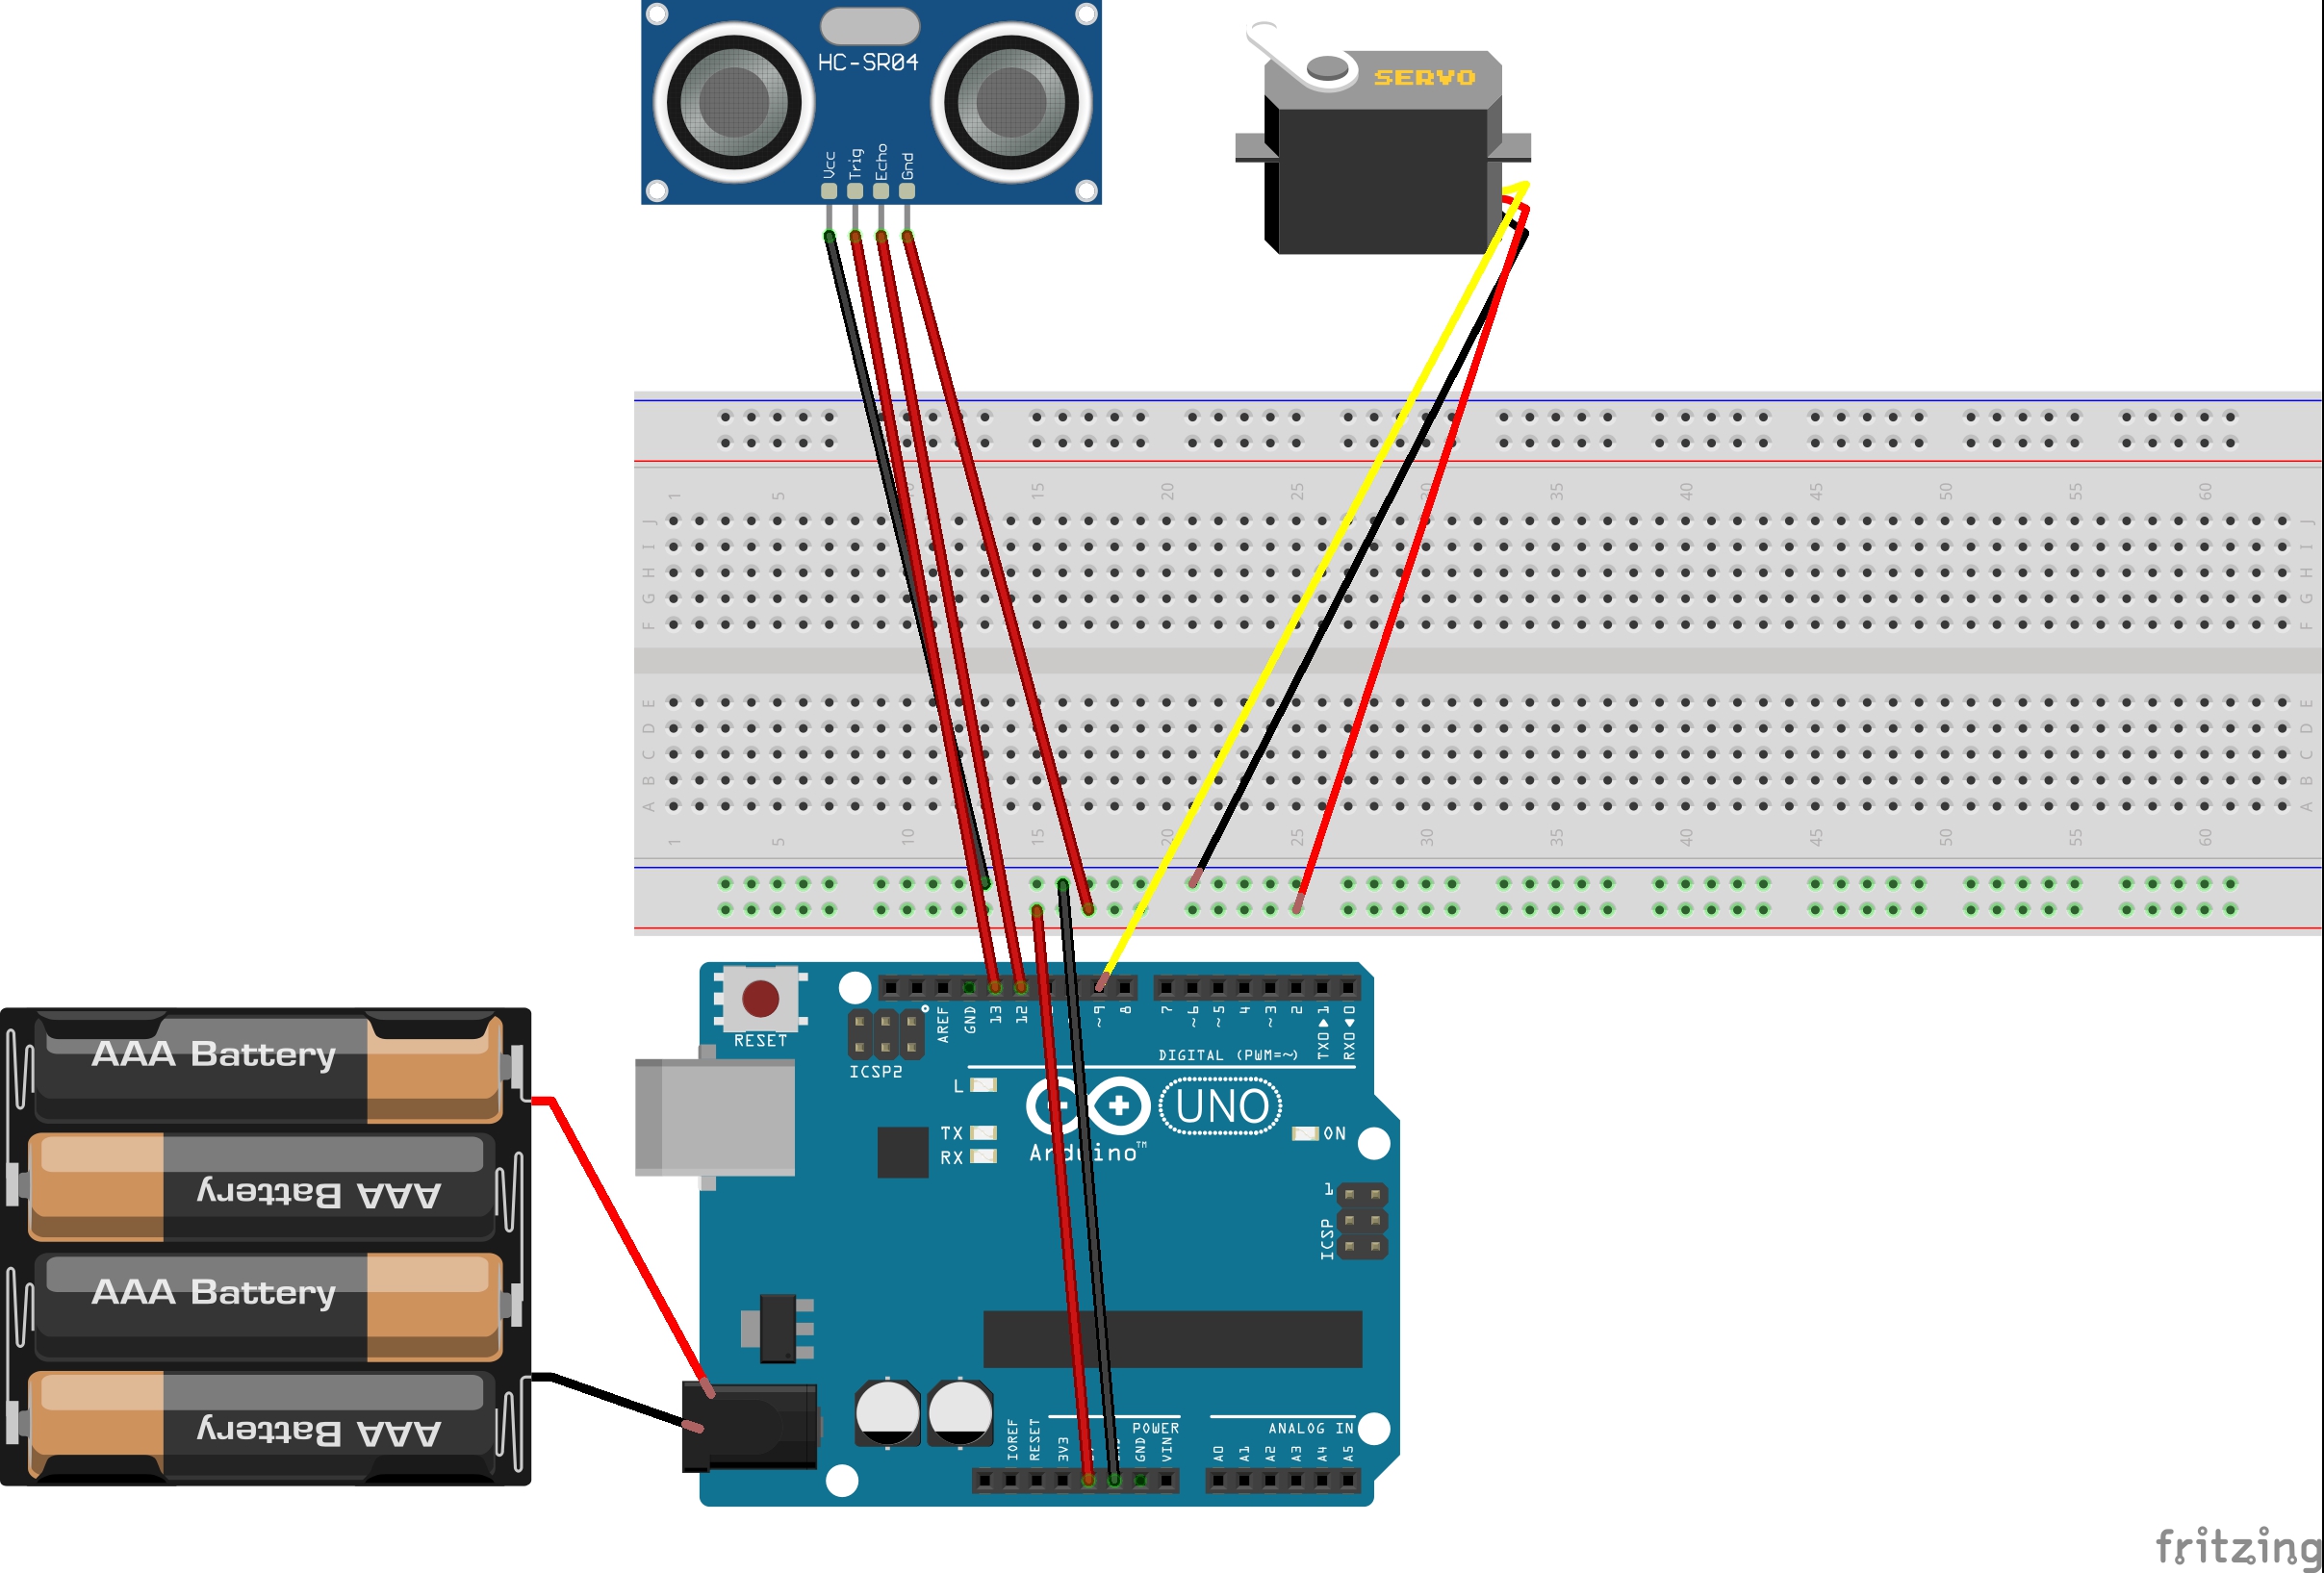
FRITZING DIAGRAM
Here is how the circuit has been connected.
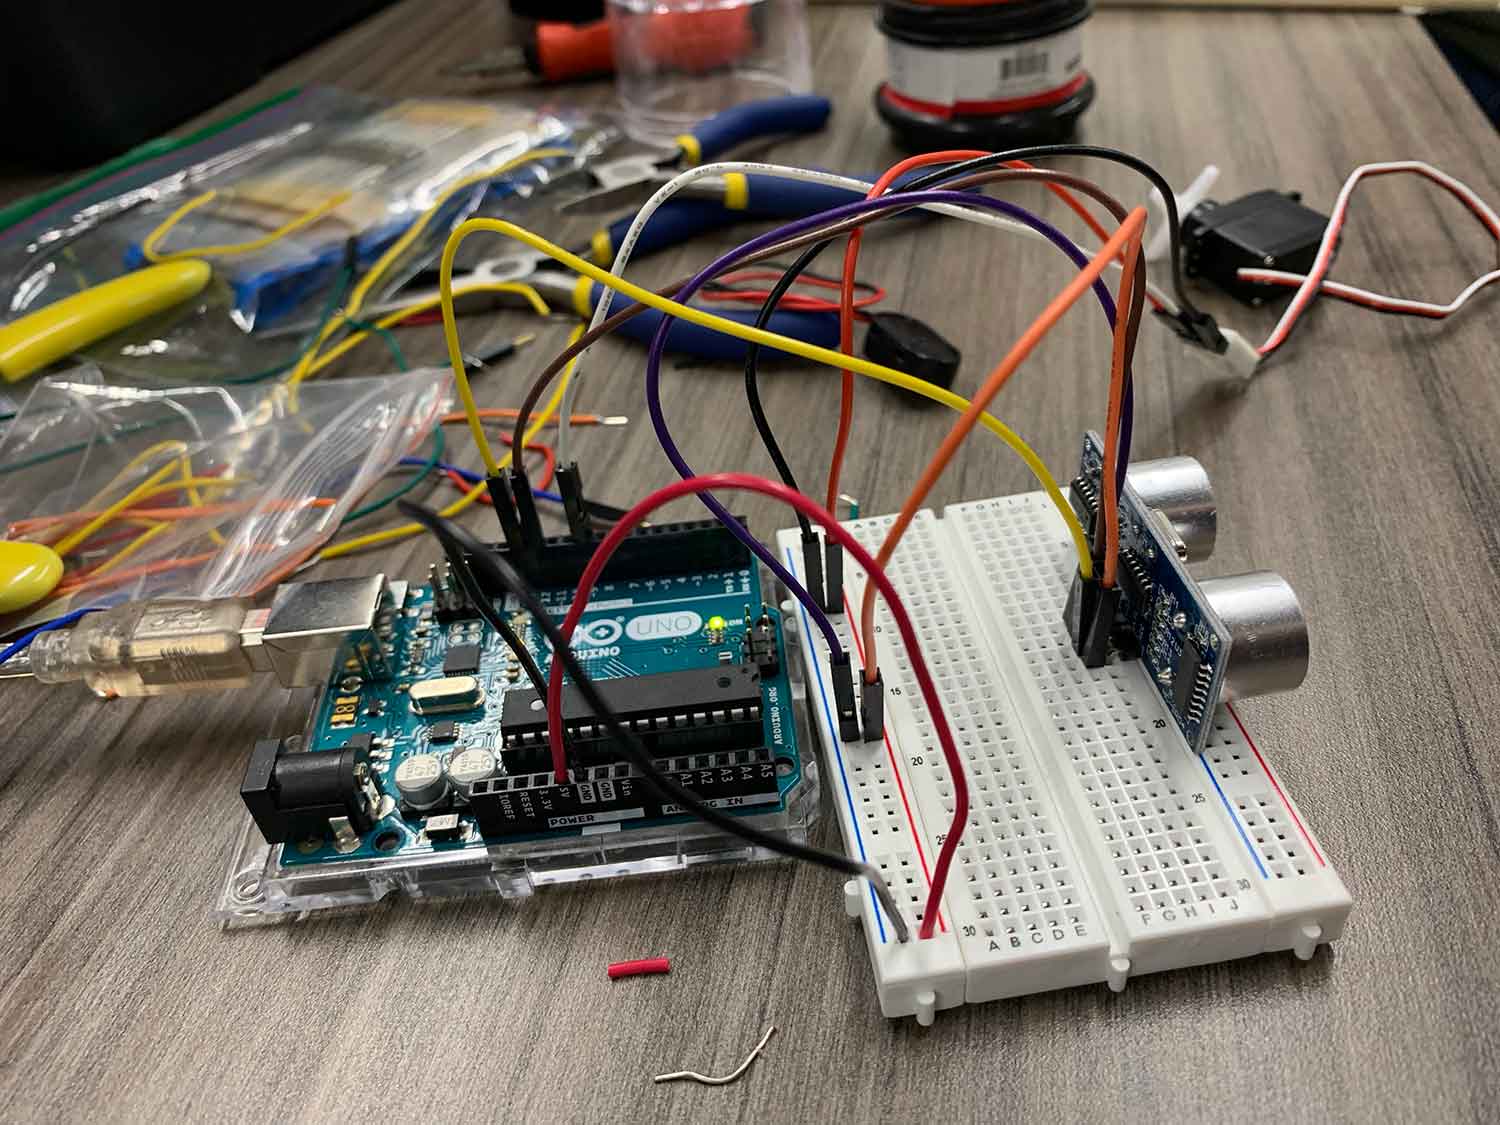
CIRCUIT
The sensor and the motor has been connected to Arduino through a breadboard. All cables are wired properly, and the code has been uploaded.
CODE
To make things work, I found diagrams and codes for our components and connected the codes together:
#include <Servo.h>
#define trigPin 13
#define echoPin 12
Servo
// twelve servo objects can be created on most boards
int pos = 0; // variable to store the servo position
void setup() {
Serial.begin (9600);
pinMode(trigPin, OUTPUT);
pinMode(echoPin, INPUT);
myservo.attach(9); // attaches the servo on pin 9 to the servo object
// put your setup code here, to run once:
}
void loop() {
long duration, distance;
digitalWrite(trigPin, LOW); // Added this line
delayMicroseconds(2); // Added this line
digitalWrite(trigPin, HIGH);
// delayMicroseconds(1000); – Removed this line
delayMicroseconds(10); // Added this line
digitalWrite(trigPin, LOW);
duration = pulseIn(echoPin, HIGH);
distance = (duration/2) / 29.1;
if (distance < 5 ) {
for (pos = 0; pos <= 180; pos += 1) { // goes from 0 degrees to 180 degrees
// in steps of 1 degree
myservo.write(pos); // tell servo to go to position in variable ‘pos’
delay(5); // waits 15ms for the servo to reach the position
}
}
if (distance >= 200 || distance <= 0){
Serial.println(“Out of range”);
}
else {
Serial.print(distance);
Serial.println(” cm”);
}
delay(250);
// put your main code here, to run repeatedly:
}
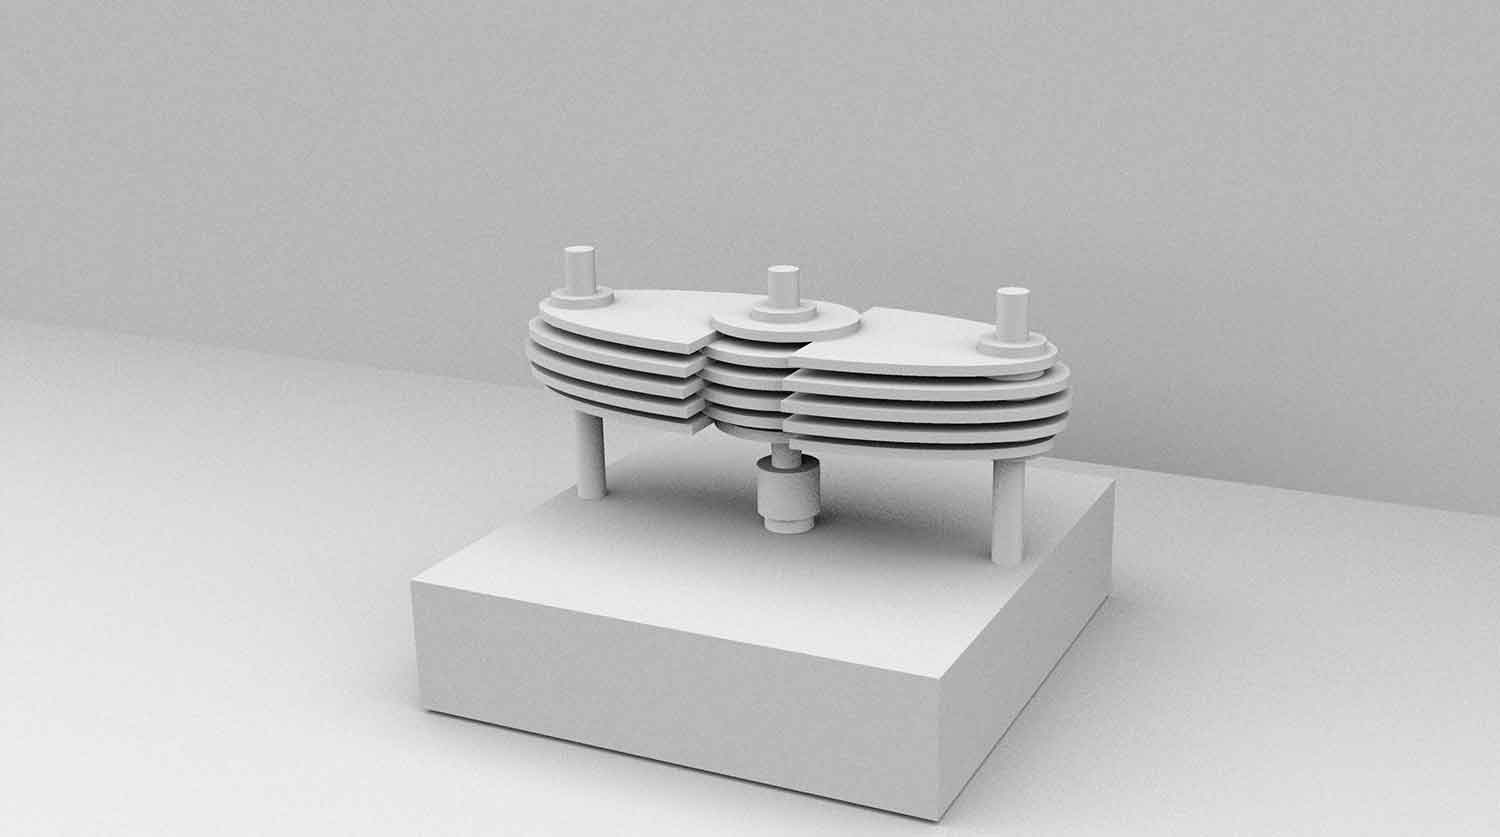
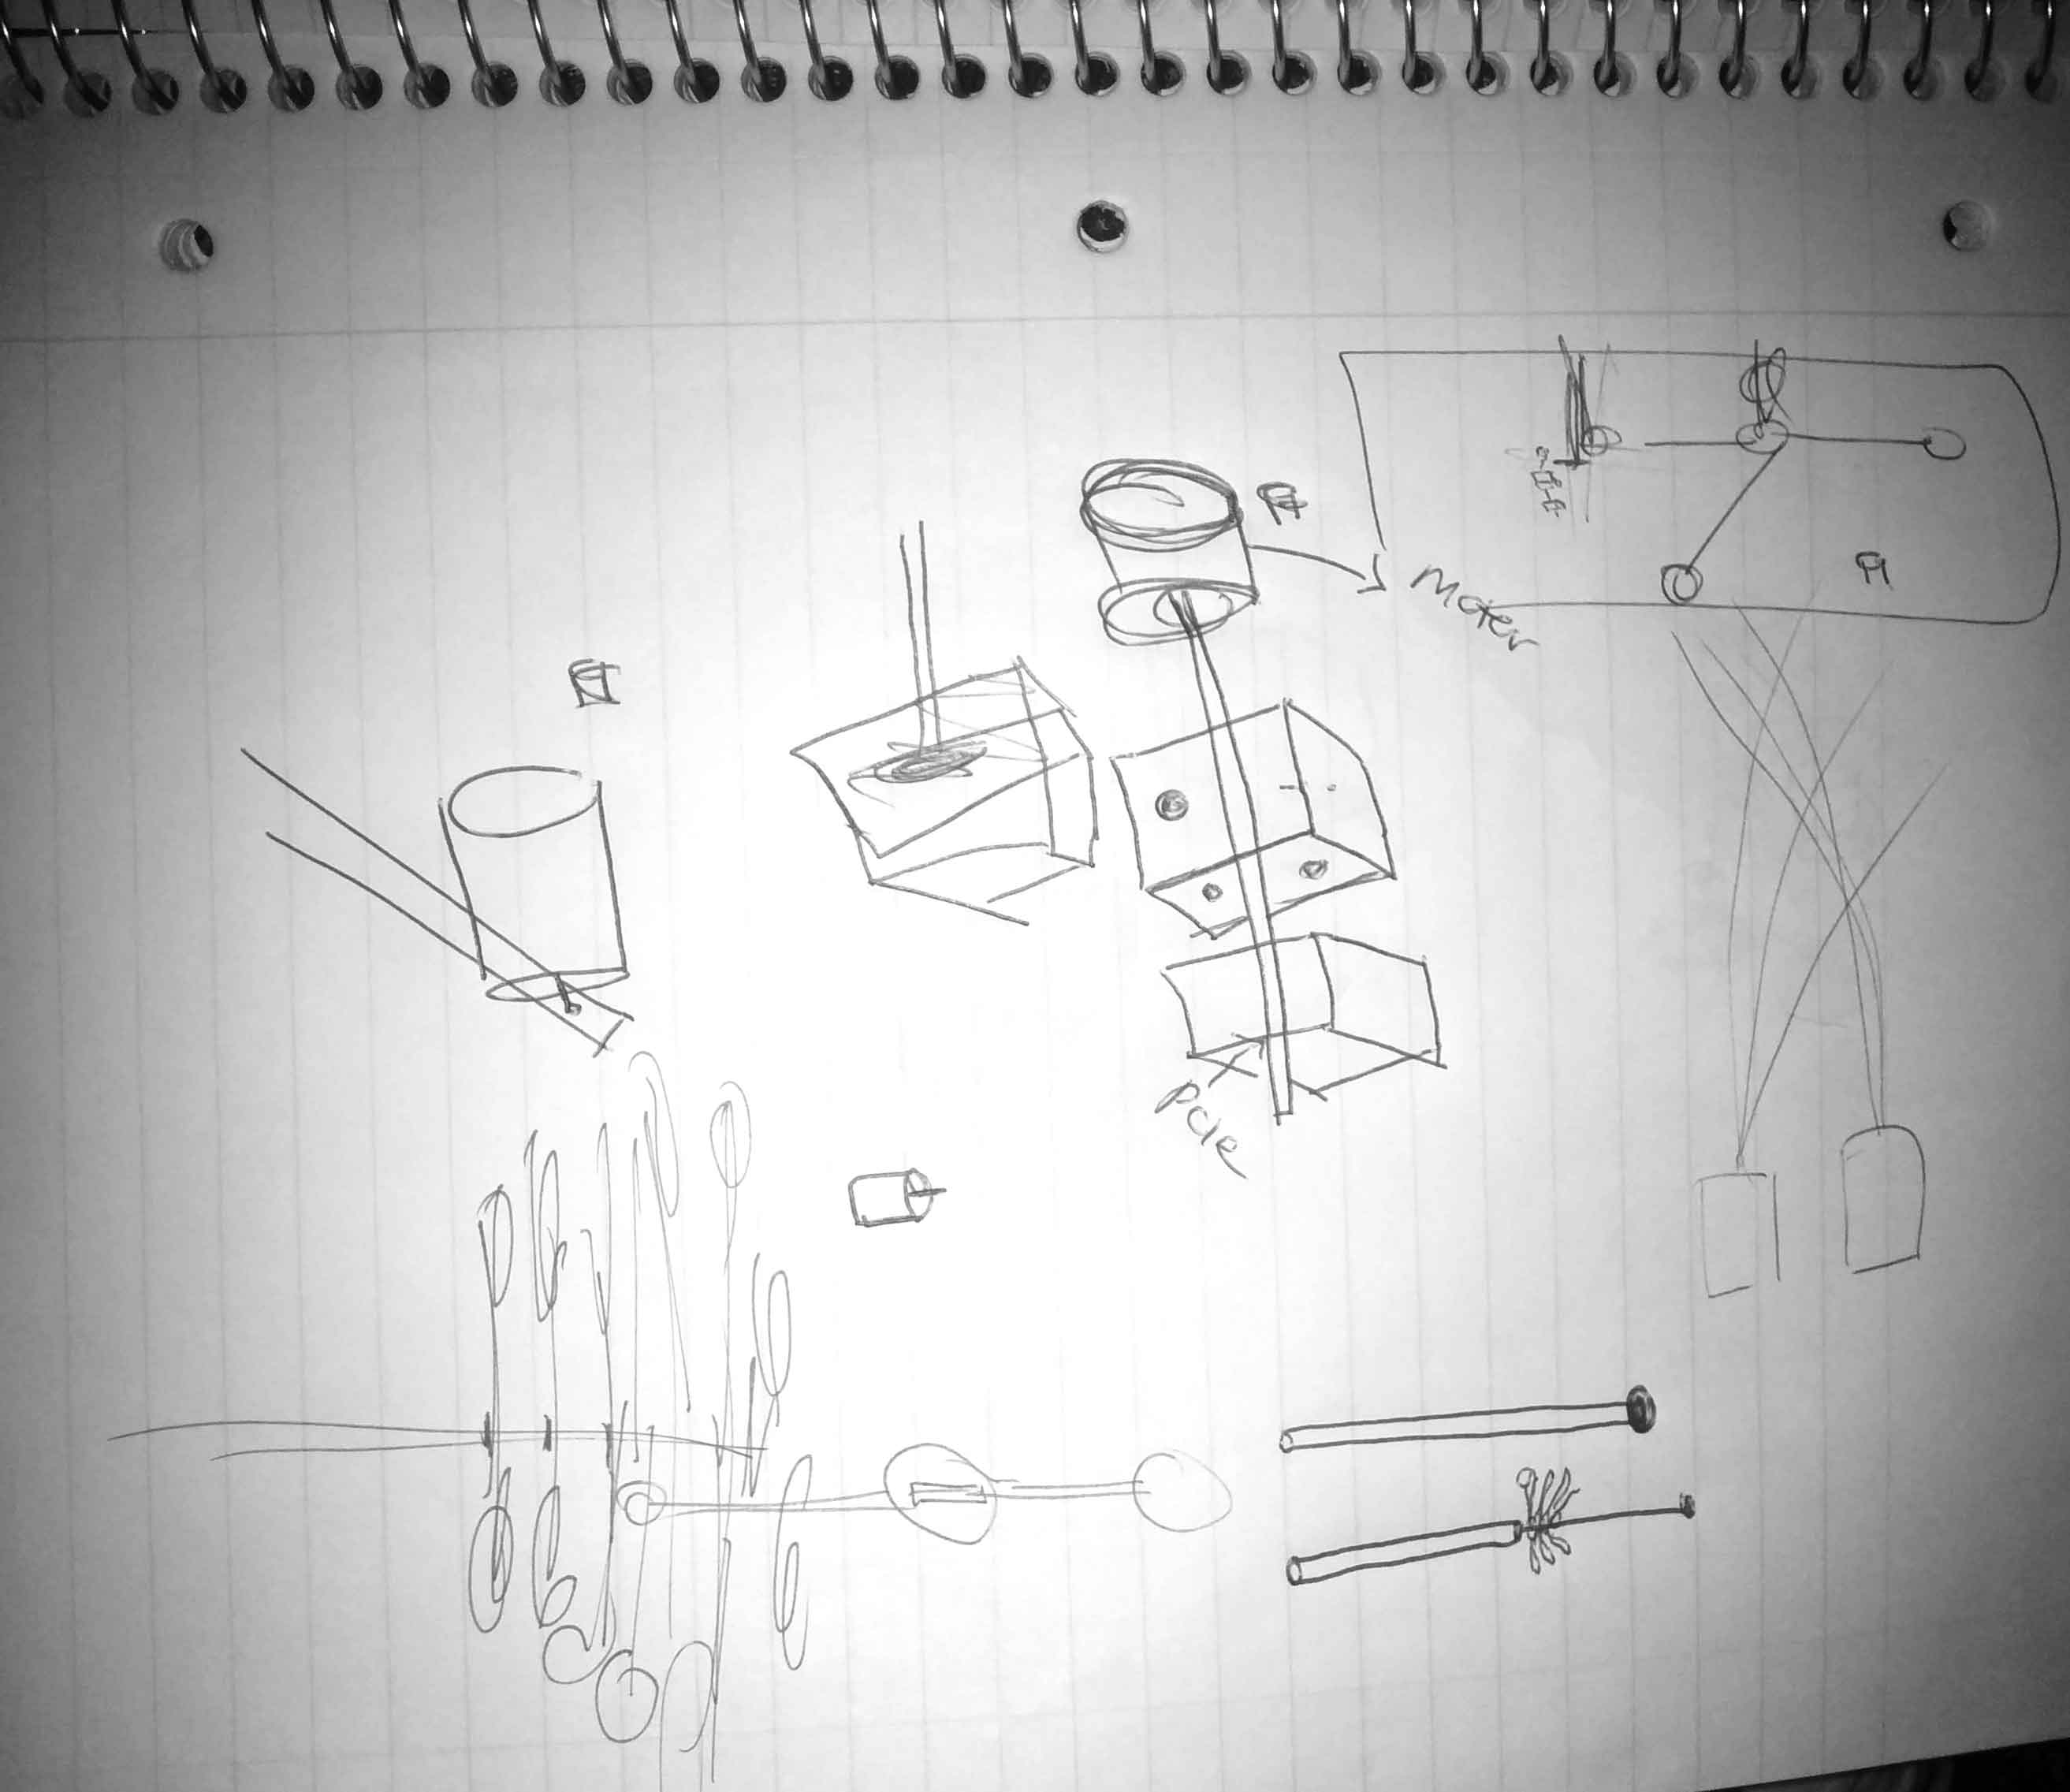
PROCESS WORK
The model designed in Rhino features a slightly different design from the final look.
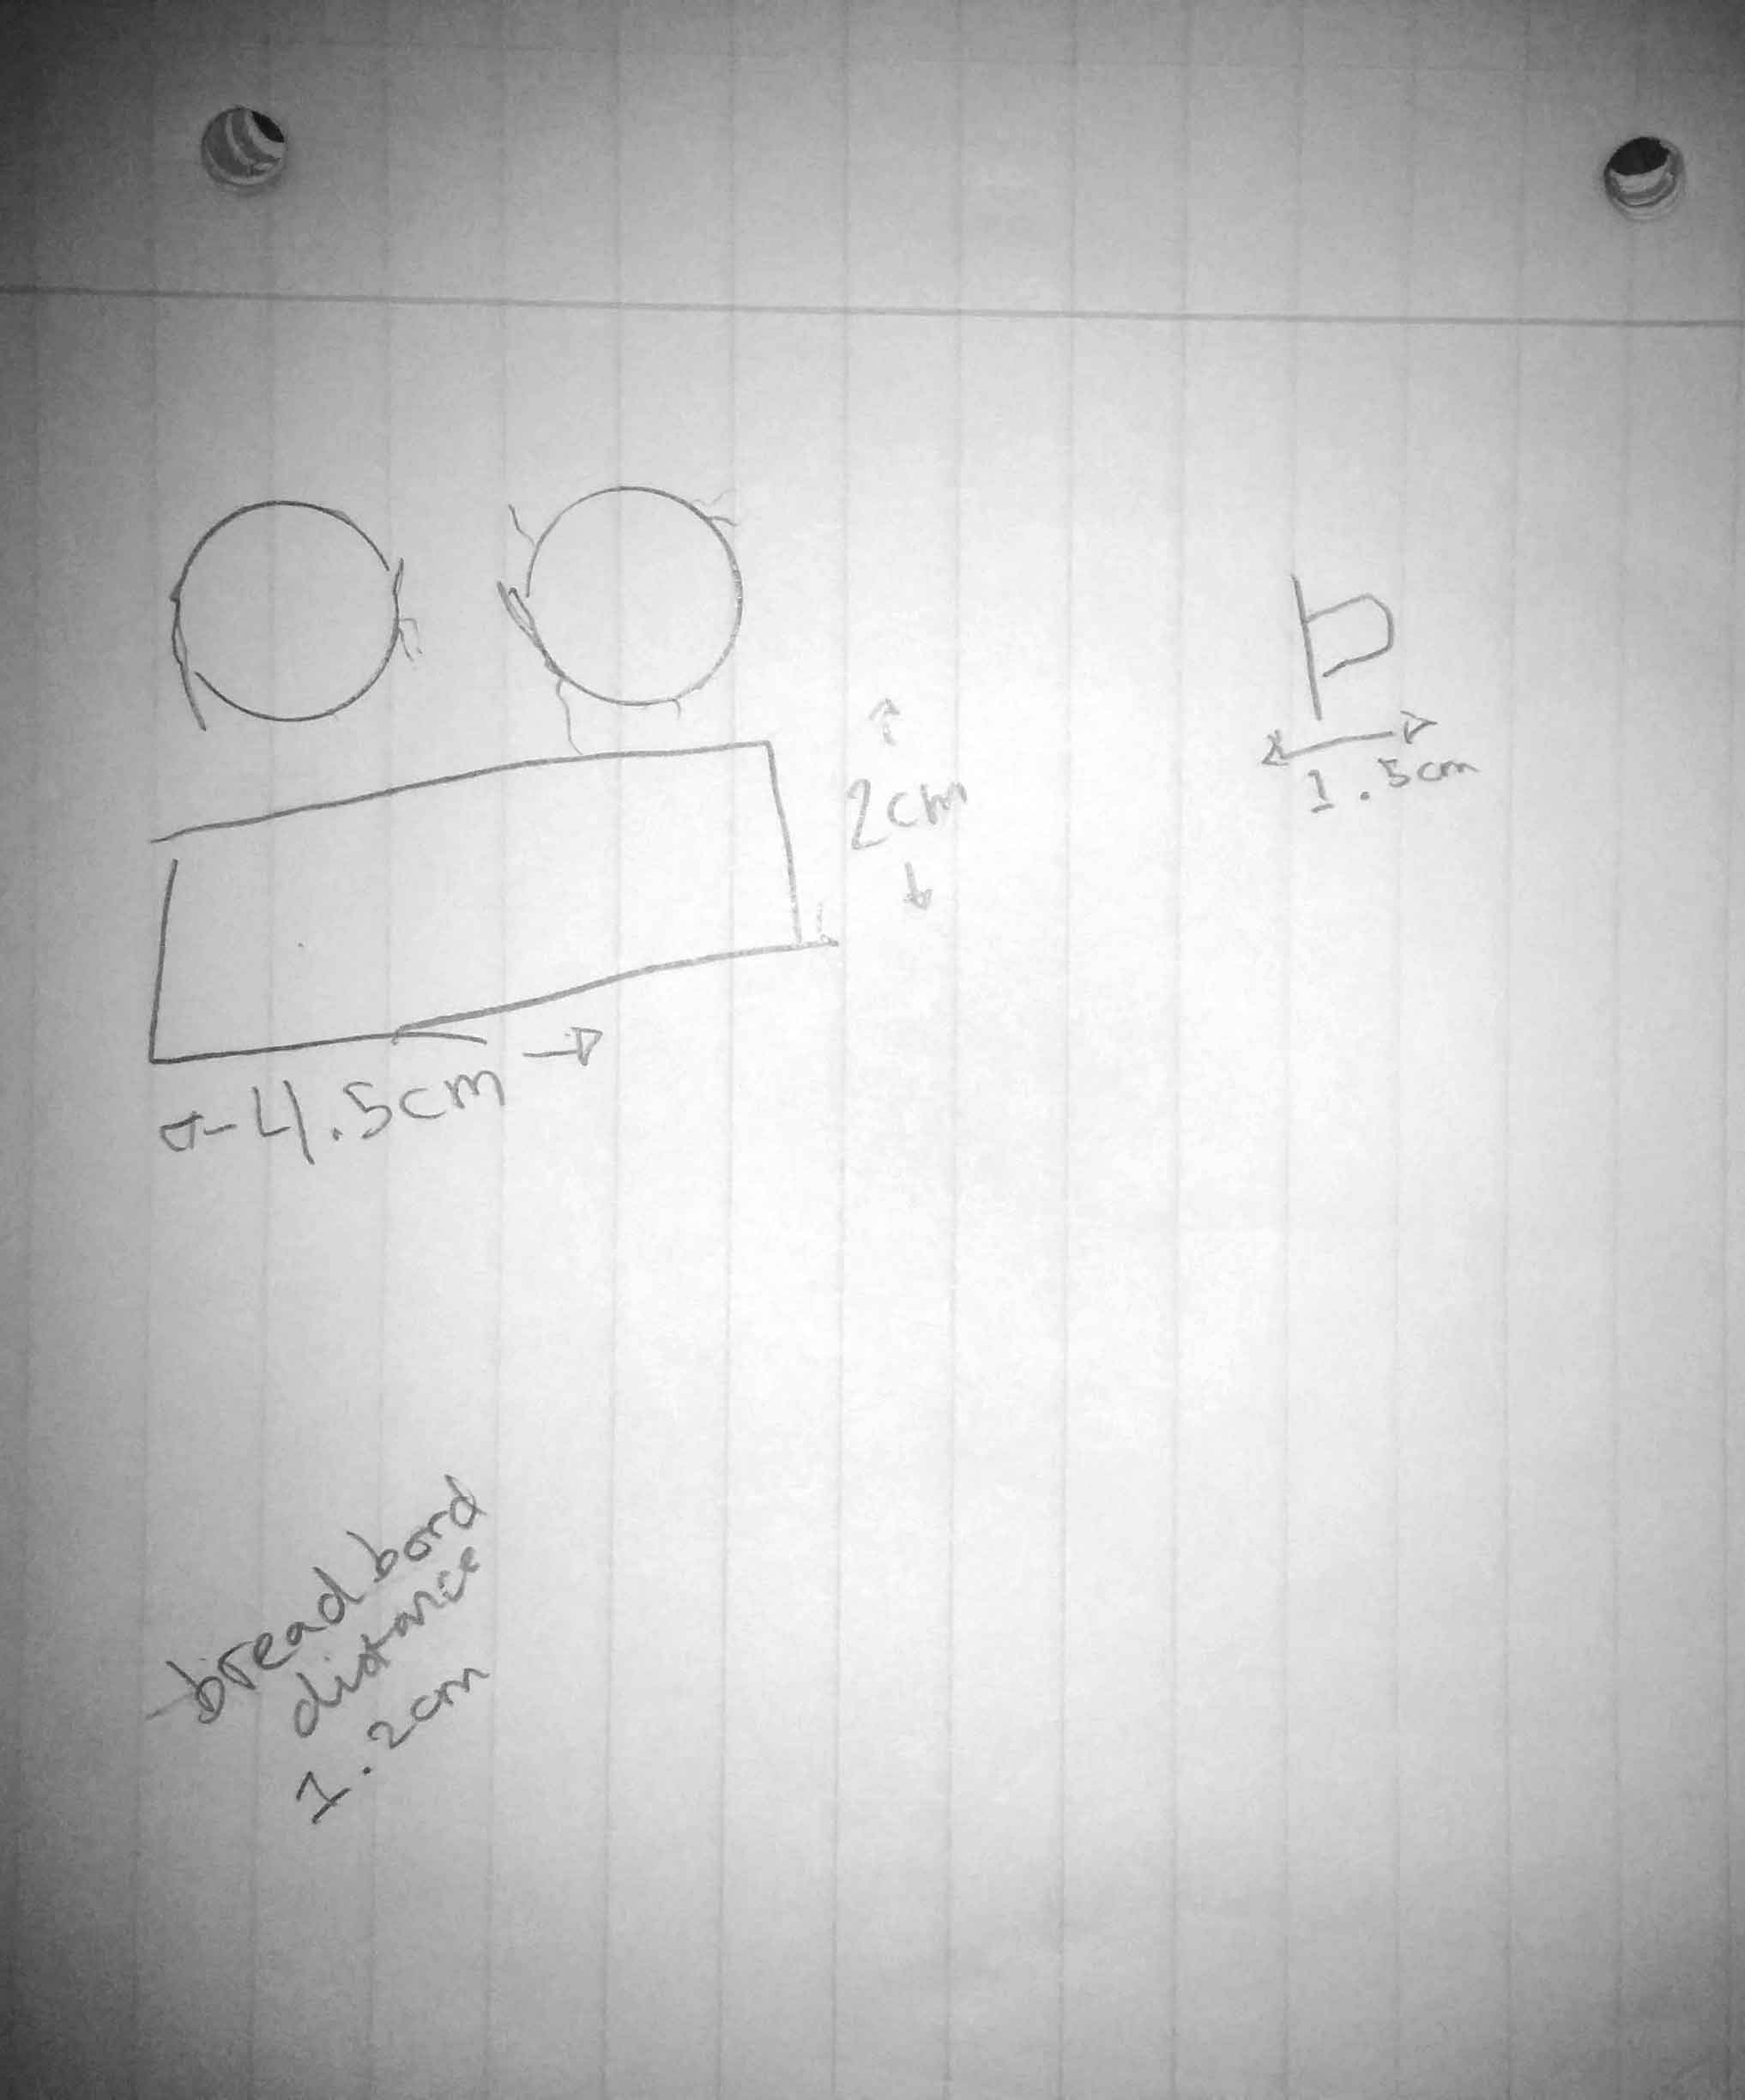
Laser cutting parts.
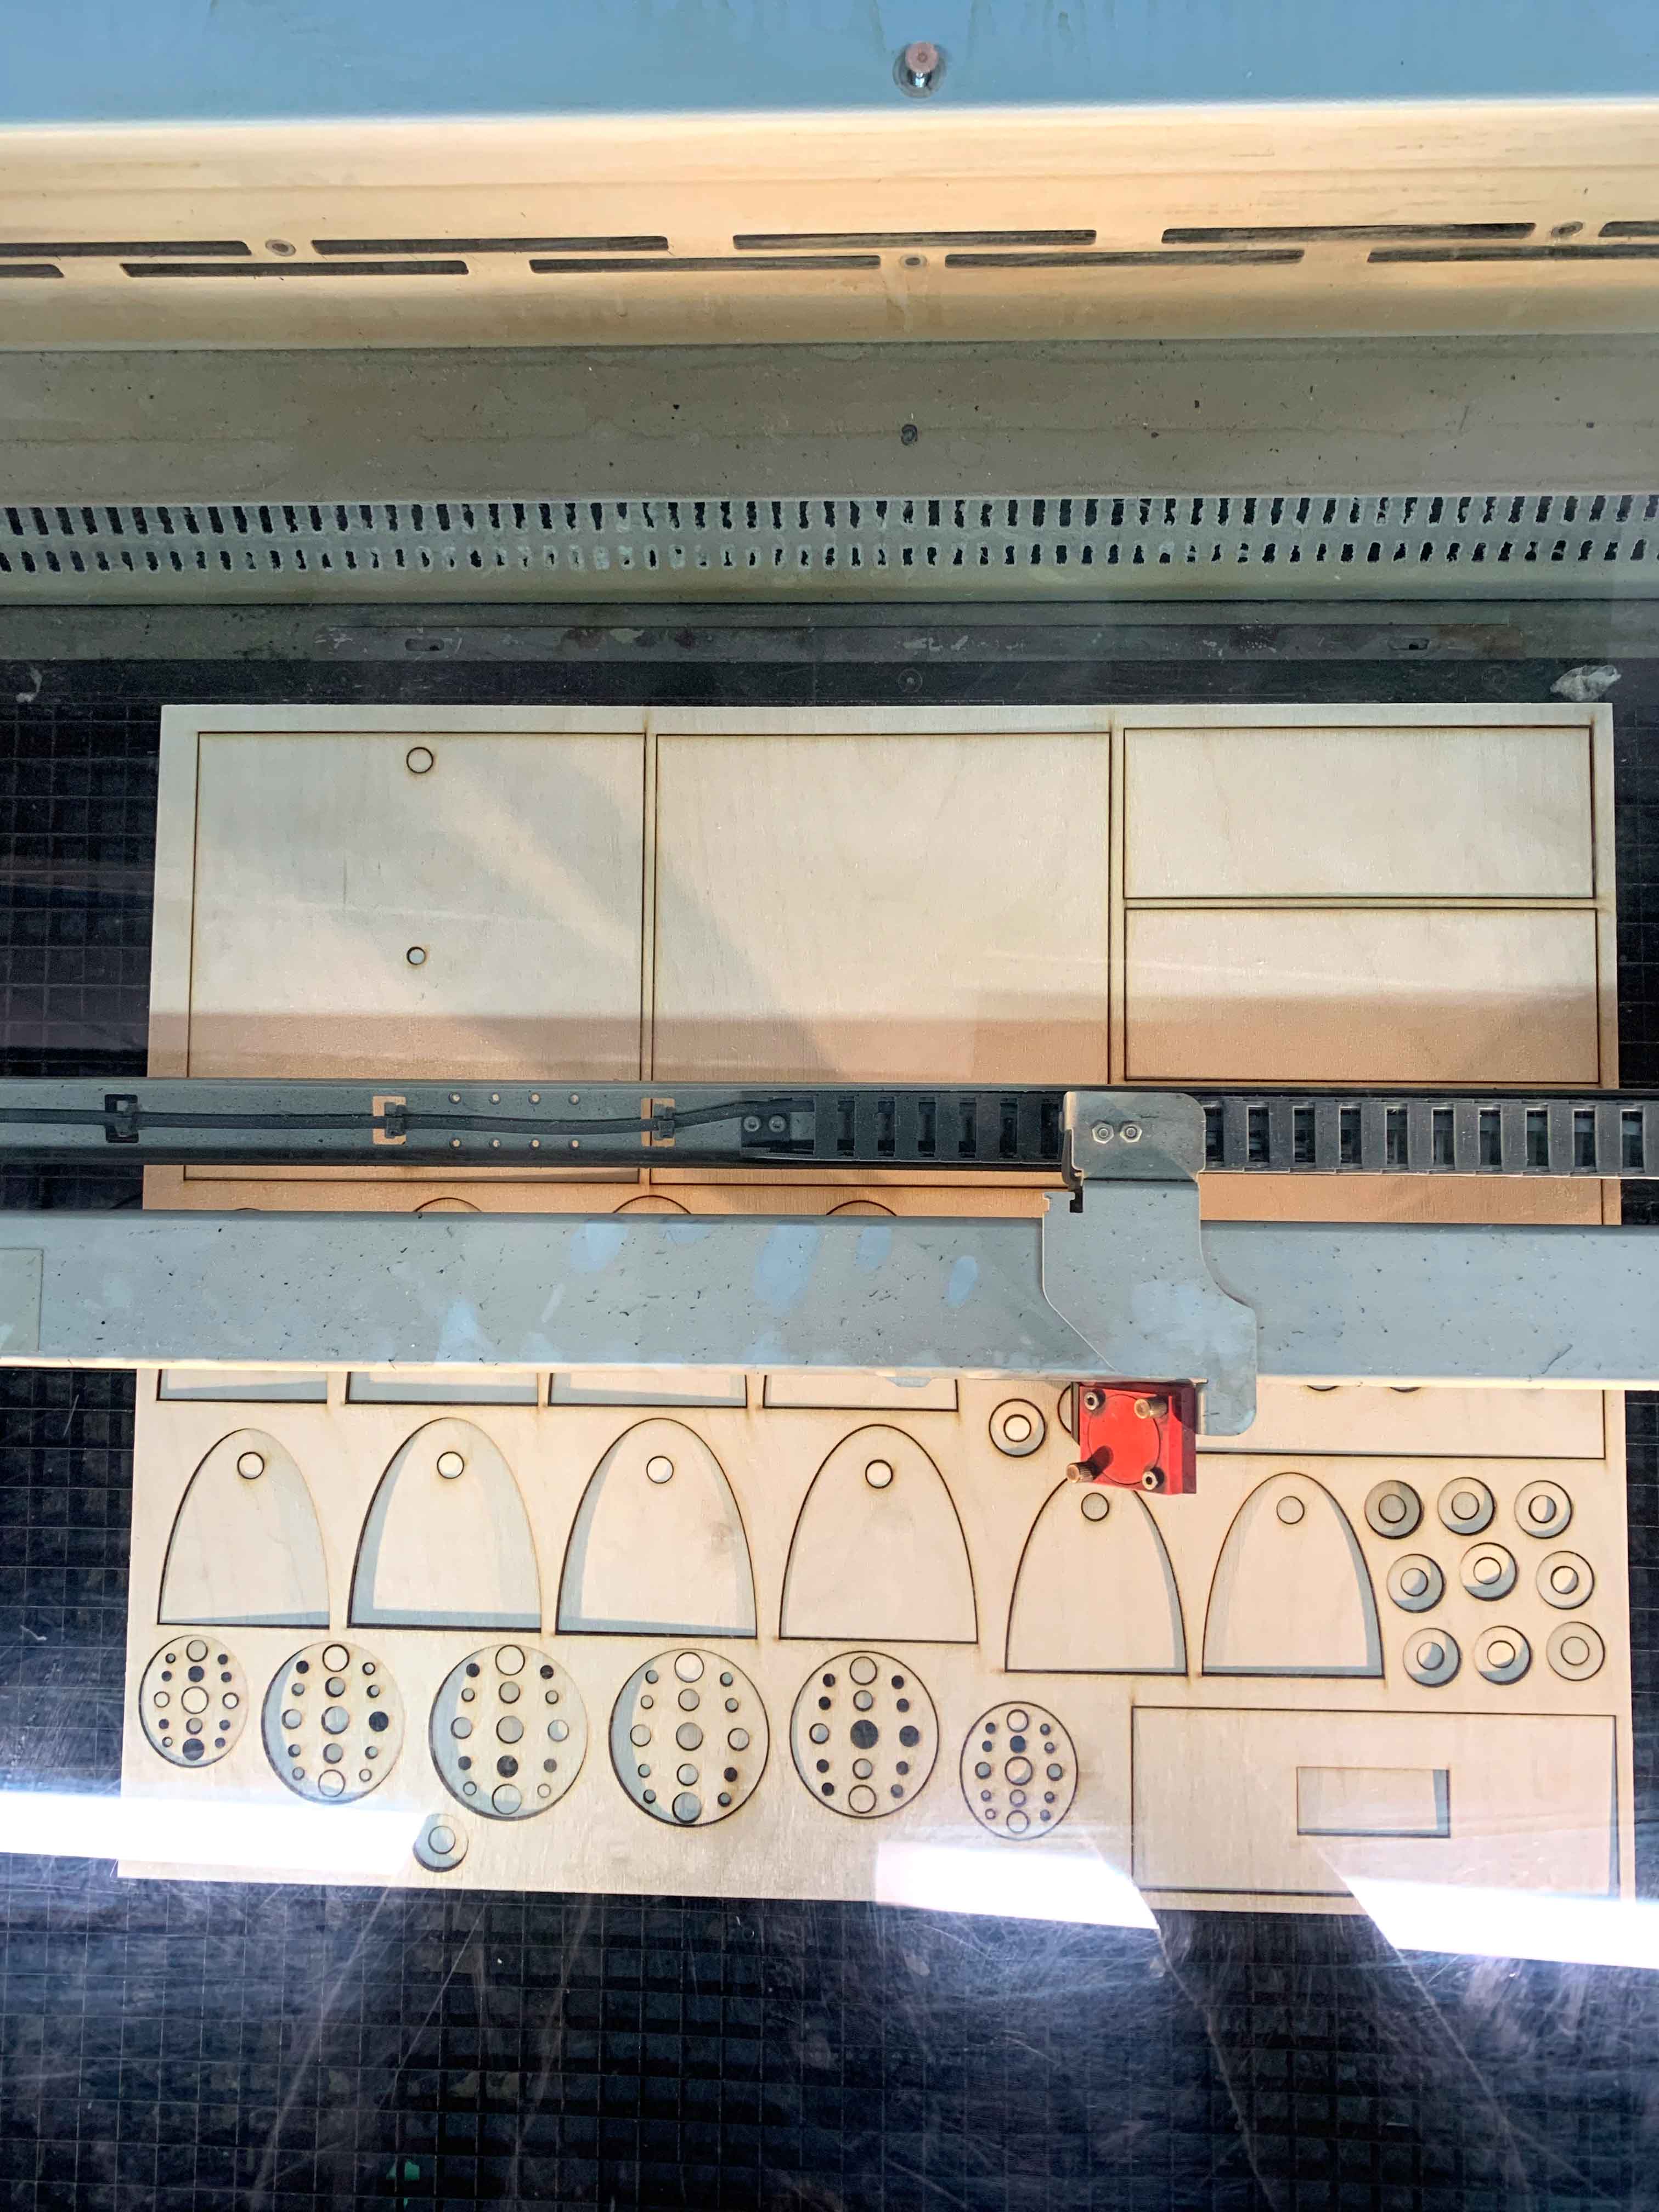
Since the project was challenging we laser cut two sets of wooden materials.
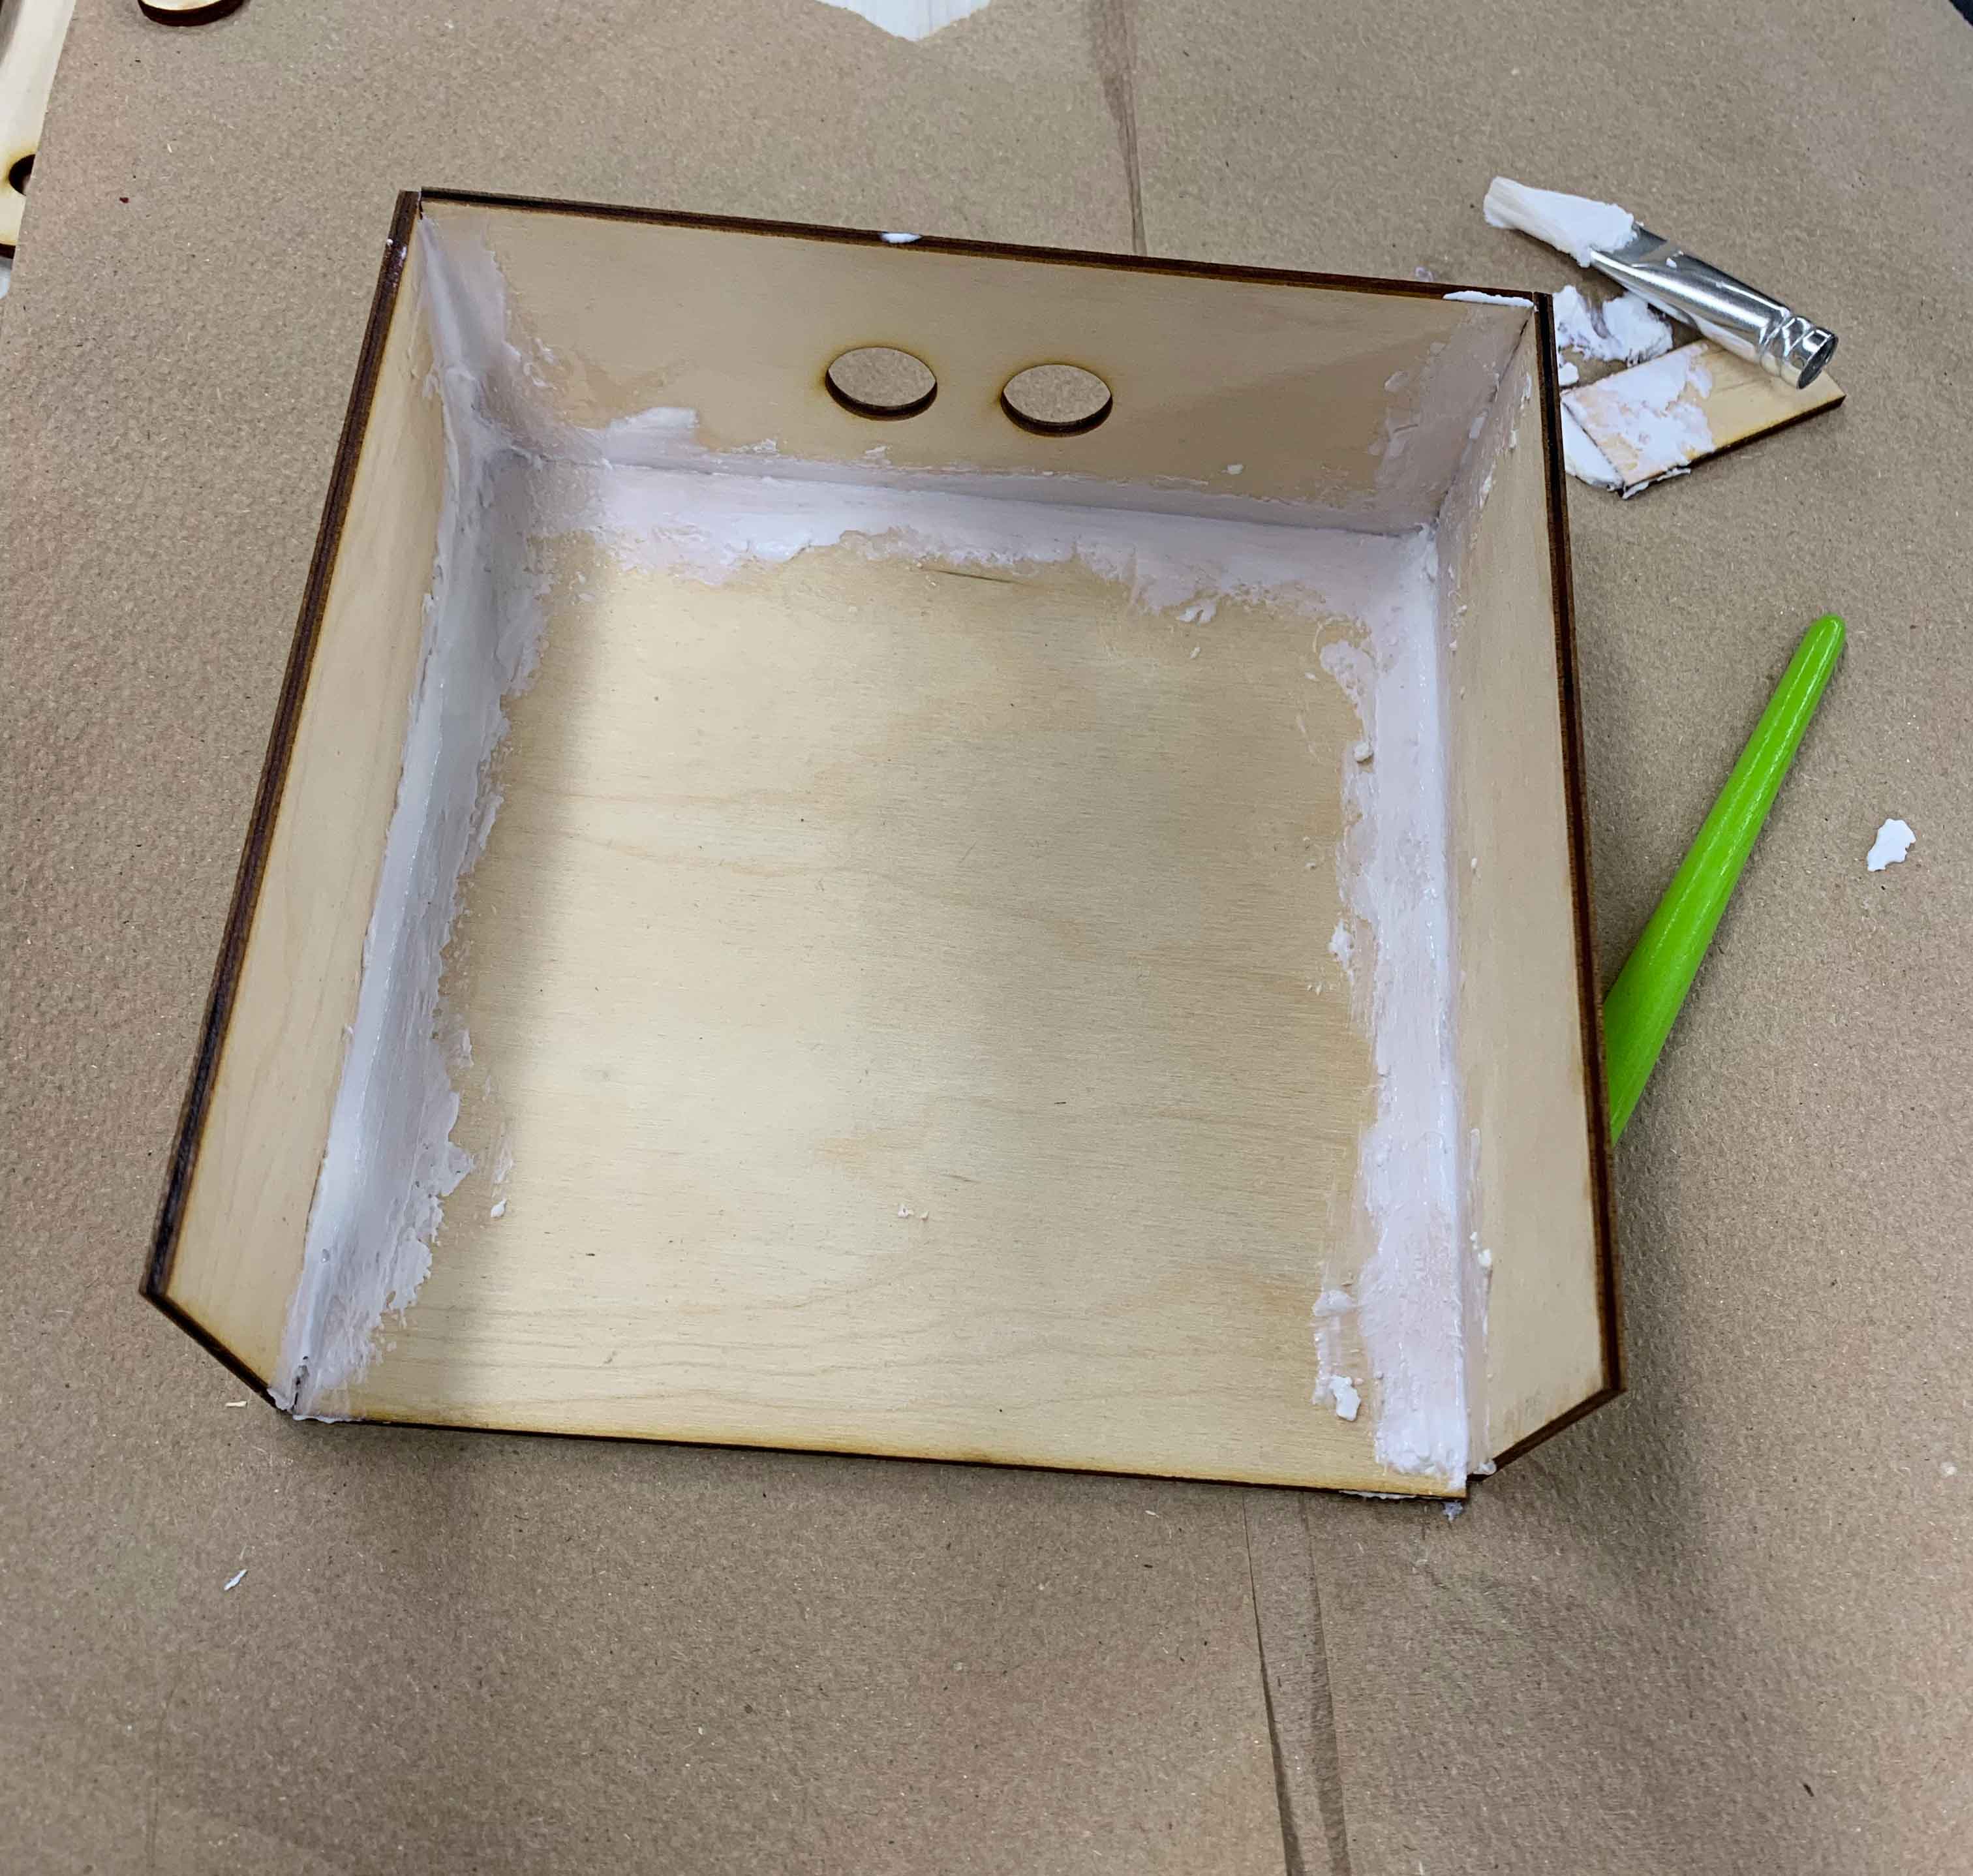
To glue the pieces together, we used silicon glue. We chose this type of glue because when the glue dries, it appears transparent, while also leaving minimal blotches or marks.
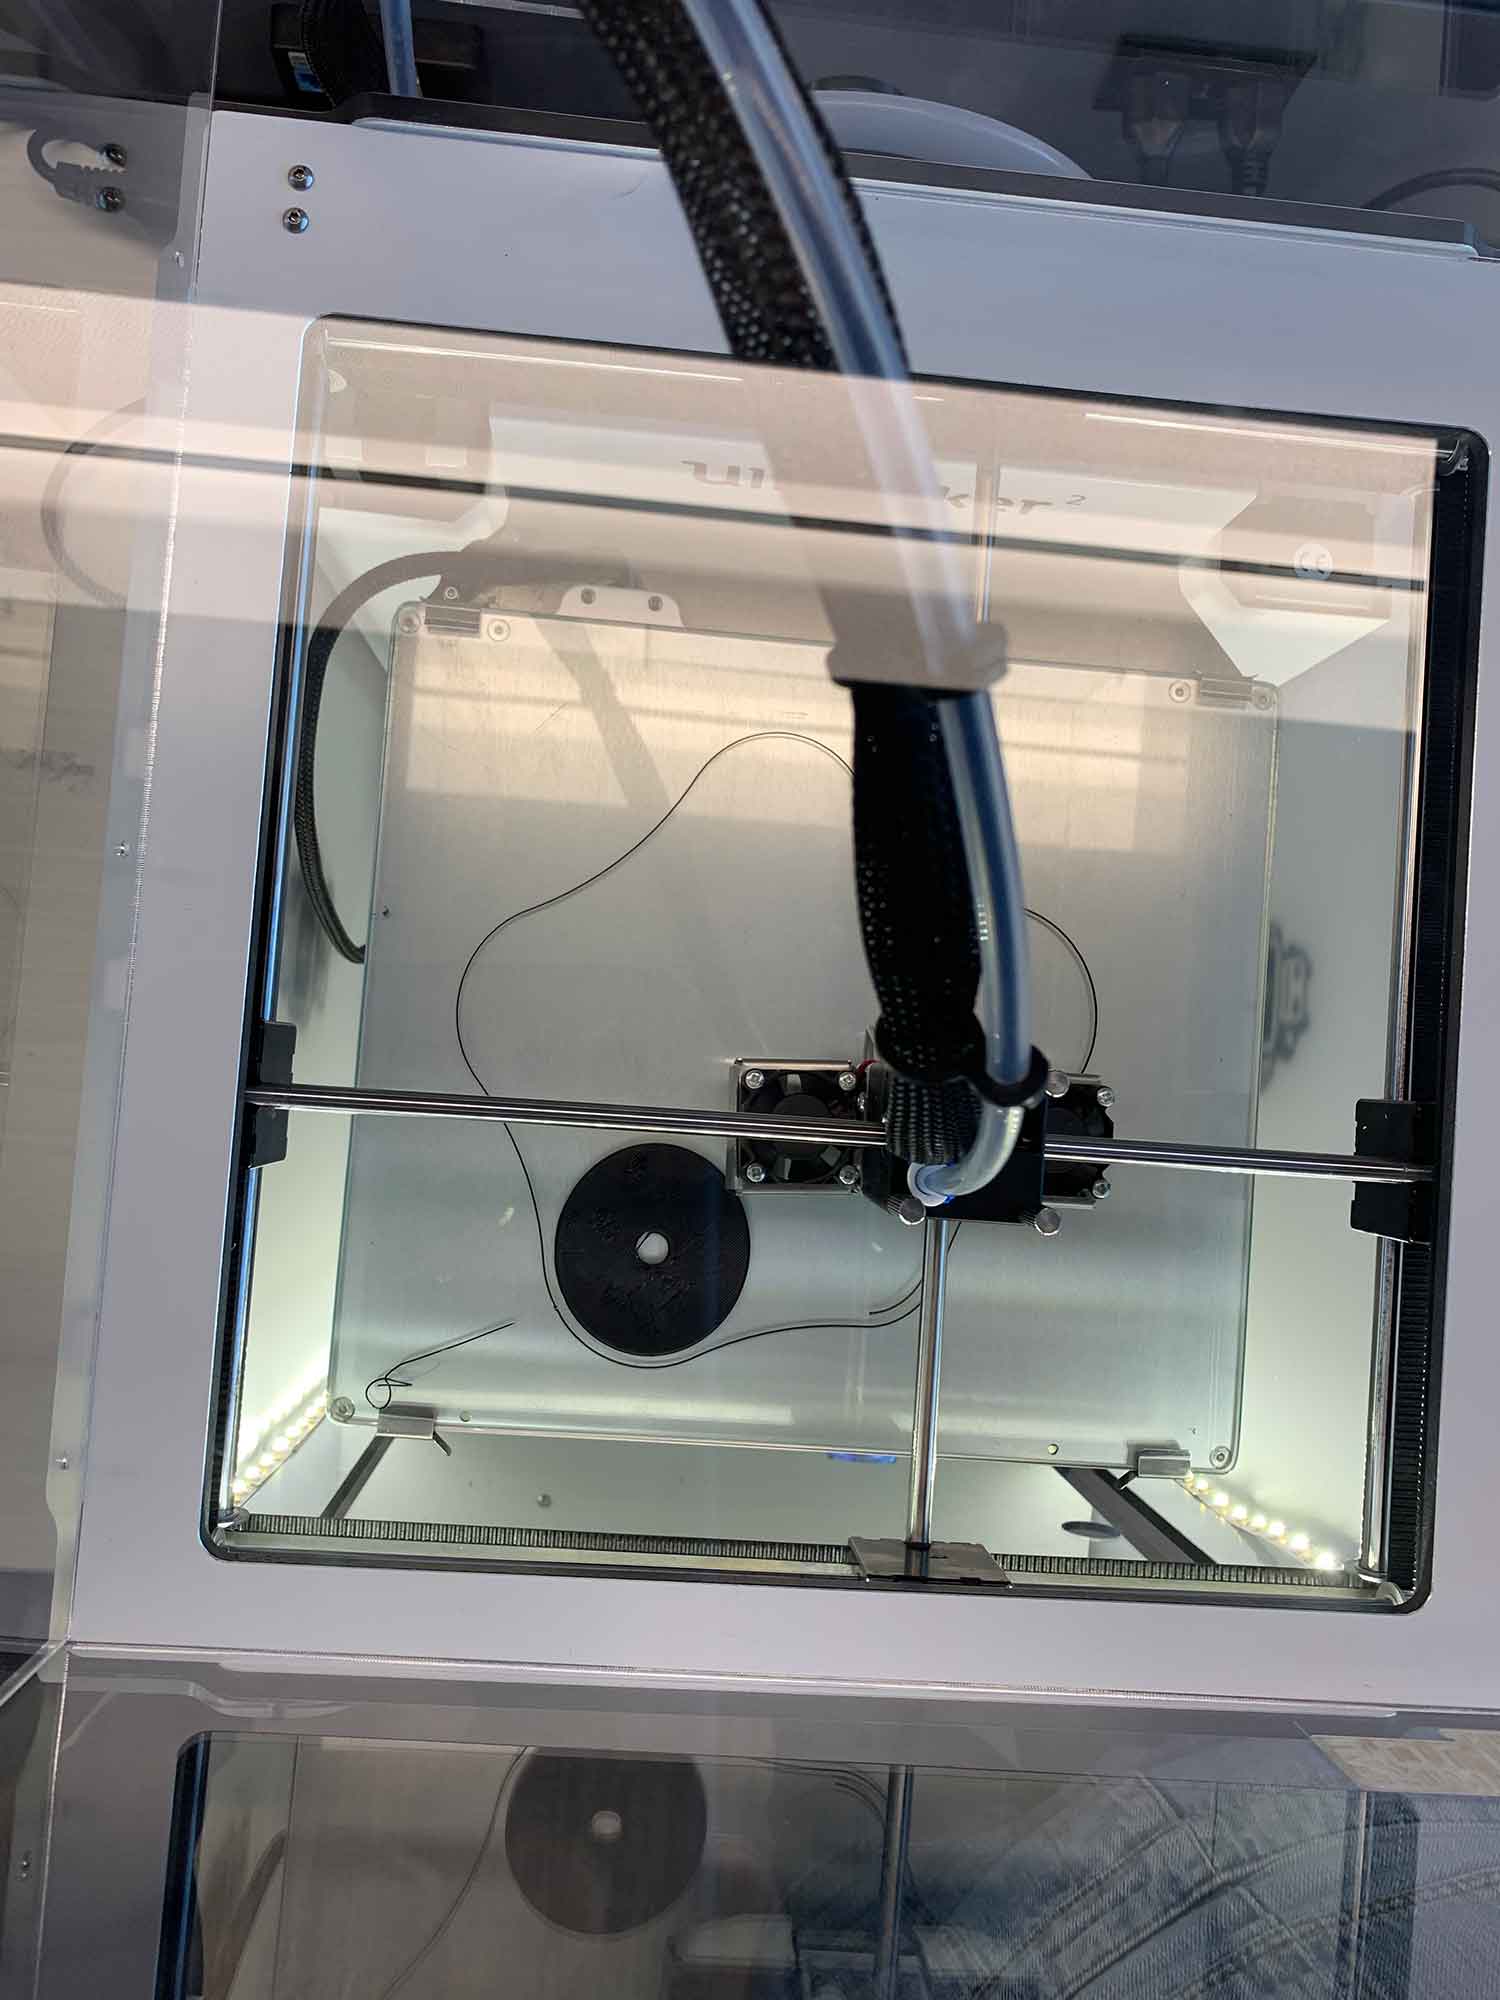
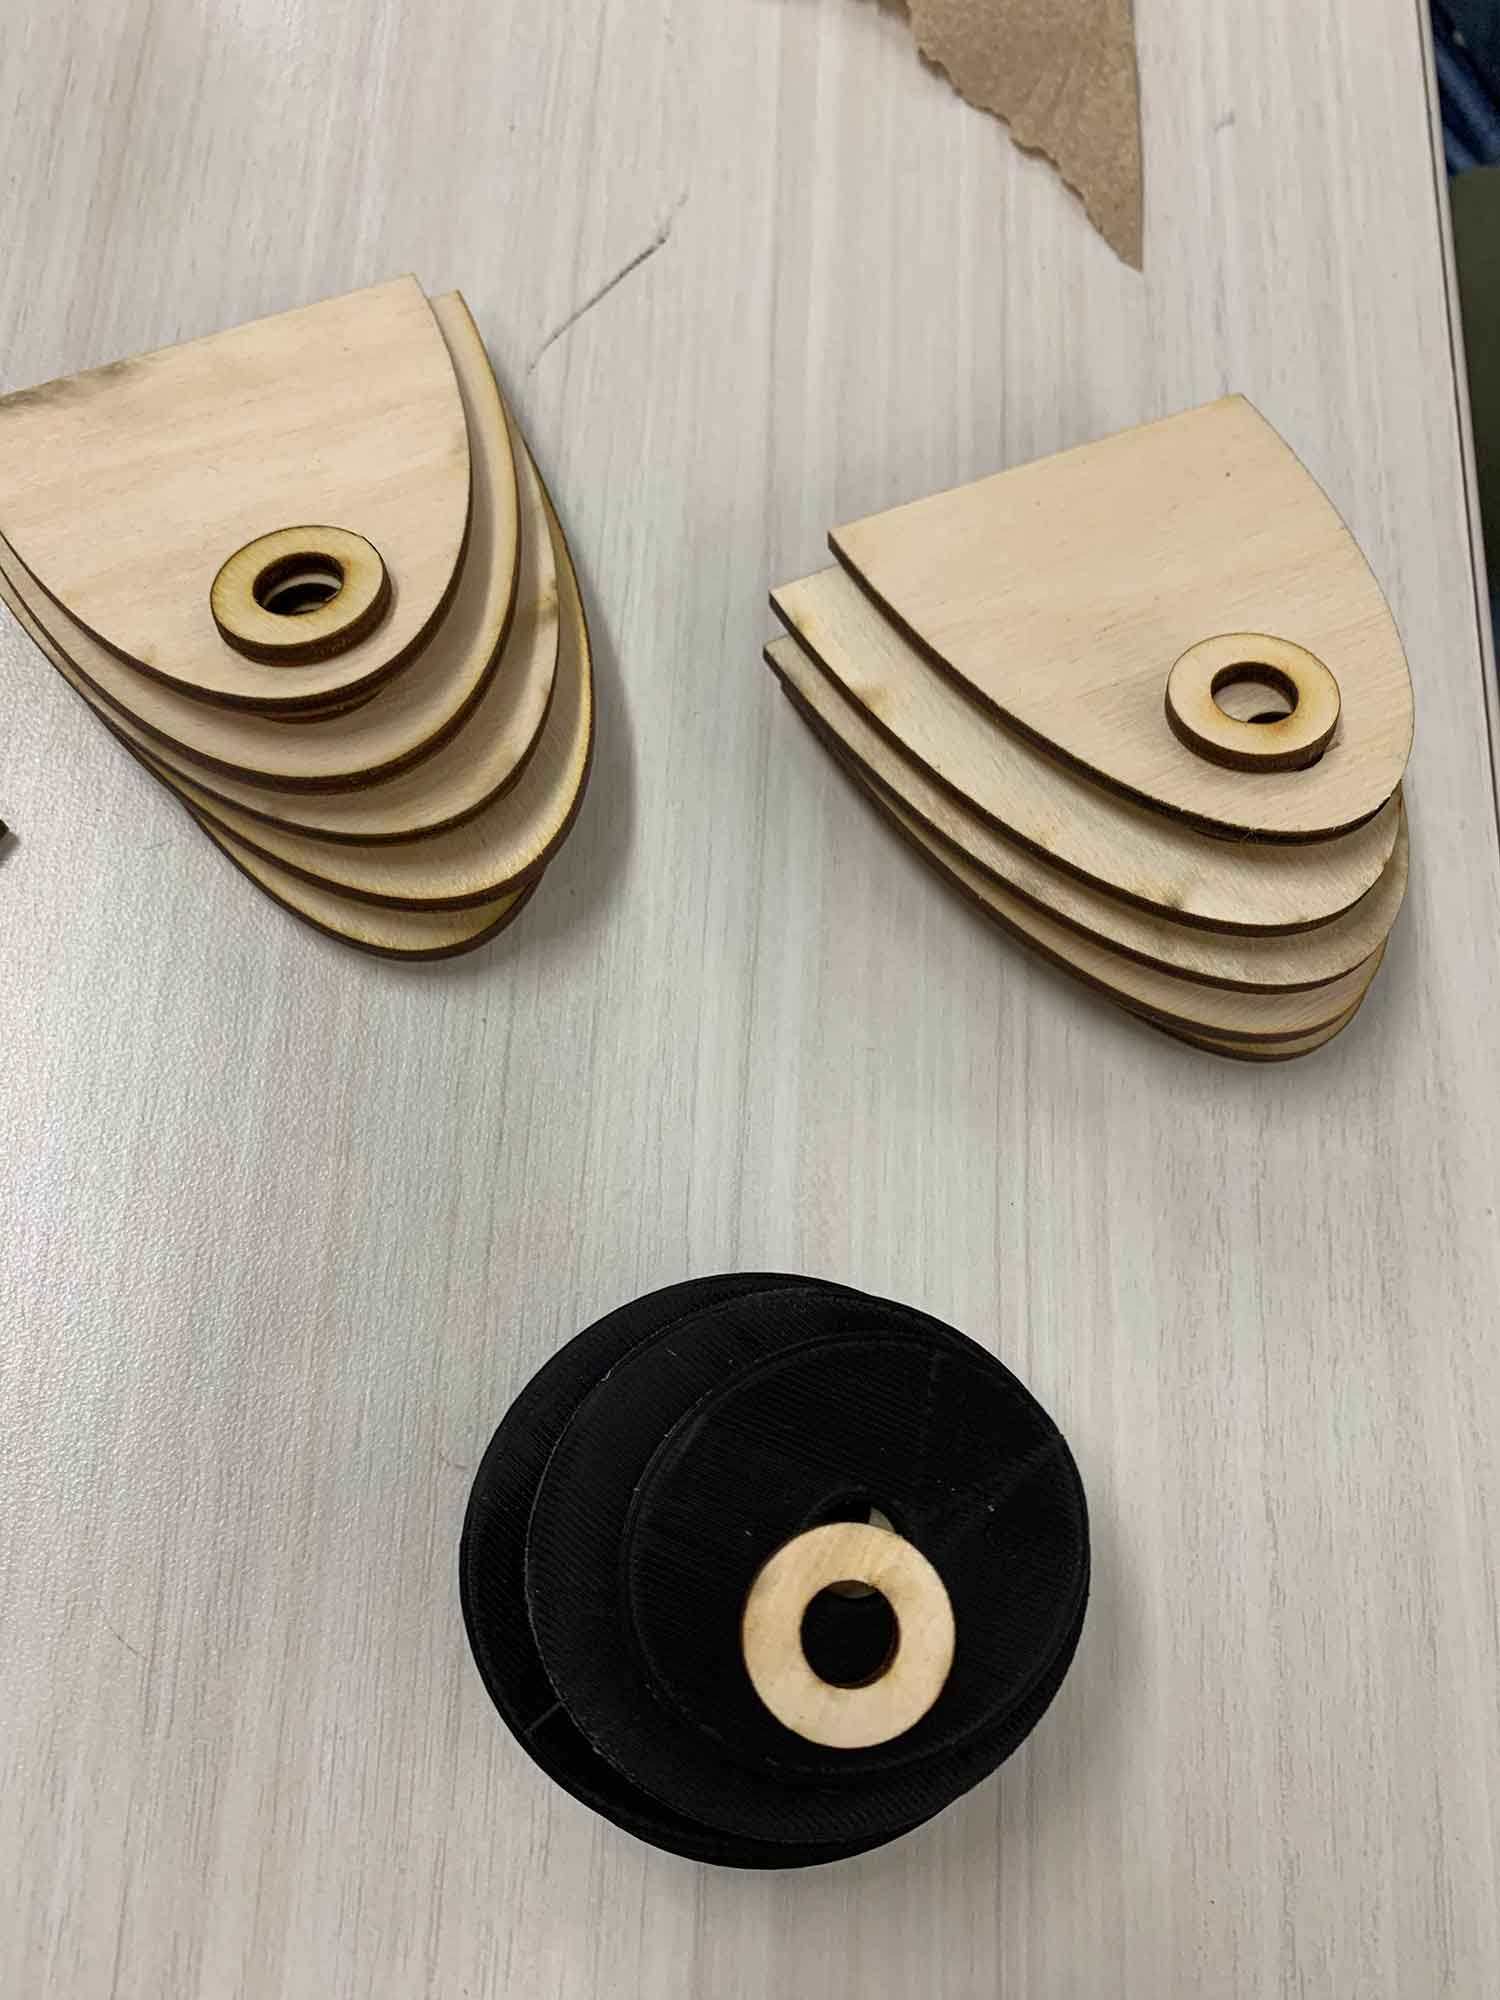
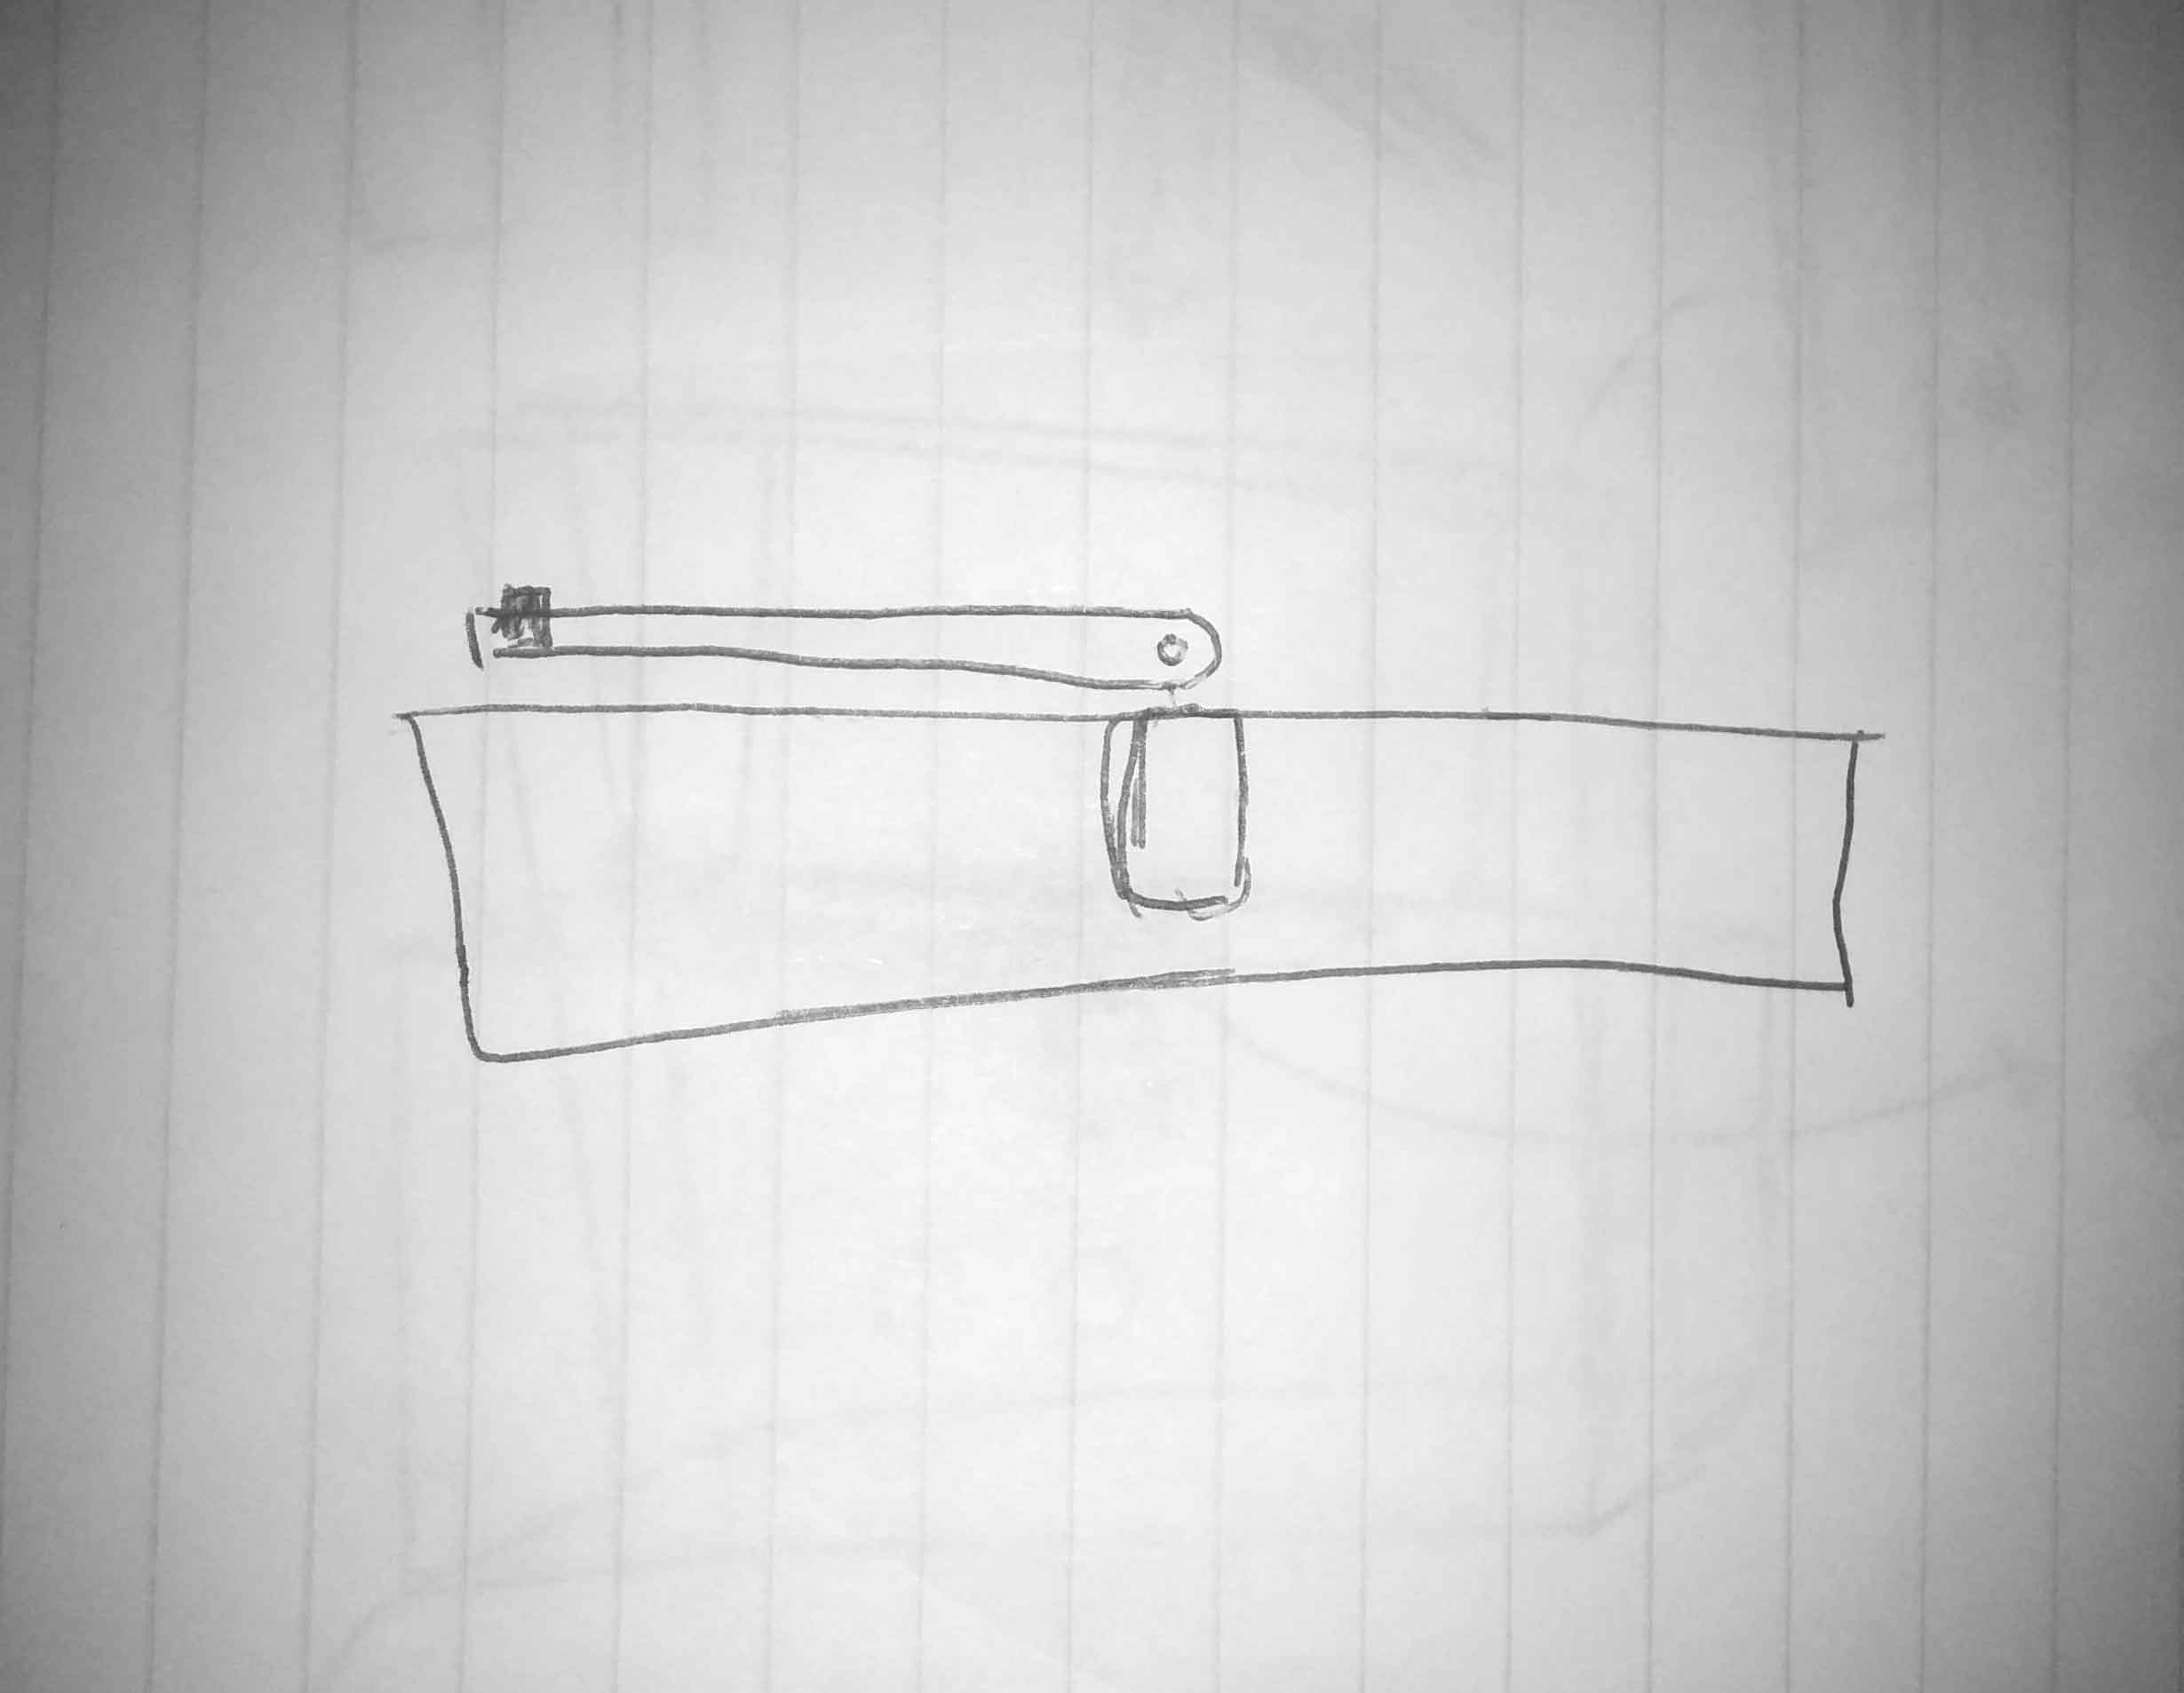
To install the stick onto the motor, using 3D printers, we had to print a special component that would have two different sized openings: one for the motor’s head, and one for the stick. This required us to familiarize ourselves with using the printers, along with converting the files onto the printing program.
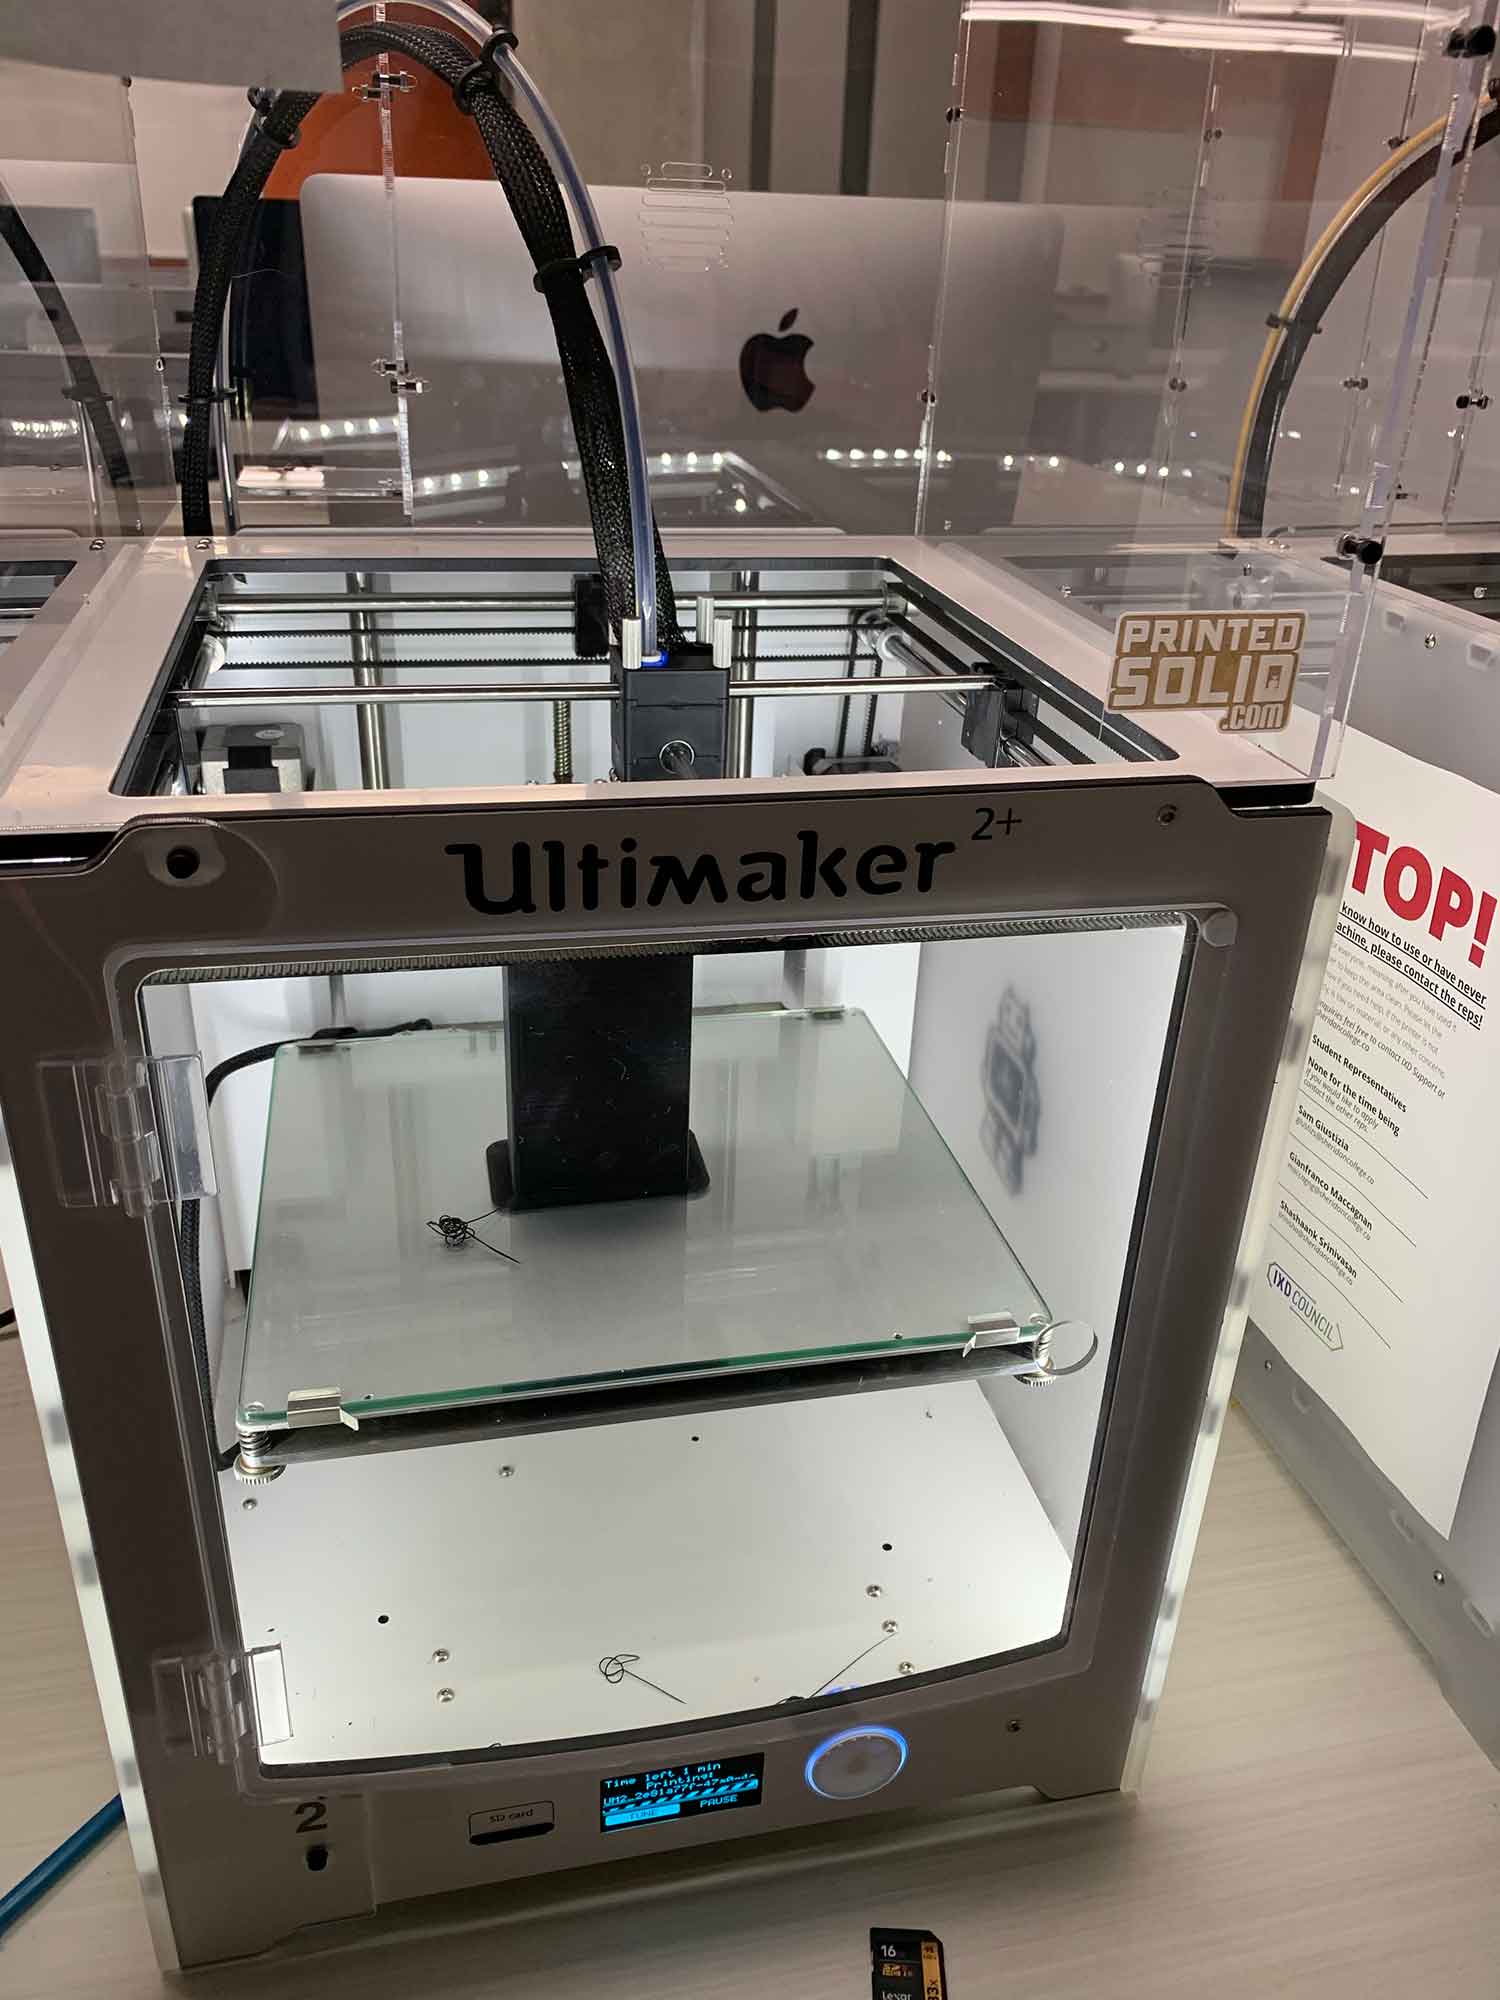
Our first attempt didn’t go too well. We had to correct our files and print the components again.
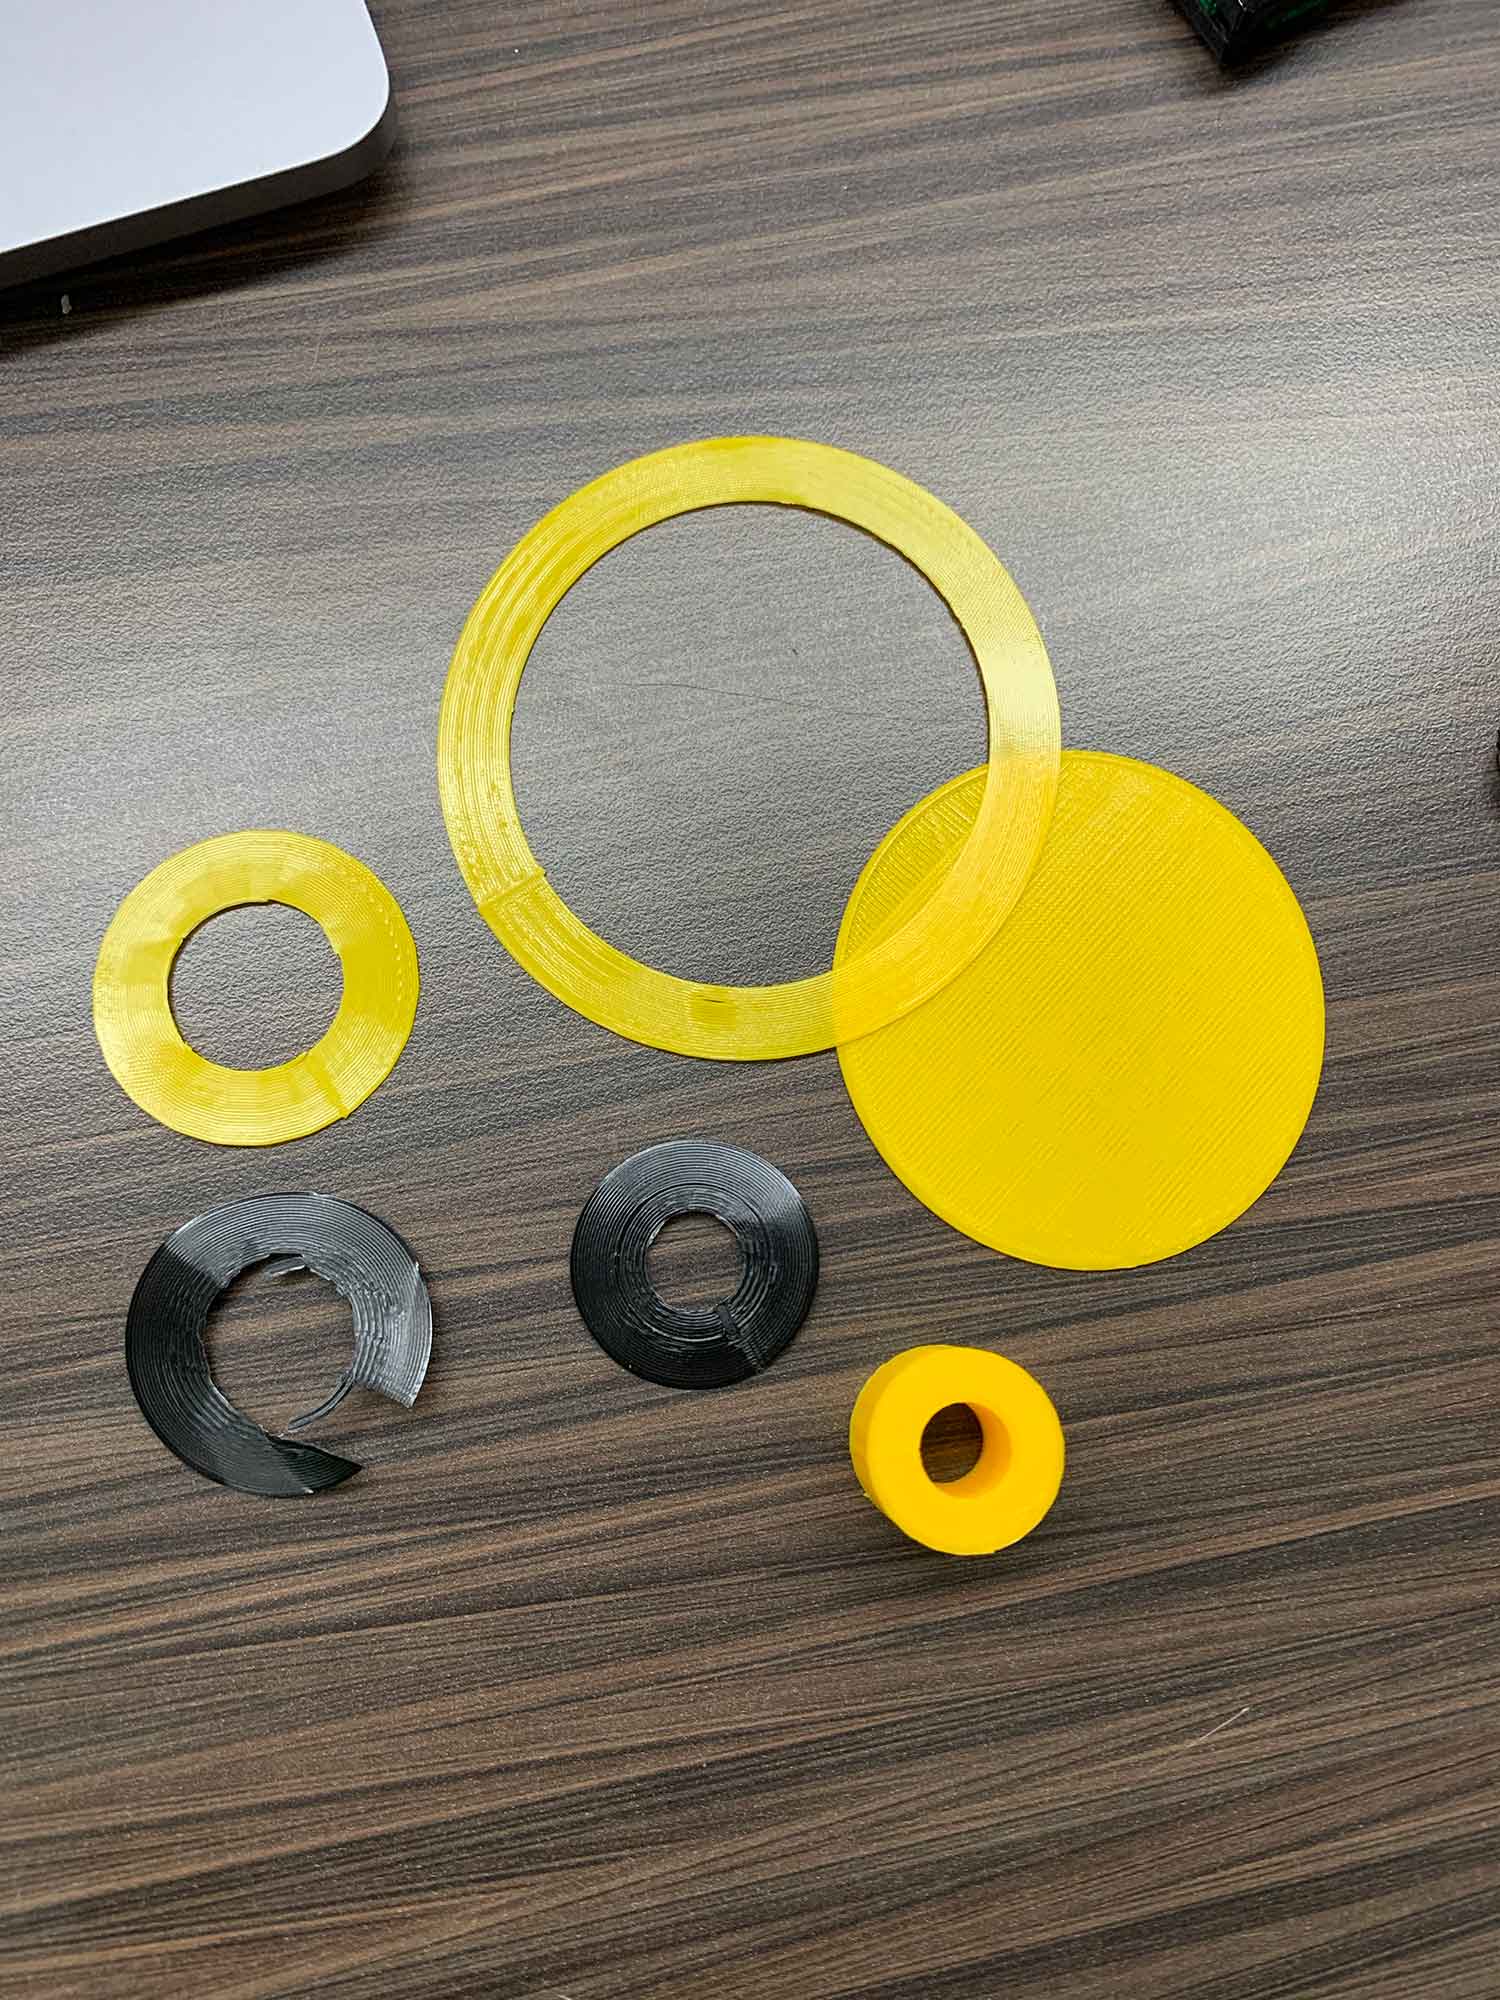
Printing more components. This time the machine was printing parts that would be installed onto the middle stick. Because the
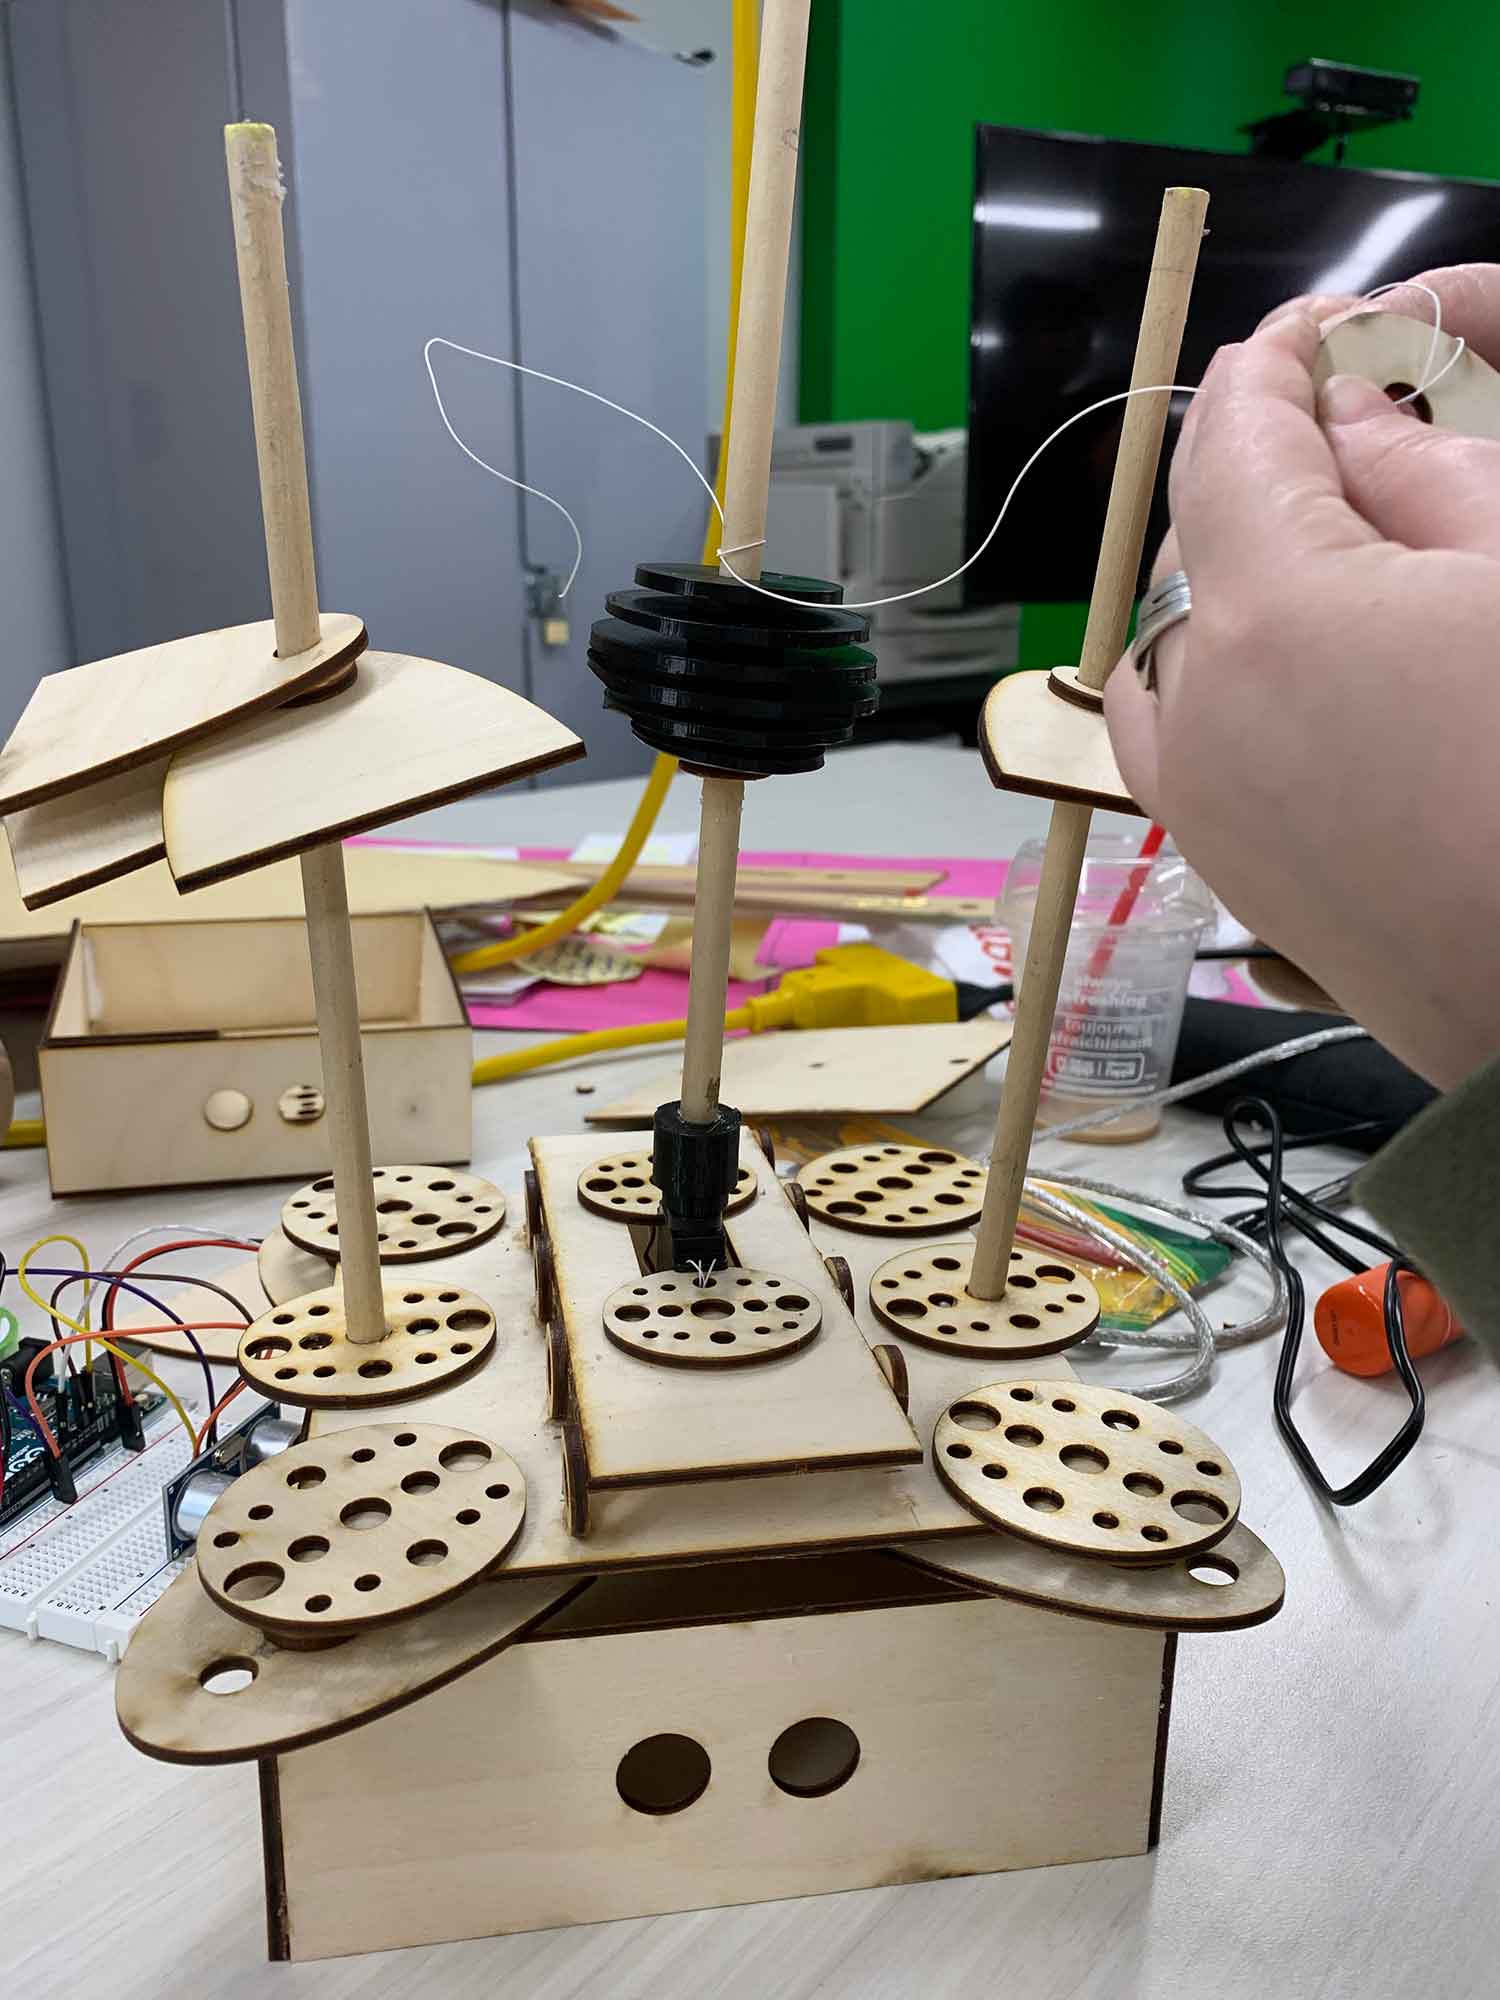
Assembling the pieces together.
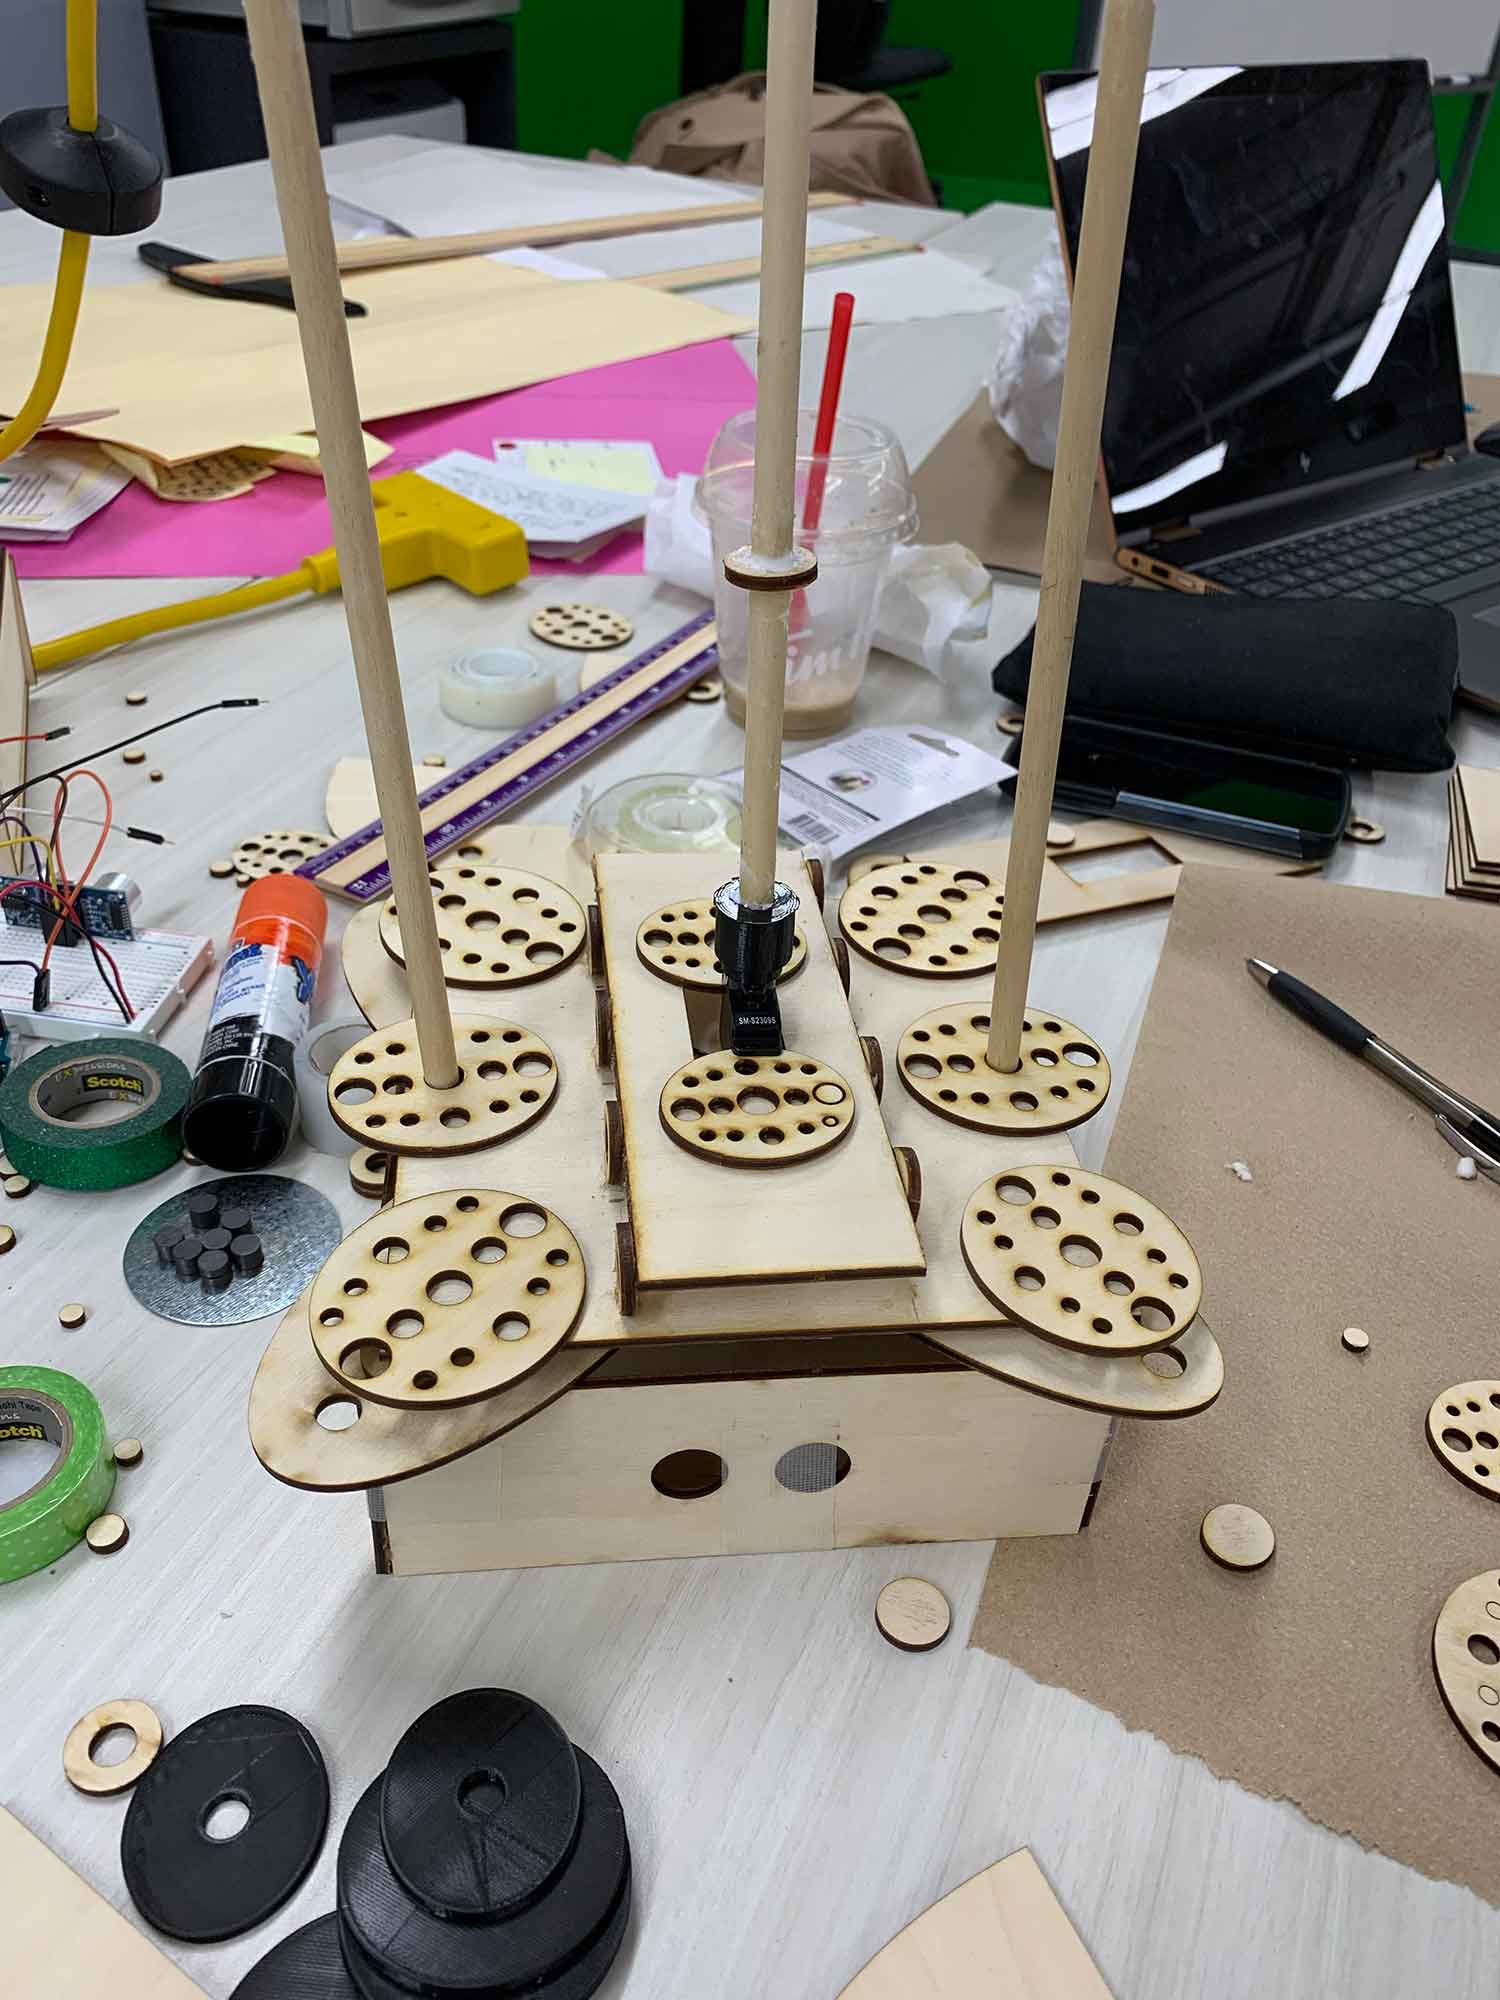
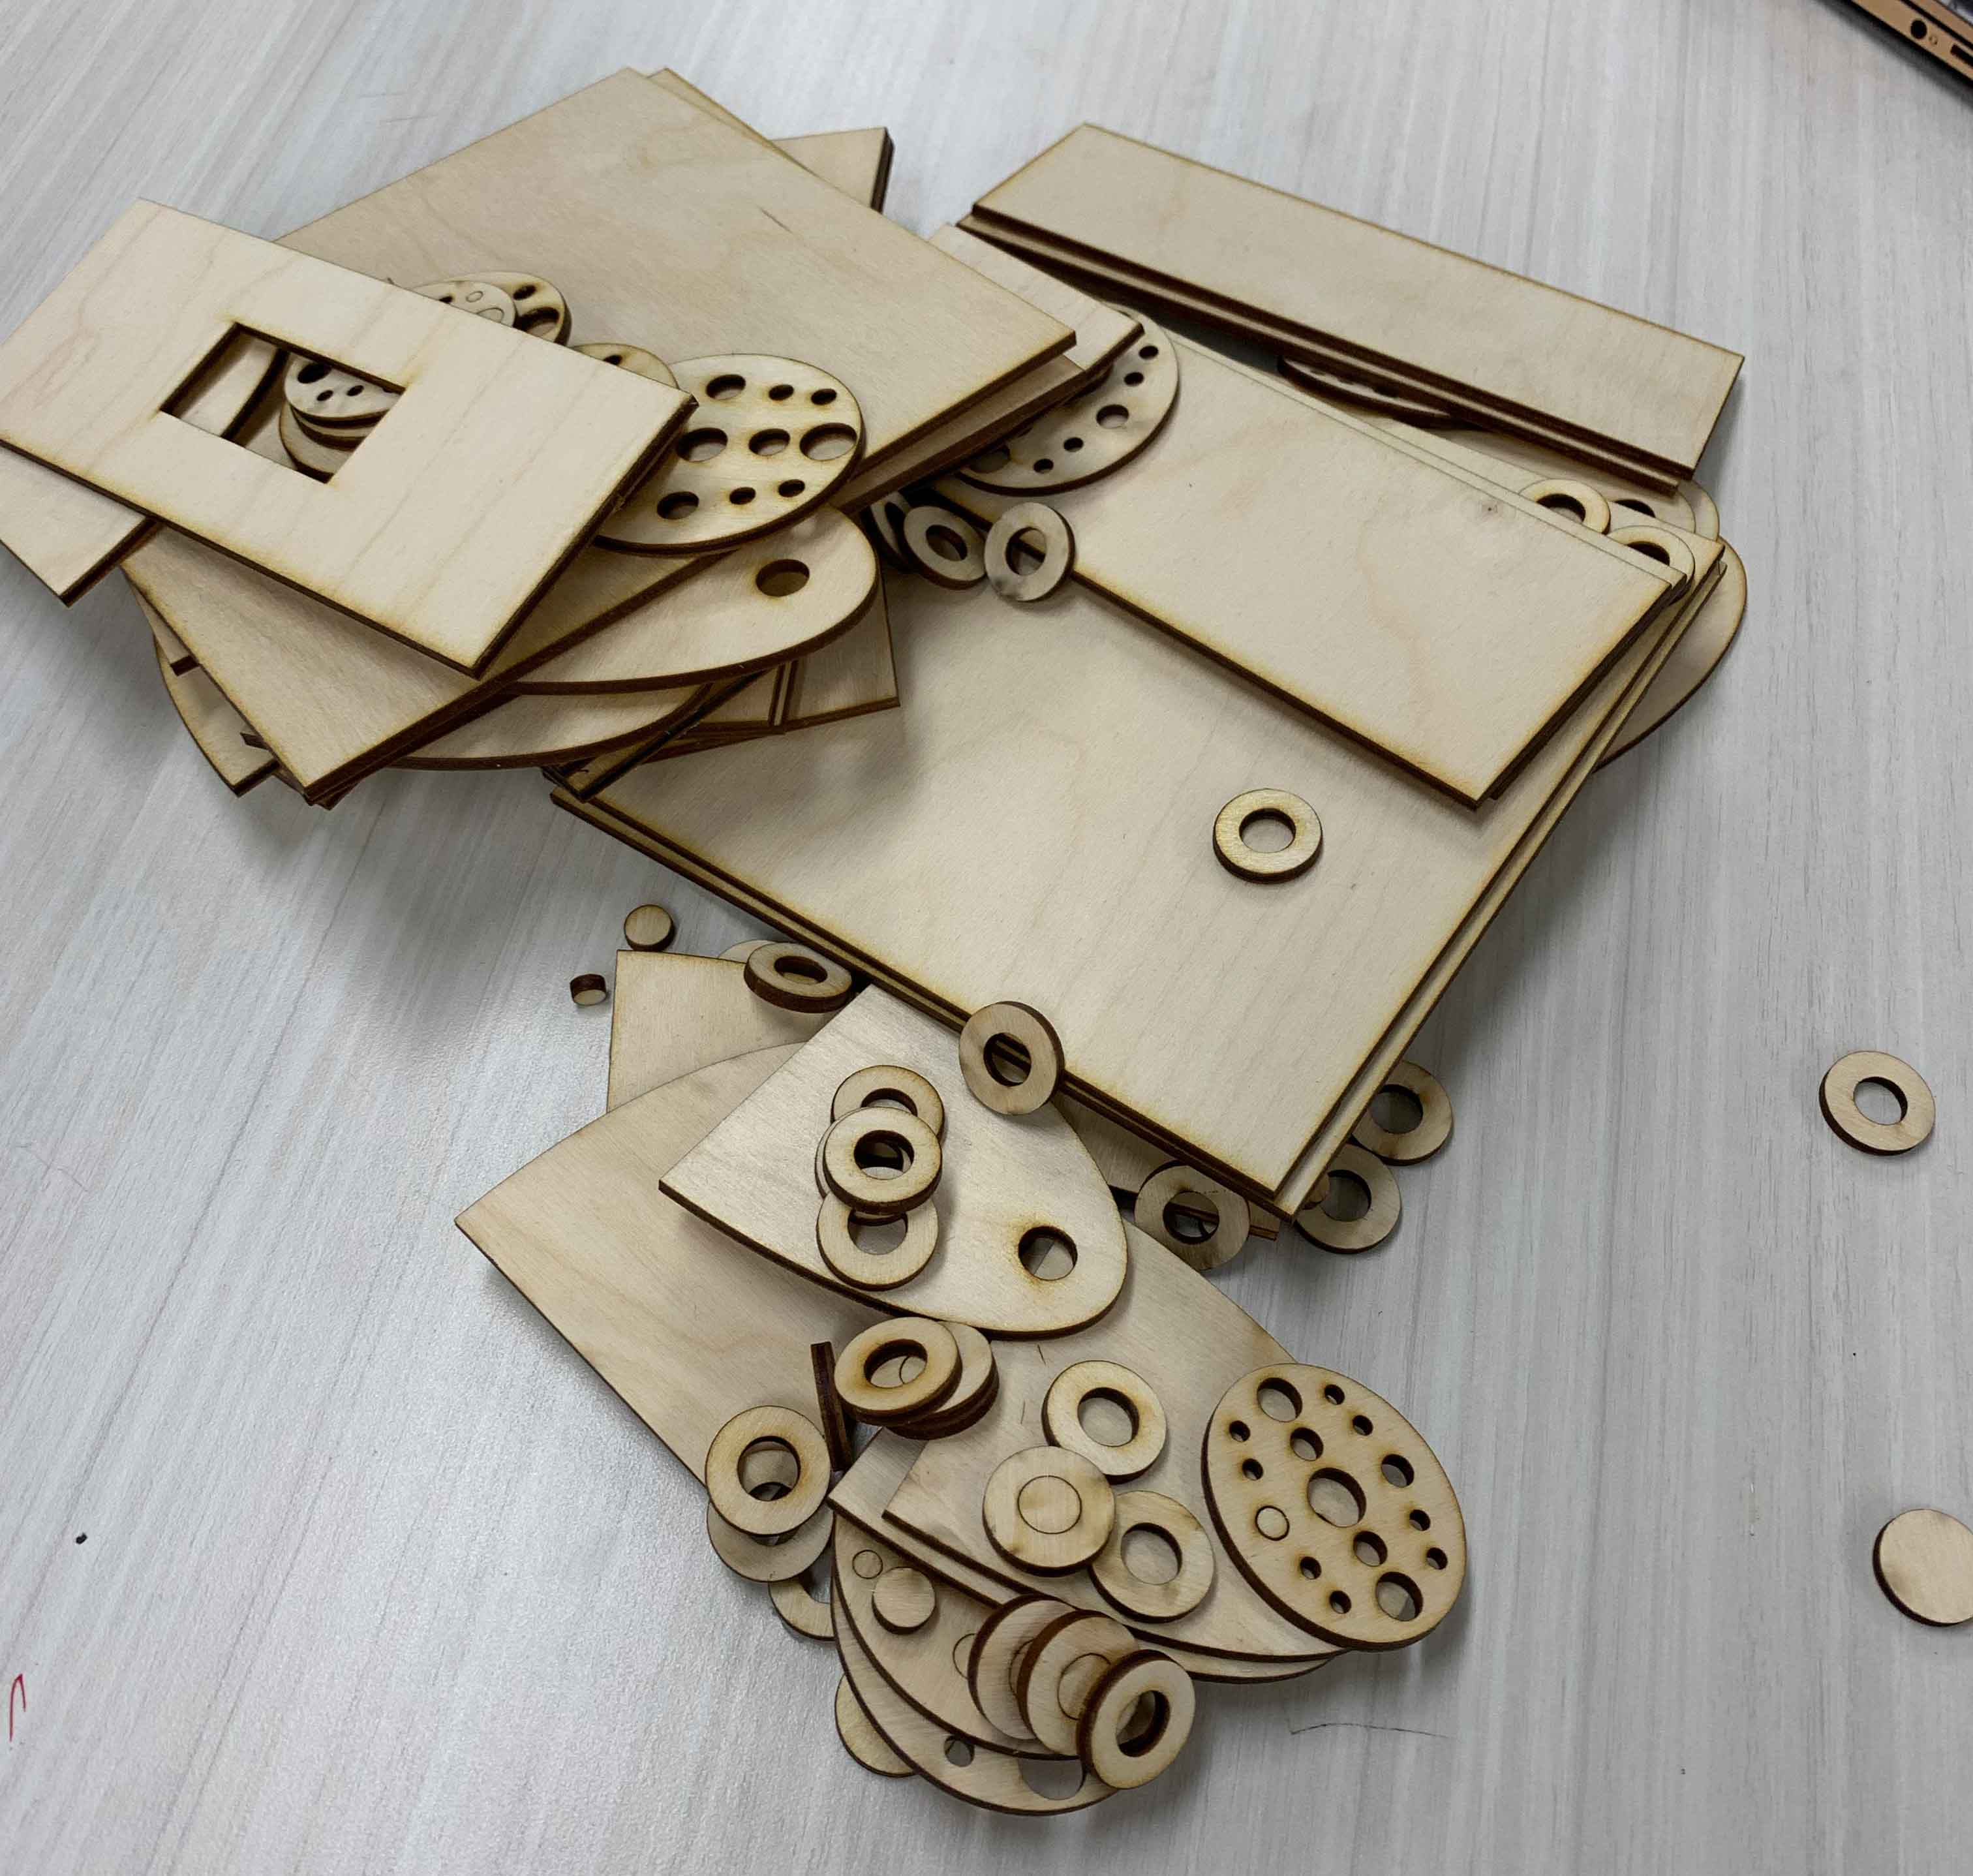
Organizing parts to make sure nothing is missing.
After the setback with the DC motor, the servo motor was successfully installed in place.
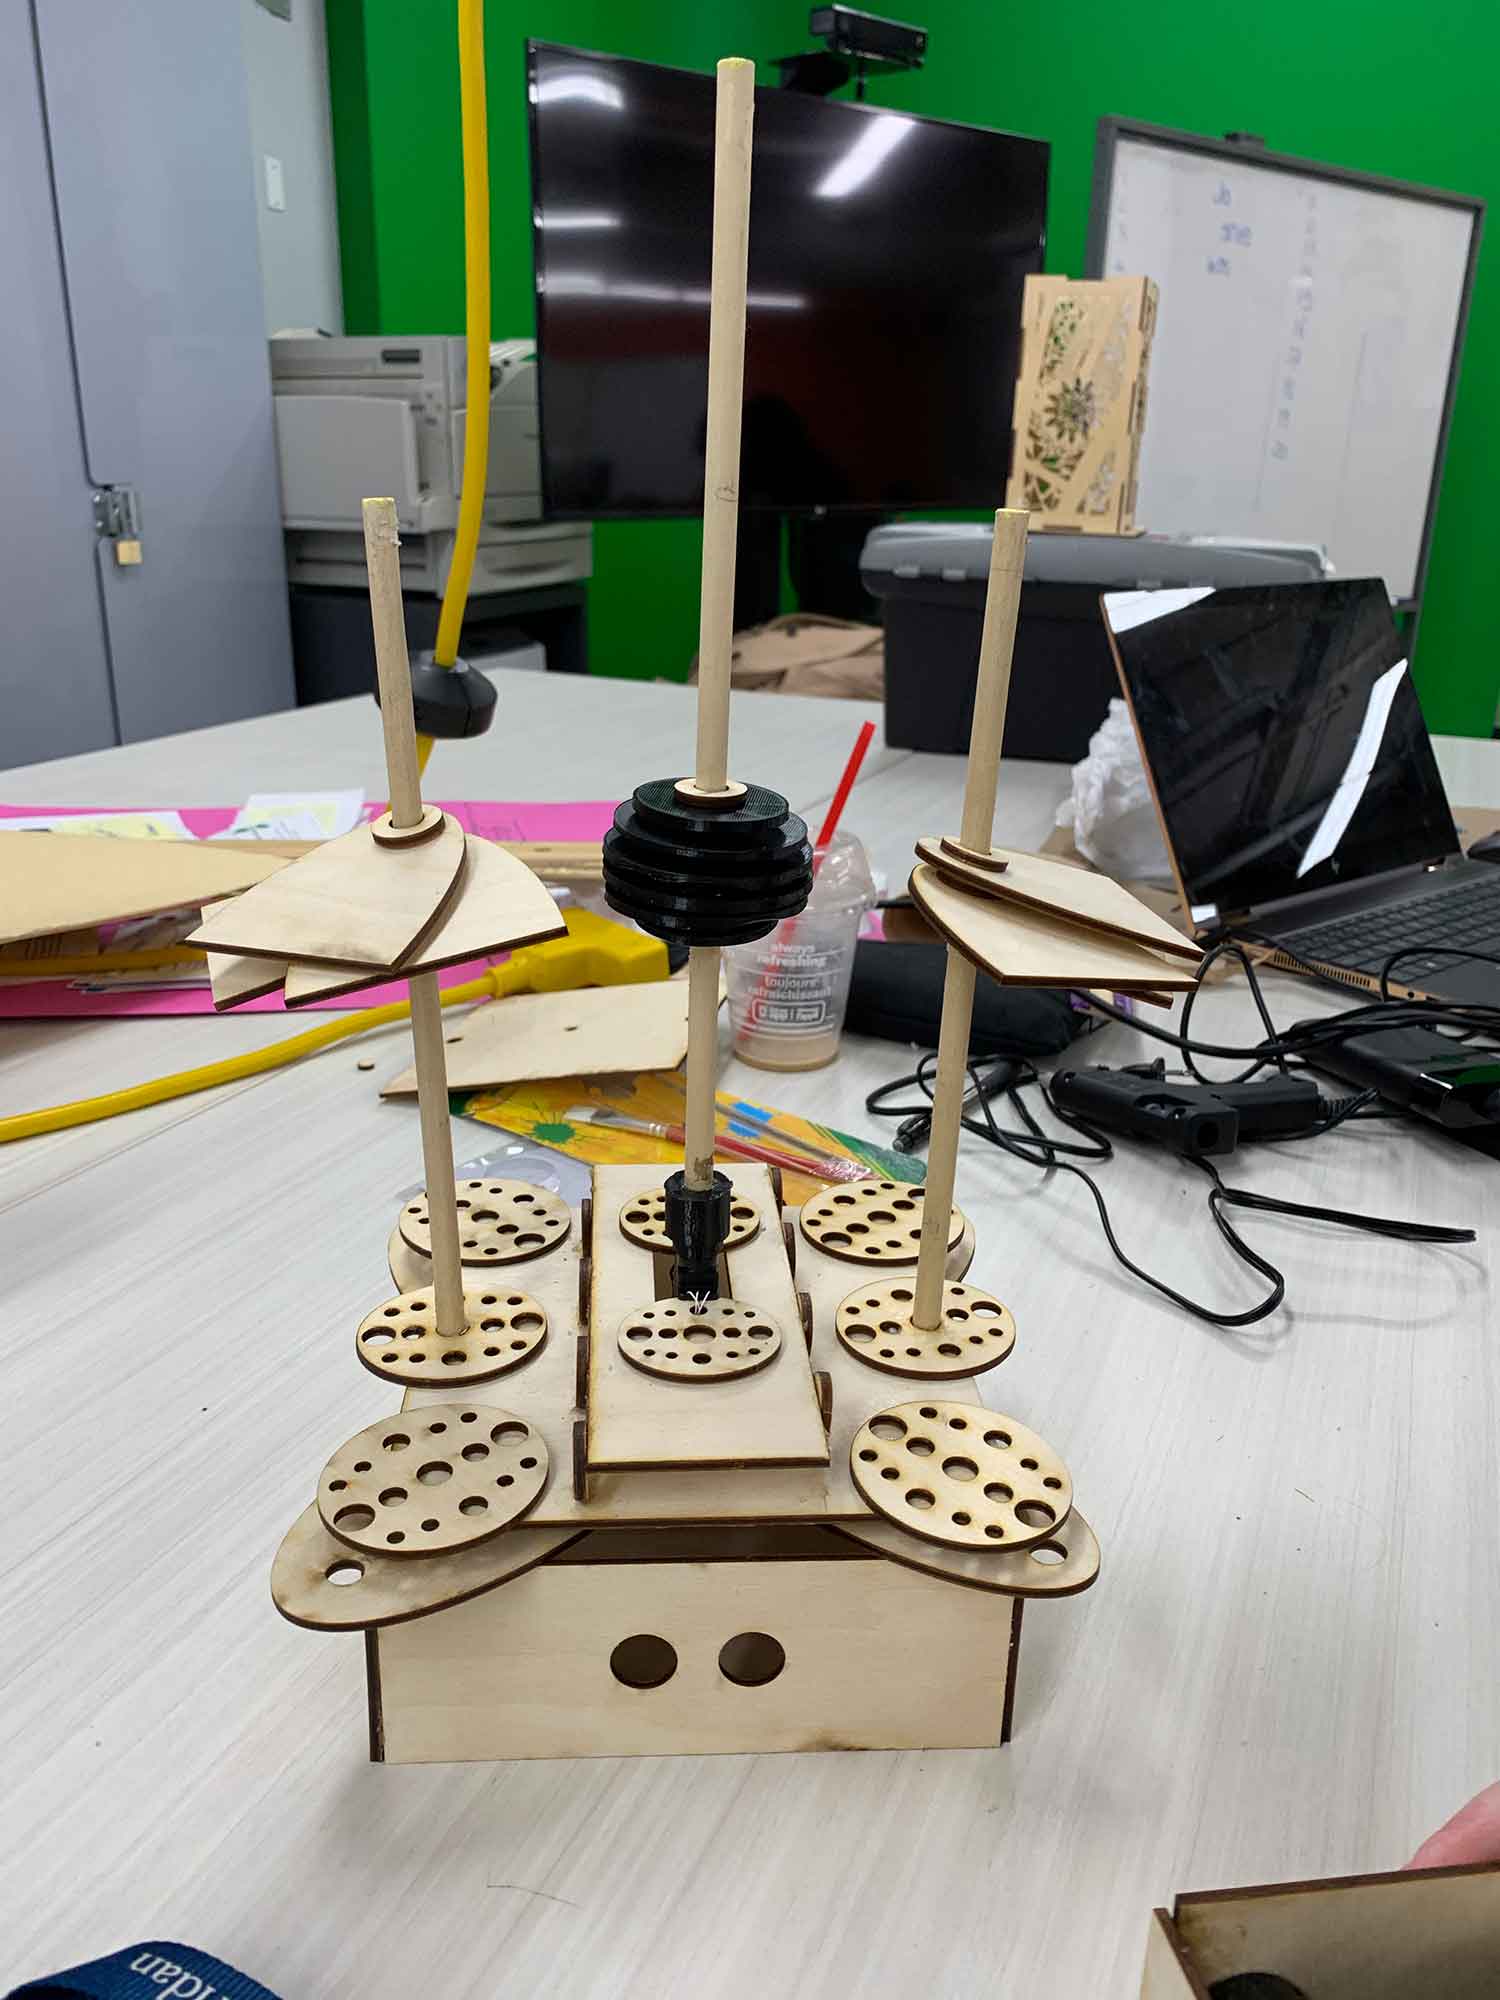
Installation in progress.
FINAL DESIGN
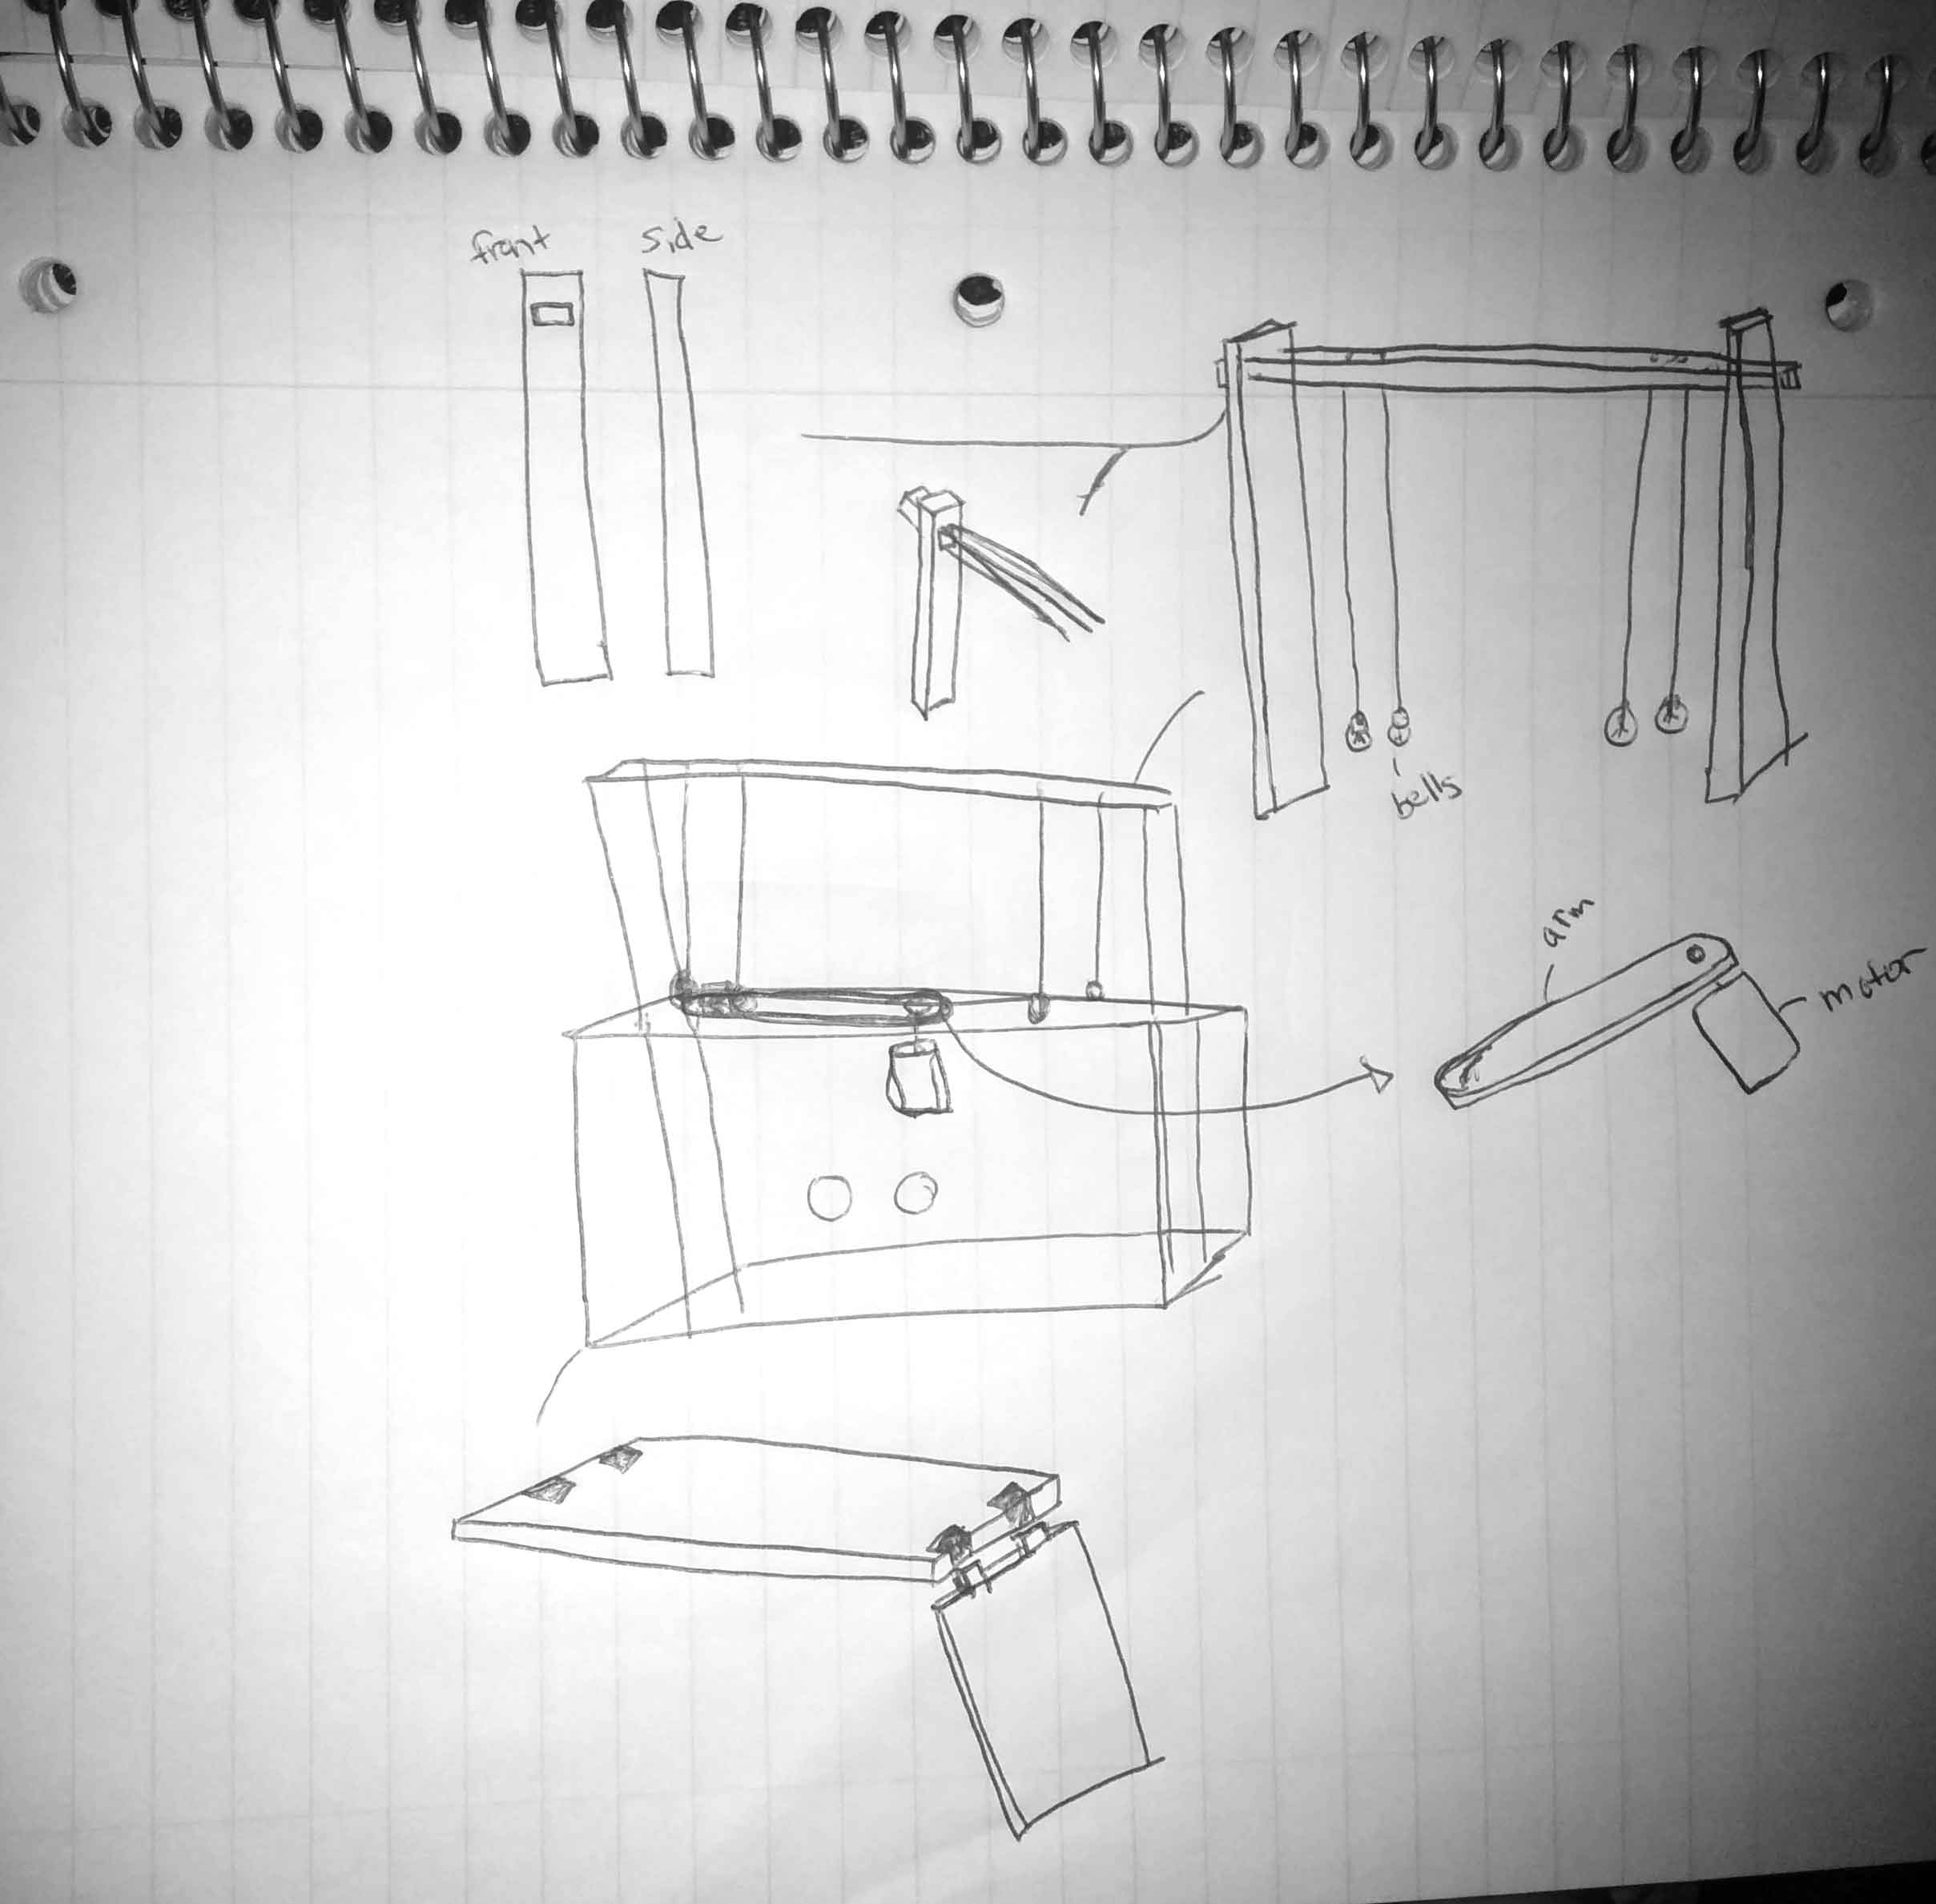
SKETCHES
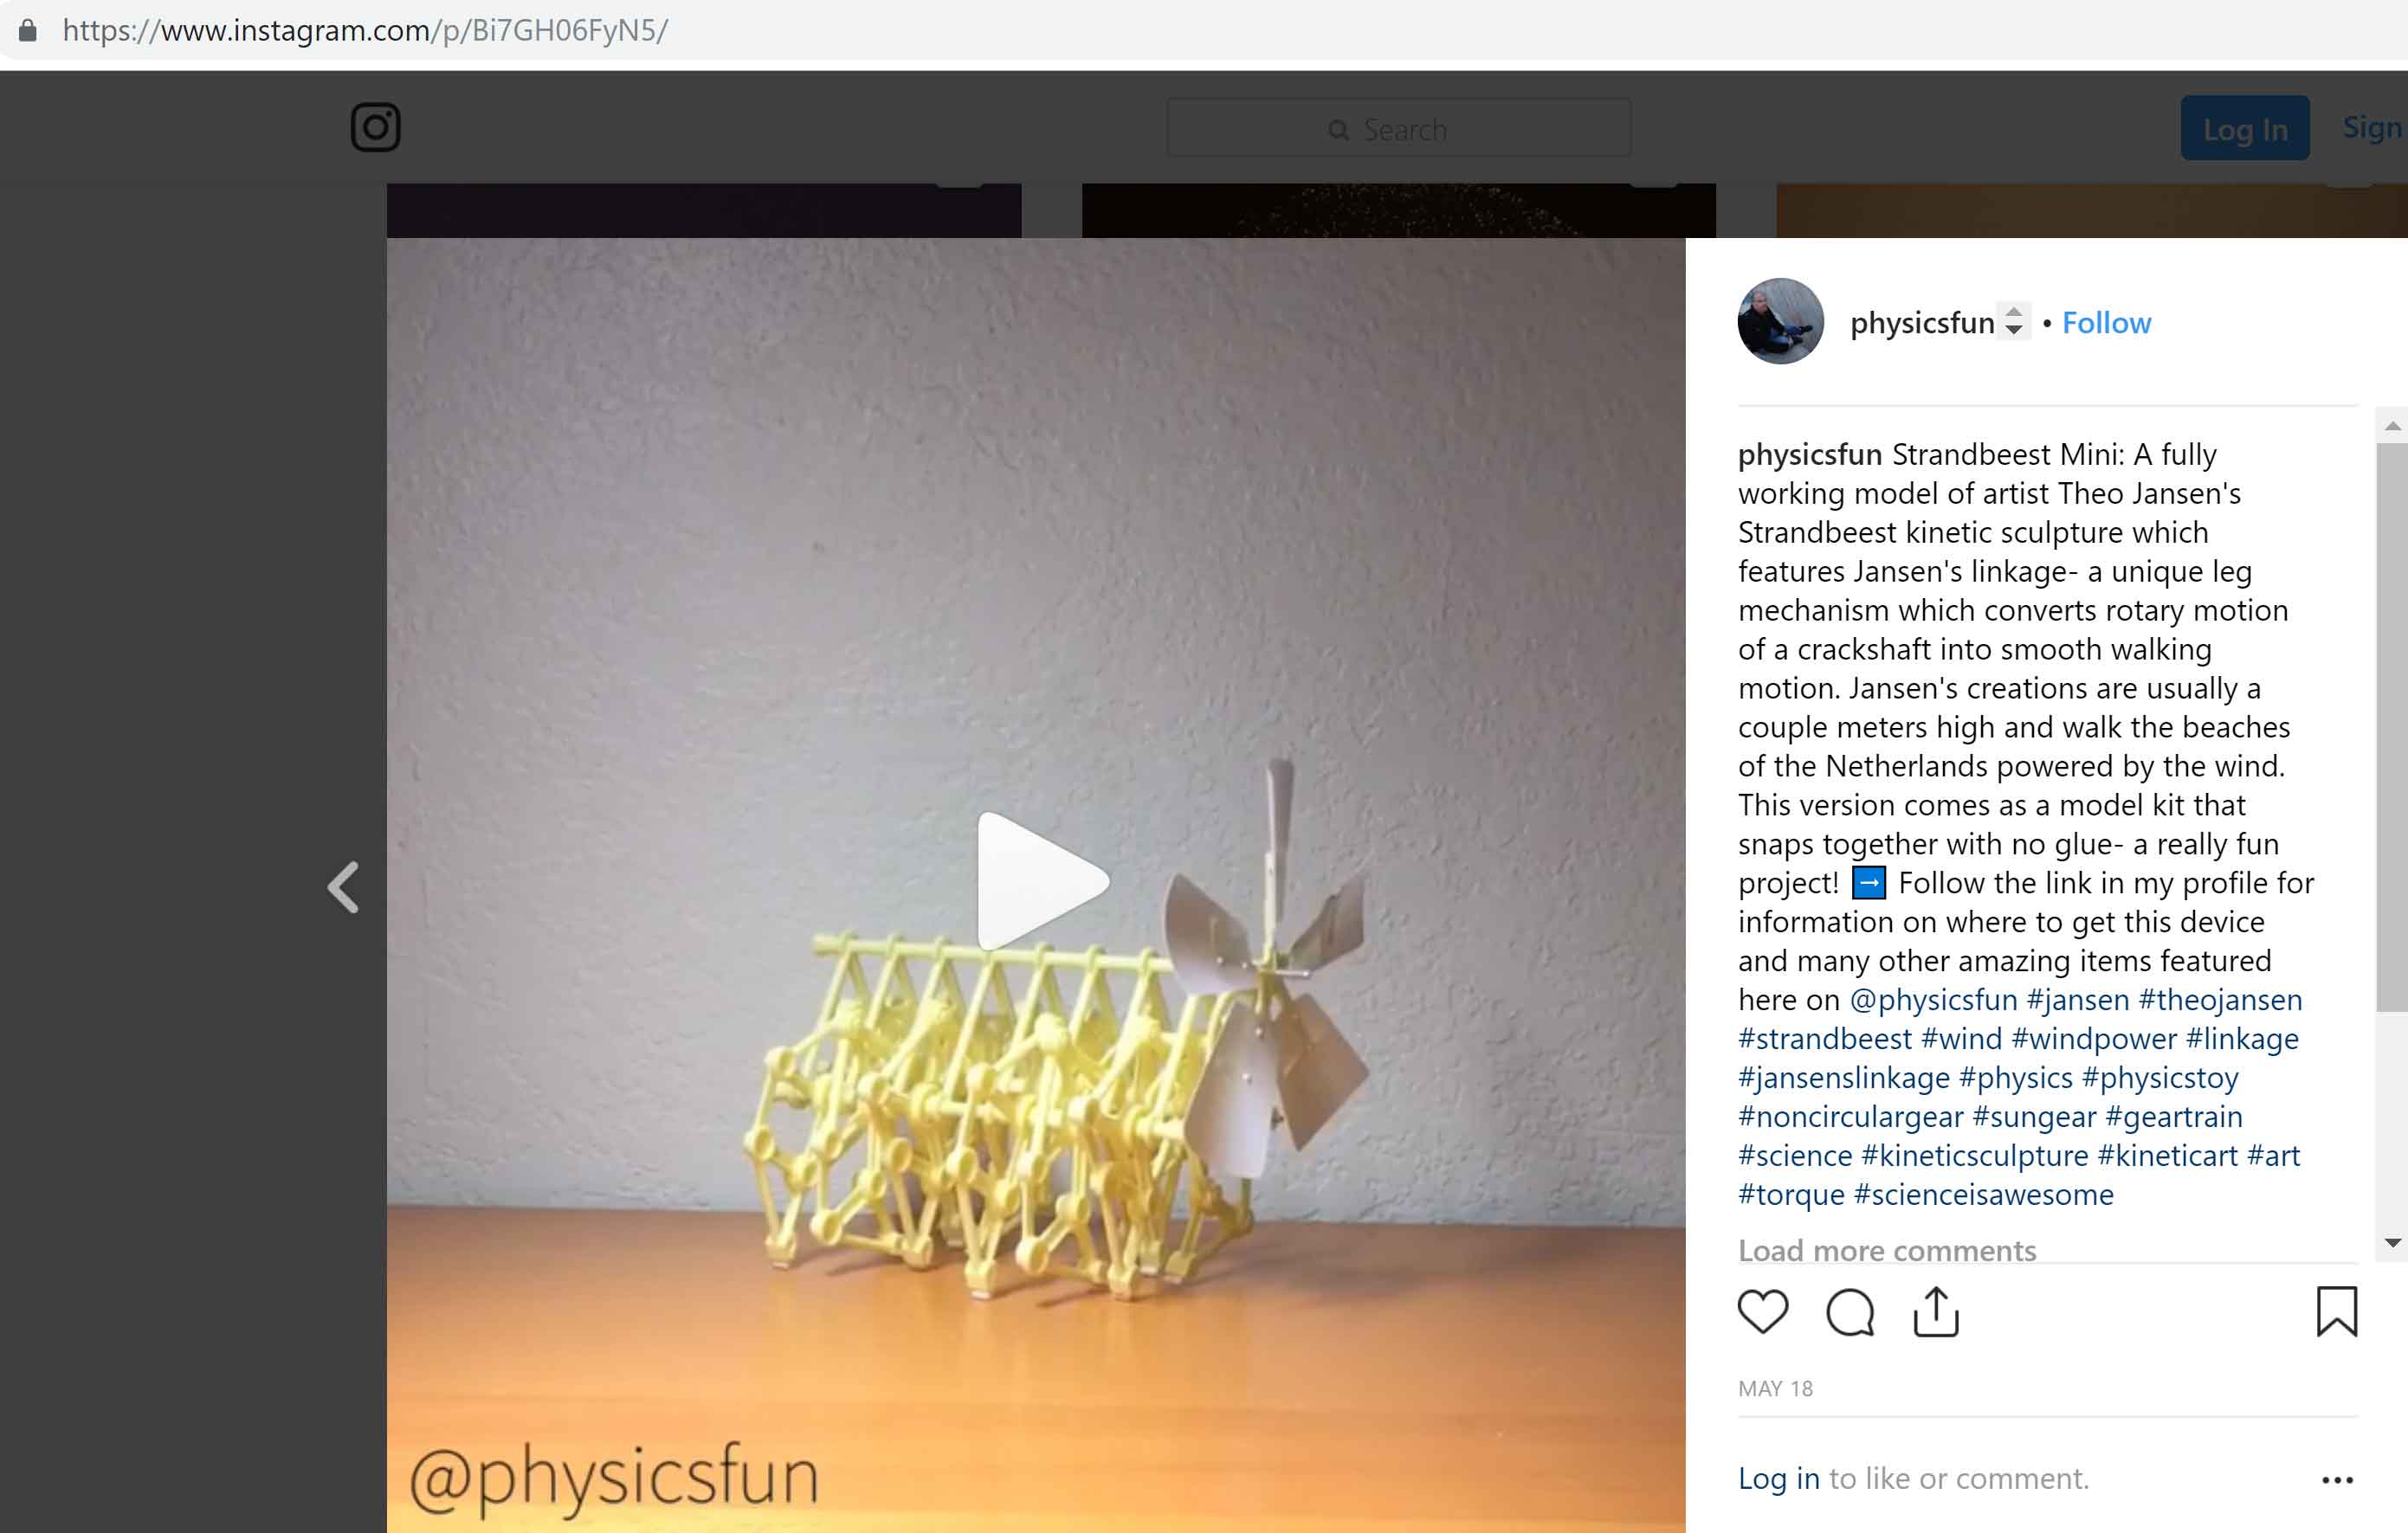
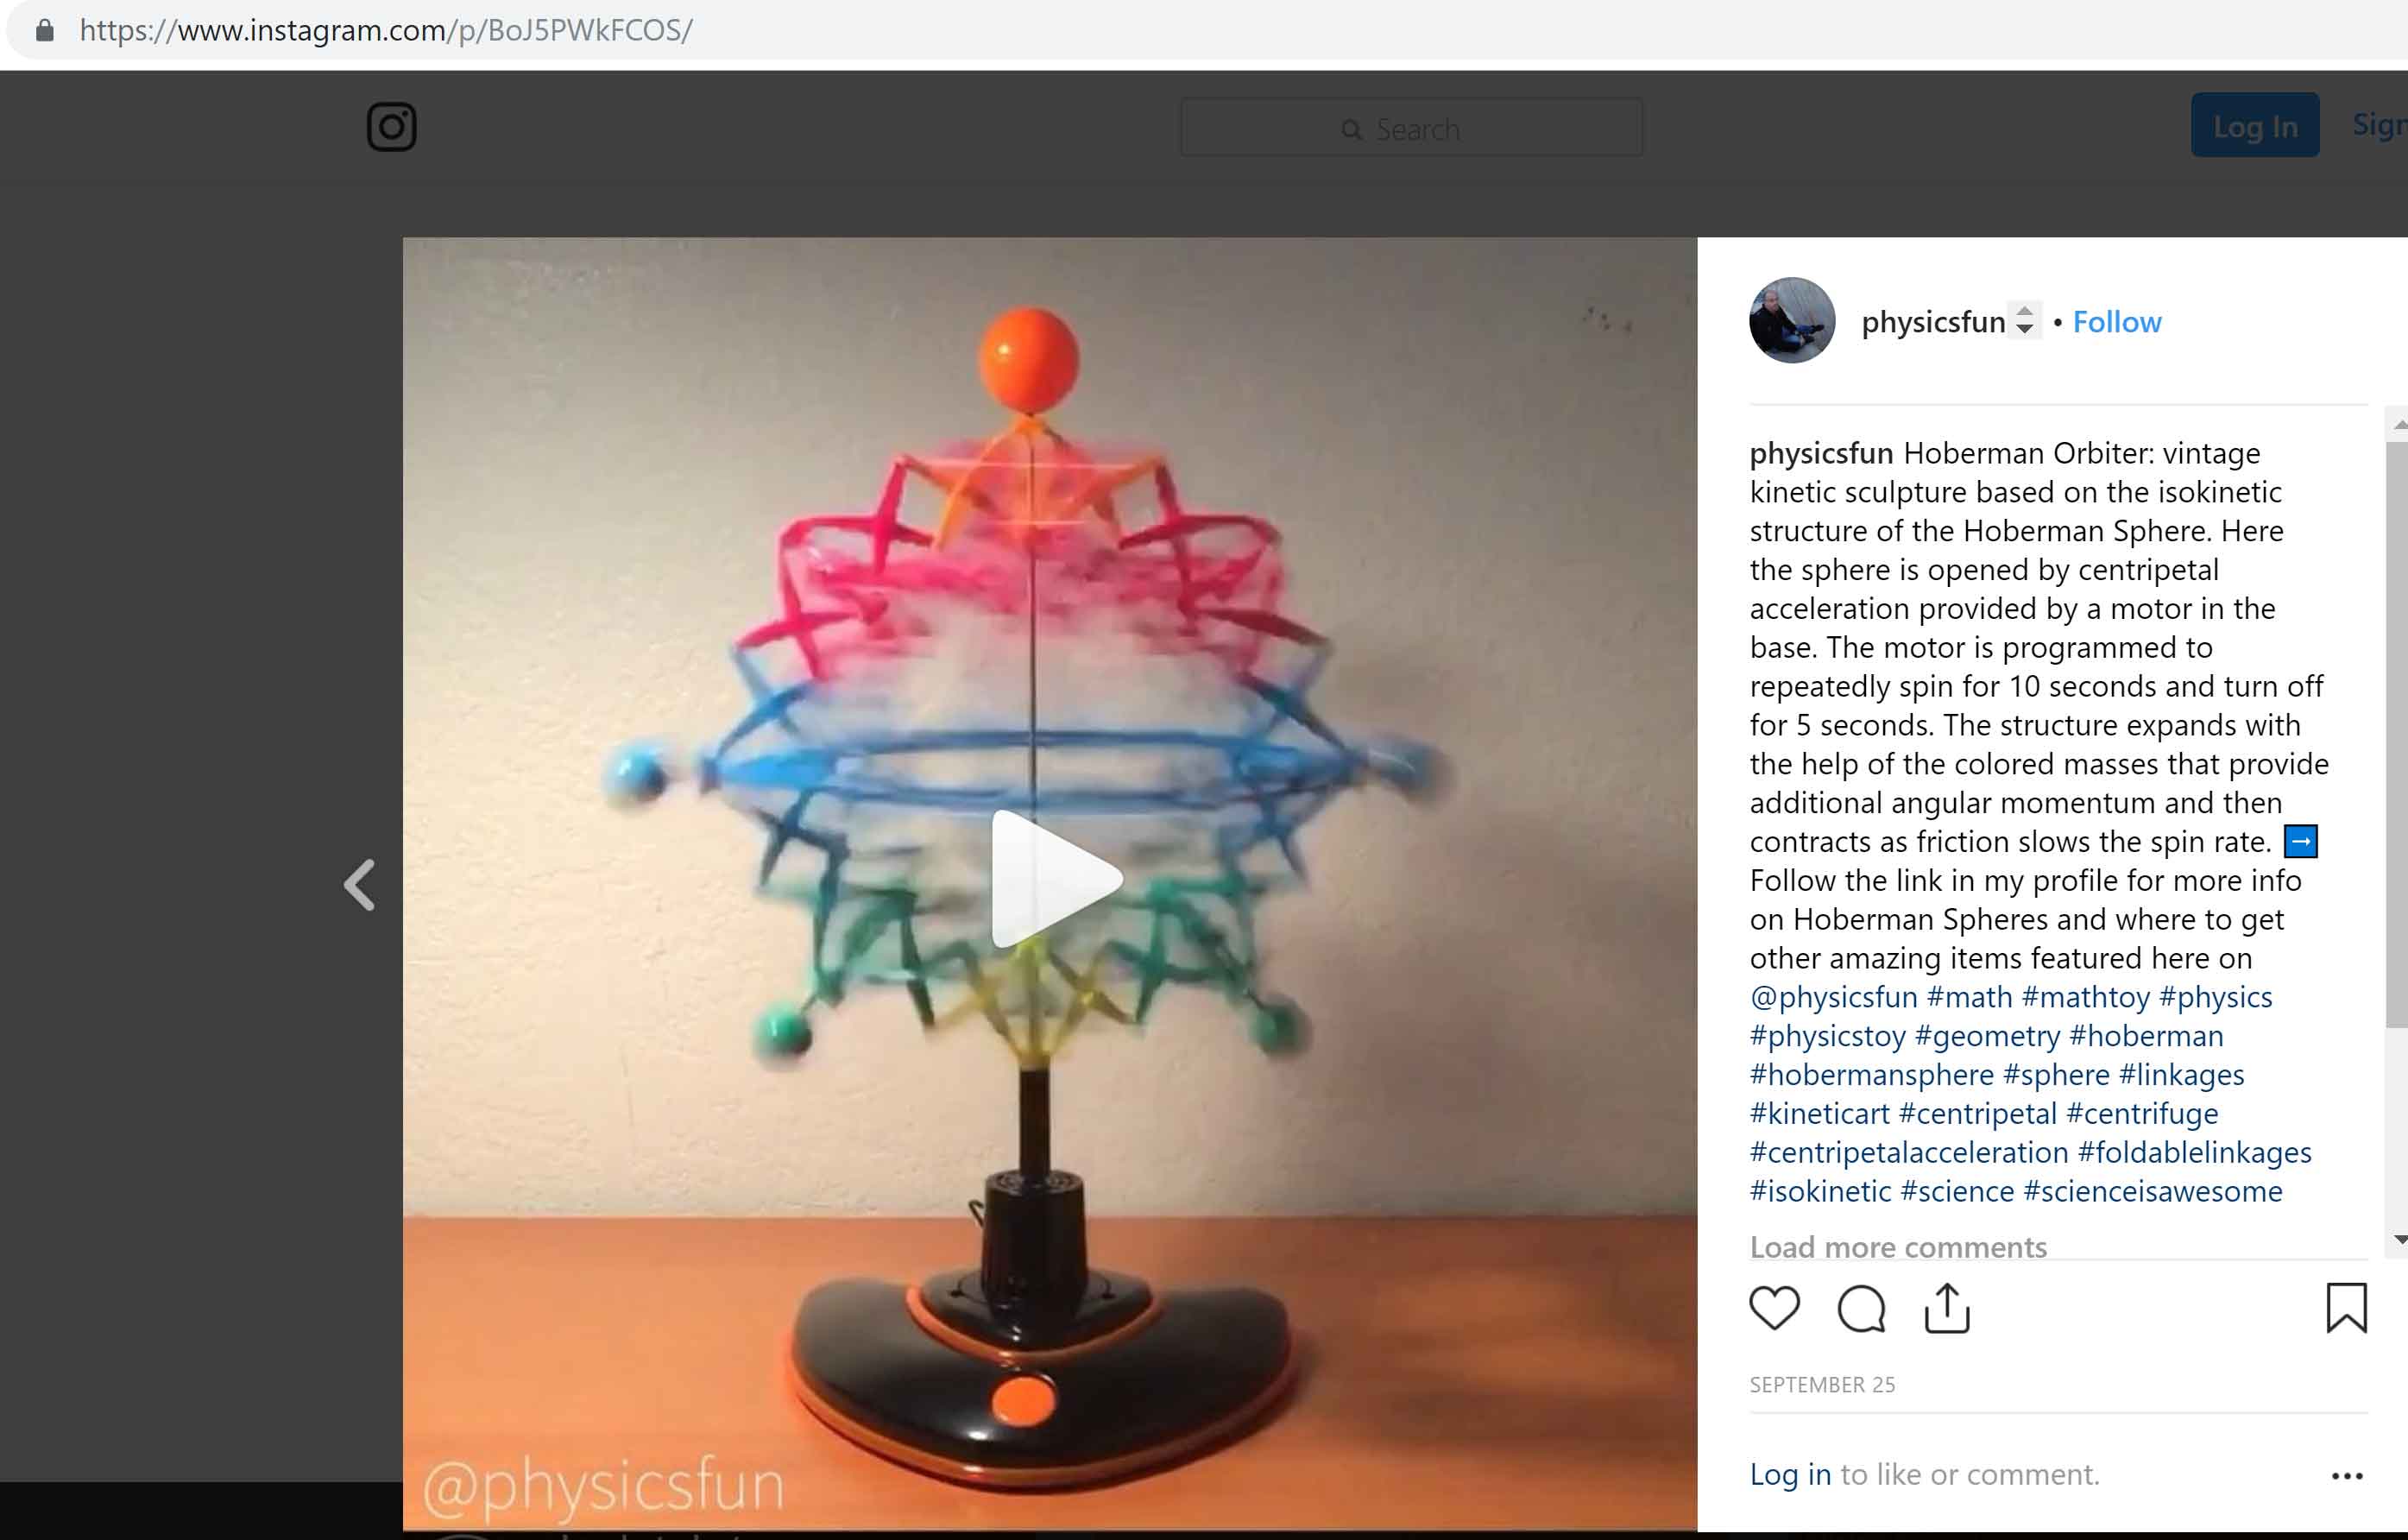
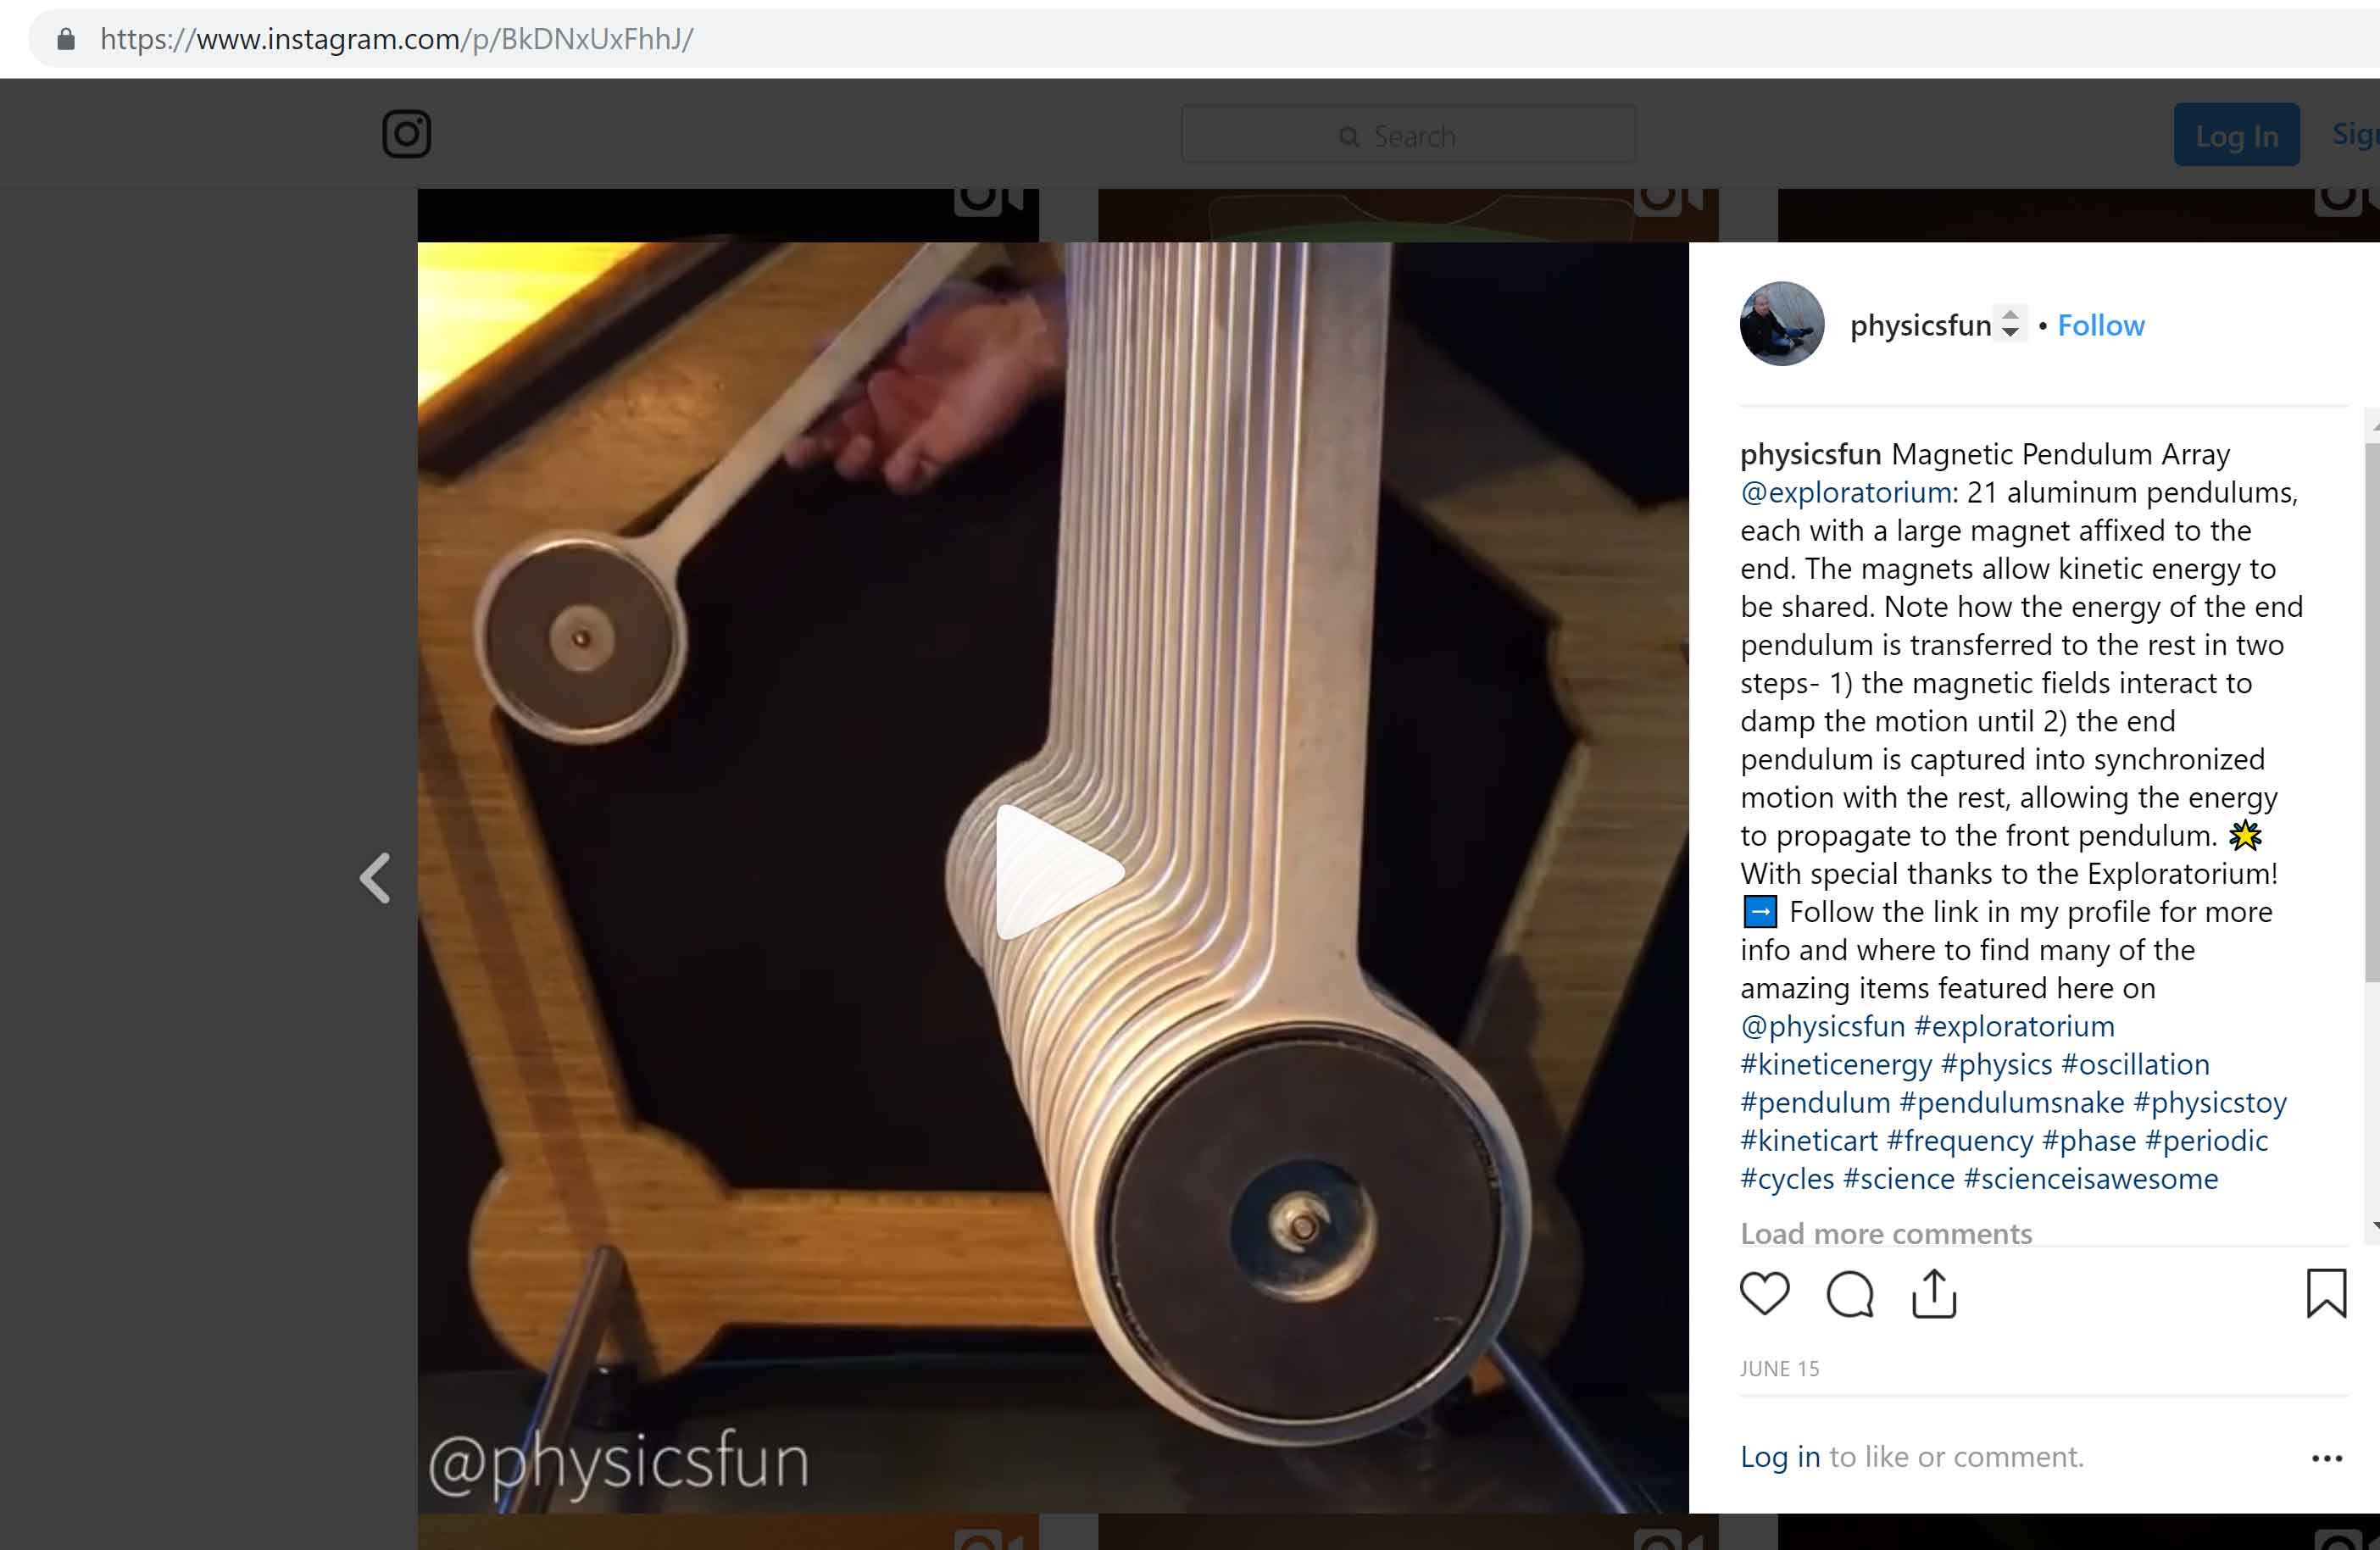
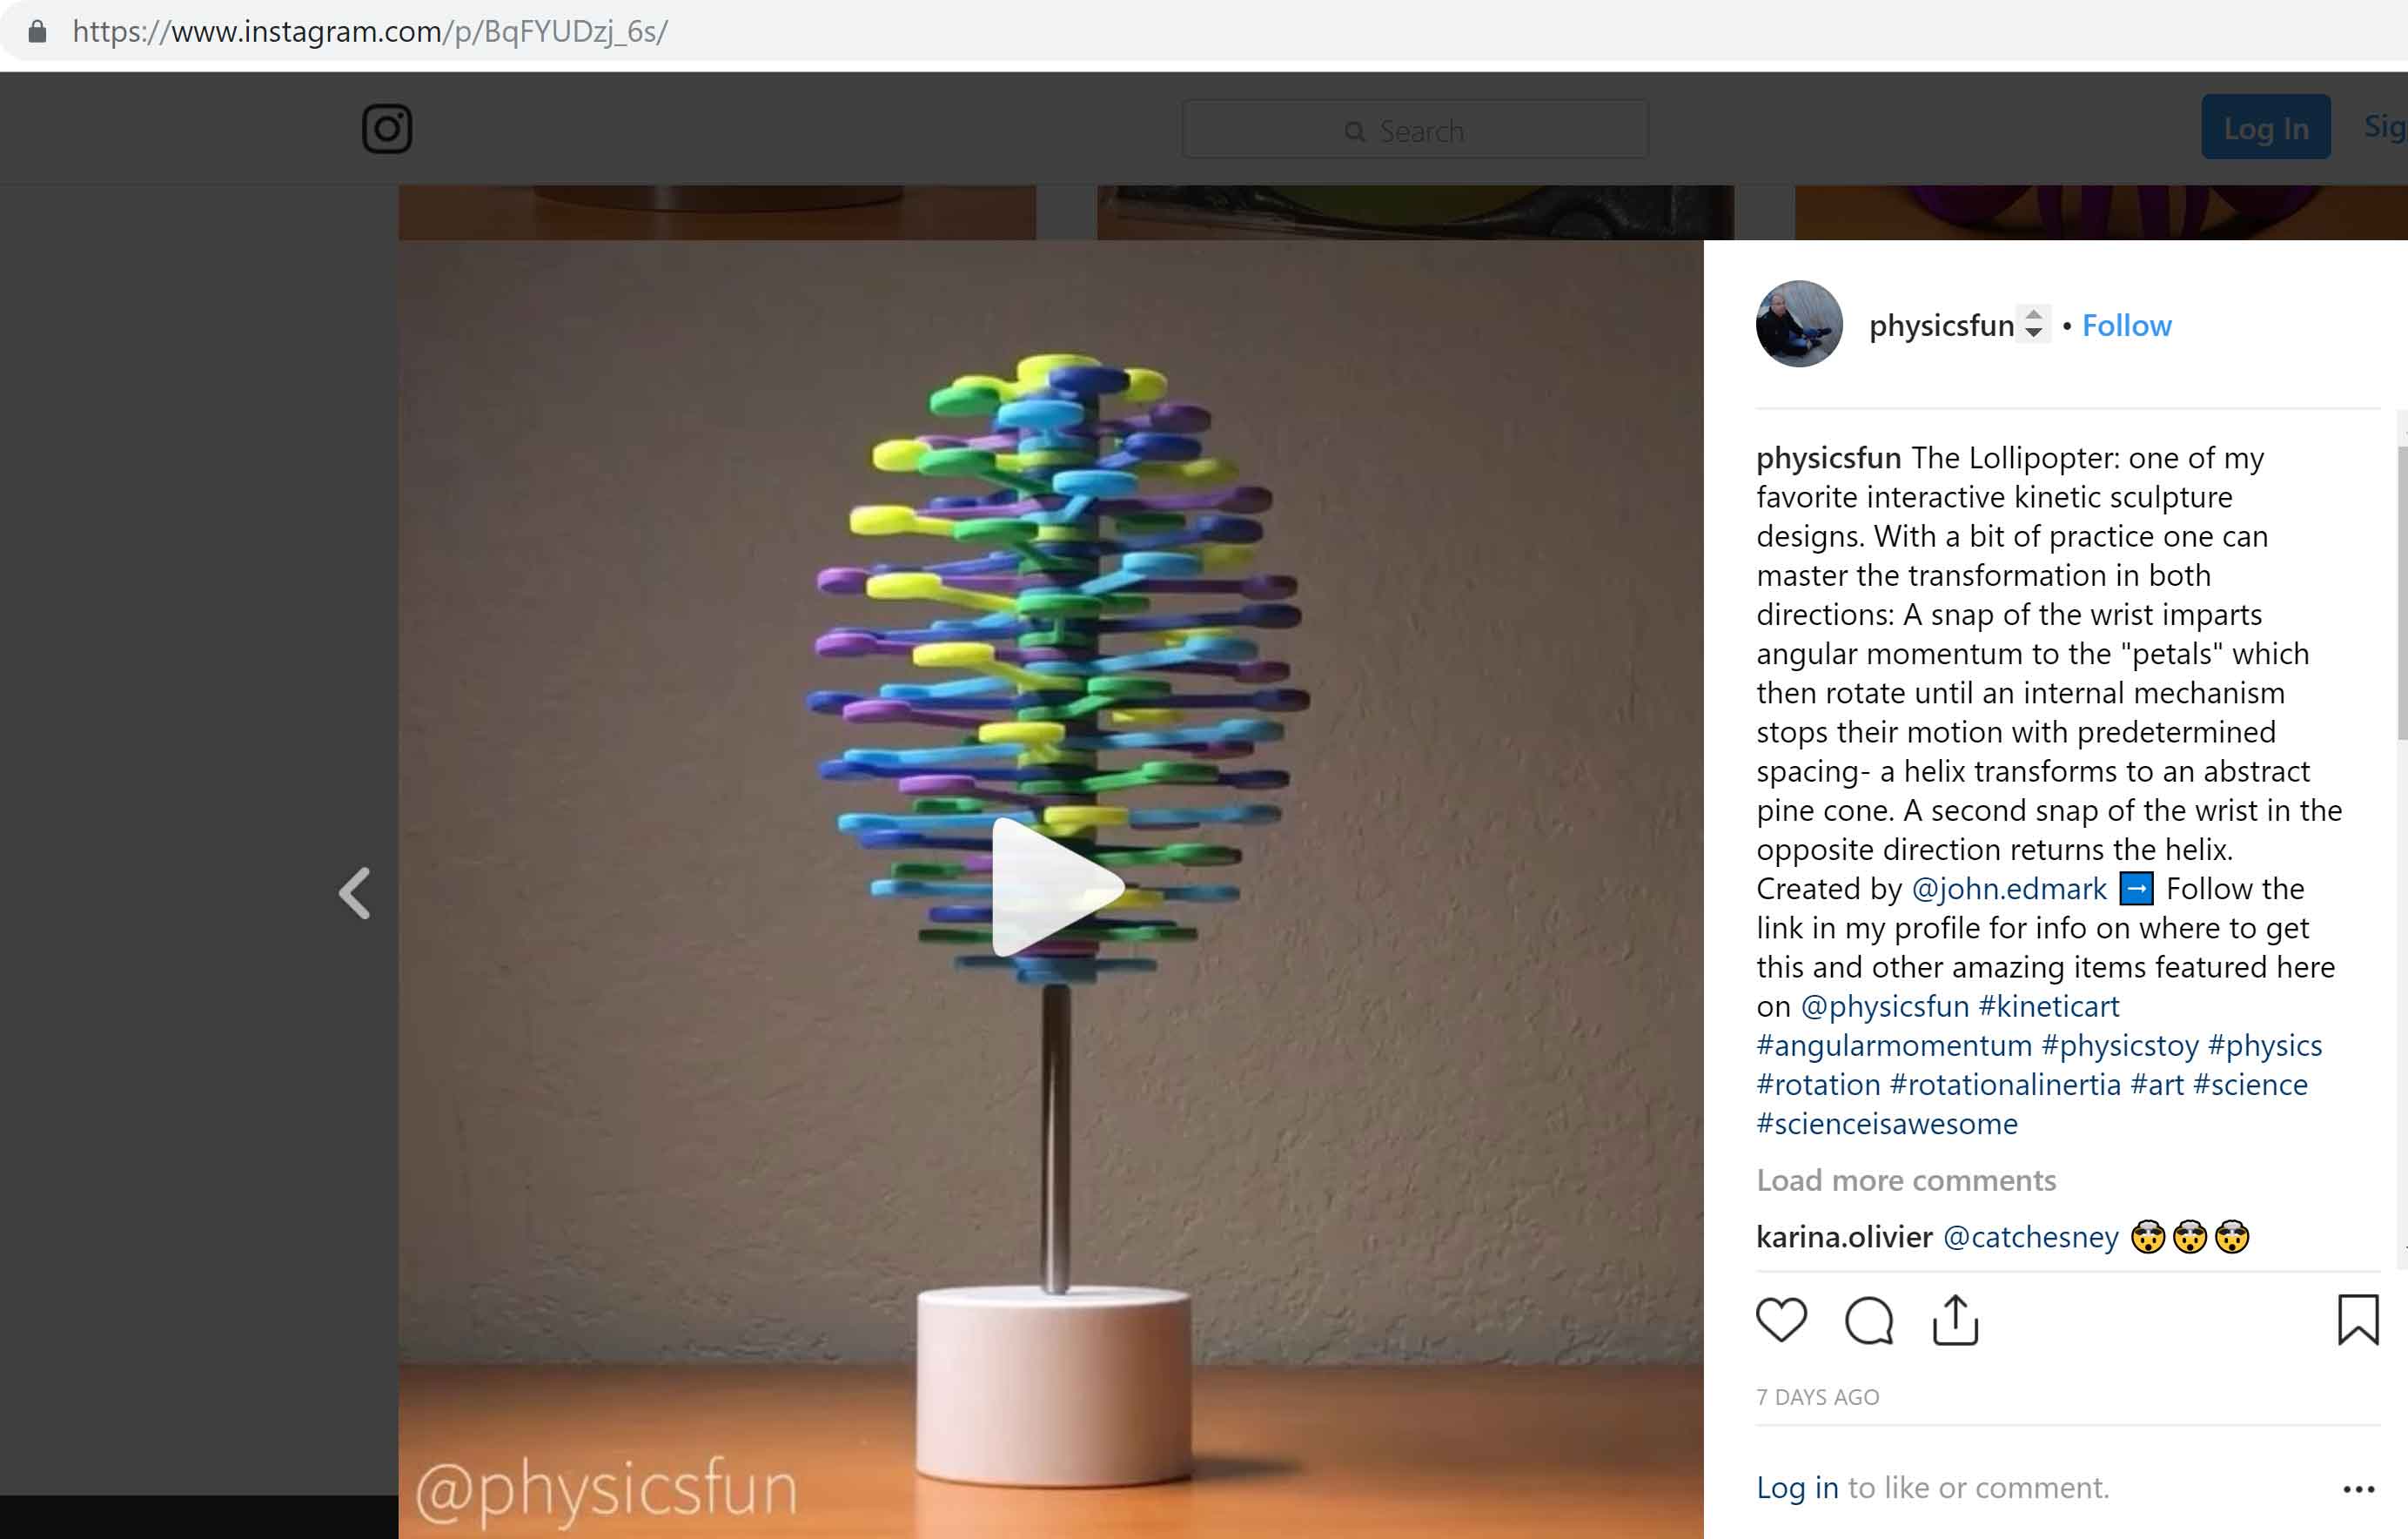
RESEARCH INSPIRATIONS
To get inspired we looked at different kinetic designs.